28 Installing the enclosures
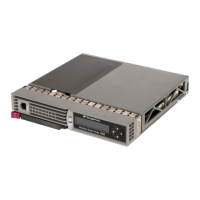
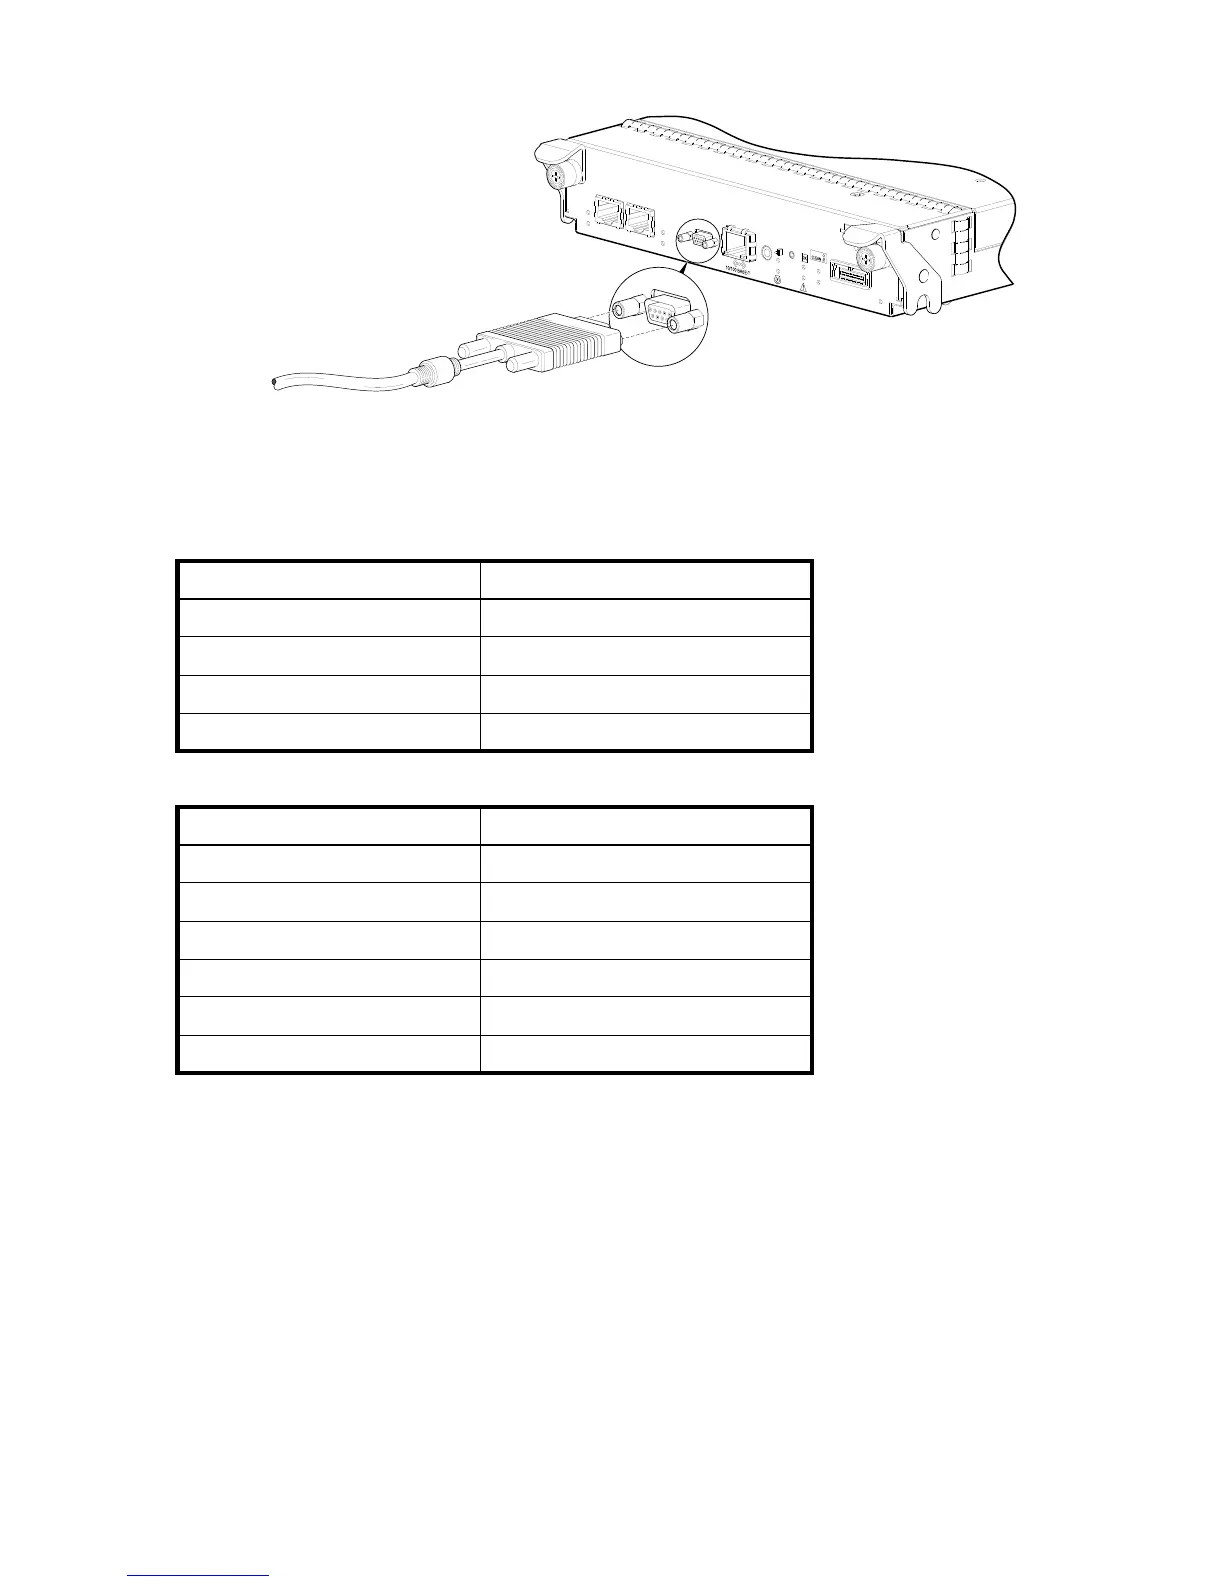
2. Use the provided micro-DB9 serial cable to connect controller A to a serial port on a host computer.
Your package contents include a micro-DB9-to-DB9 serial cable. If necessary, use a DB9-to-DB25 adapter
(not included) for connecting the serial cable to a DB25 serial port on the host computer.
3. Start and configure a terminal emulator, such as HyperTerminal or VT-100, using the display settings in
Table 4 and the connection settings in Table 5.
.
4. In the terminal emulator, connect to controller A.
5. Press Enter to display the CLI prompt (#).
6. At the prompt, type the following command to set the values you obtained in Step 1 for each Network
port, first for controller A and then for controller B:
set network-parameters ip
address
netmask
netmask
gateway
gateway
controller a|b
where:
•
address
is the IP address of the controller
•
netmask
is the subnet mask
•
gateway
is the IP address of the subnet router
• a|b specifies the controller whose network parameters you are setting
For example:
# set network-parameters ip 192.168.0.10 netmask 255.255.255.0 gateway
192.168.0.10 controller a
Table 4 Terminal emulator display settings
Parameter Value
Terminal emulation mode VT-100 or ANSI (for color support)
Font Terminal
Translations None
Columns 80
Table 5 Terminal emulator connection settings
Parameter Value
Connector COM1 (typically)
Baud rate 115,200
Data bits 8
Parity None
Stop bits 1
Flow control None
Service
CACHE
CLI
ACTIVITY
LINK
SAS 1
CLI
DIRTY
iSCSI 1
iSCSI 2
Connect serial cable to CLI
port on controller faceplate