Chapter 4 Retrofitting Options
To Retrofit A5 DC Power Input Assembly (Option 002)
Assembly-Level Service Guide 4-5
4
Retrofitting Procedure
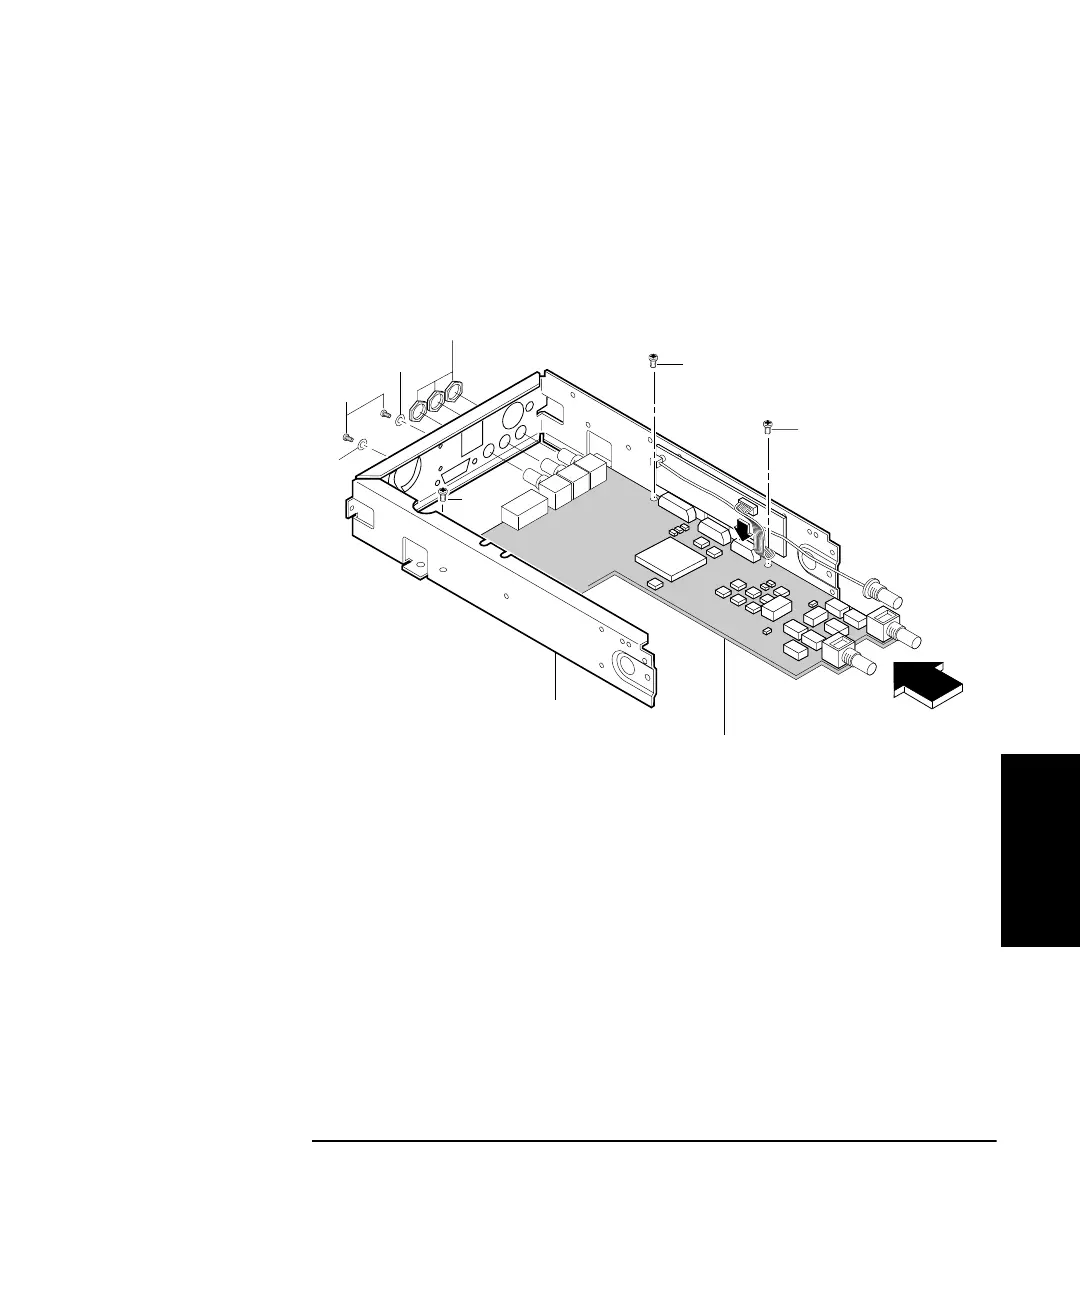
1 Slide A1 Motherboard Assembly into the new chassis (MP10) as
shown in Figure 4-1A.
Figure 4-1A. DC Power Input Assembly Retrofitting
2 Insert but do not tighten the three TORX 15 screws (H1) that
attach A1 Motherboard Assembly to the new chassis (MP10) as
shown in Figure 4-1A.
3 Insert and tighten the three BNC nuts (H3) onto the BNC
connectors that protrude from the rear of the chassis using the
14-mm deep-socket spin tight.
H4
H1
H1
H1
H5
H3
A1 Motherboard
Assembl
H5
MP10