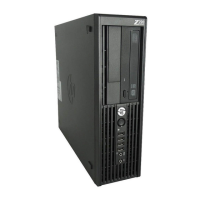
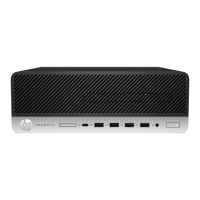
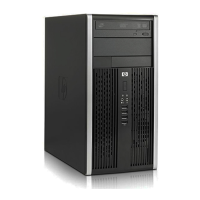
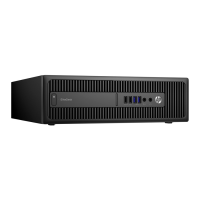
Before removing the front bezel, follow these steps:
1. Prepare the computer for disassembly (see Preparation for disassembly on page 22).
2. Remove the access panel (see Access panel on page 23).
3. Remove the optical drive (see Optical drive on page 25).
Remove the front bezel:
1. Position the computer with the front toward you.
2. Disengage the tabs (1) on the top of the front bezel from the slots in the system chassis.
3. Swing the front bezel (2) down and away from the system chassis.
4. Remove the front bezel.
To install the front bezel, reverse the removal procedure.
Hard drives
To remove the hard drives, use these procedures. The hard drives are located inside the front chassis.
Table 4-4
Hard drive descriptions and part numbers
Description Spare part number
2 TB, 7200 rpm, 3.5 in L89703-001
1 TB, 7200 rpm, 3.5 in, NMIC N03048-001
1 TB, 7200 rpm, 3.5 in N41735-001
Before removing the hard drives, follow these steps:
1. Prepare the computer for disassembly (see Preparation for disassembly on page 22).
2. Remove the access panel (see Access panel on page 23).
3. Remove the optical drive (see Optical drive on page 25).
4. Remove the front bezel (see Front bezel on page 26).
Remove the hard drives:
Hard drives
27

 Loading...
