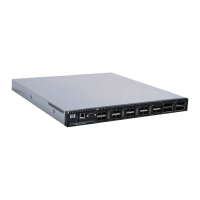
HP StorageWorks SN6000 Fibre Channel Switch Installation and Reference Guide 63
4. Plug the power cord into the AC receptacle. Confirm that air flow direction is correct.
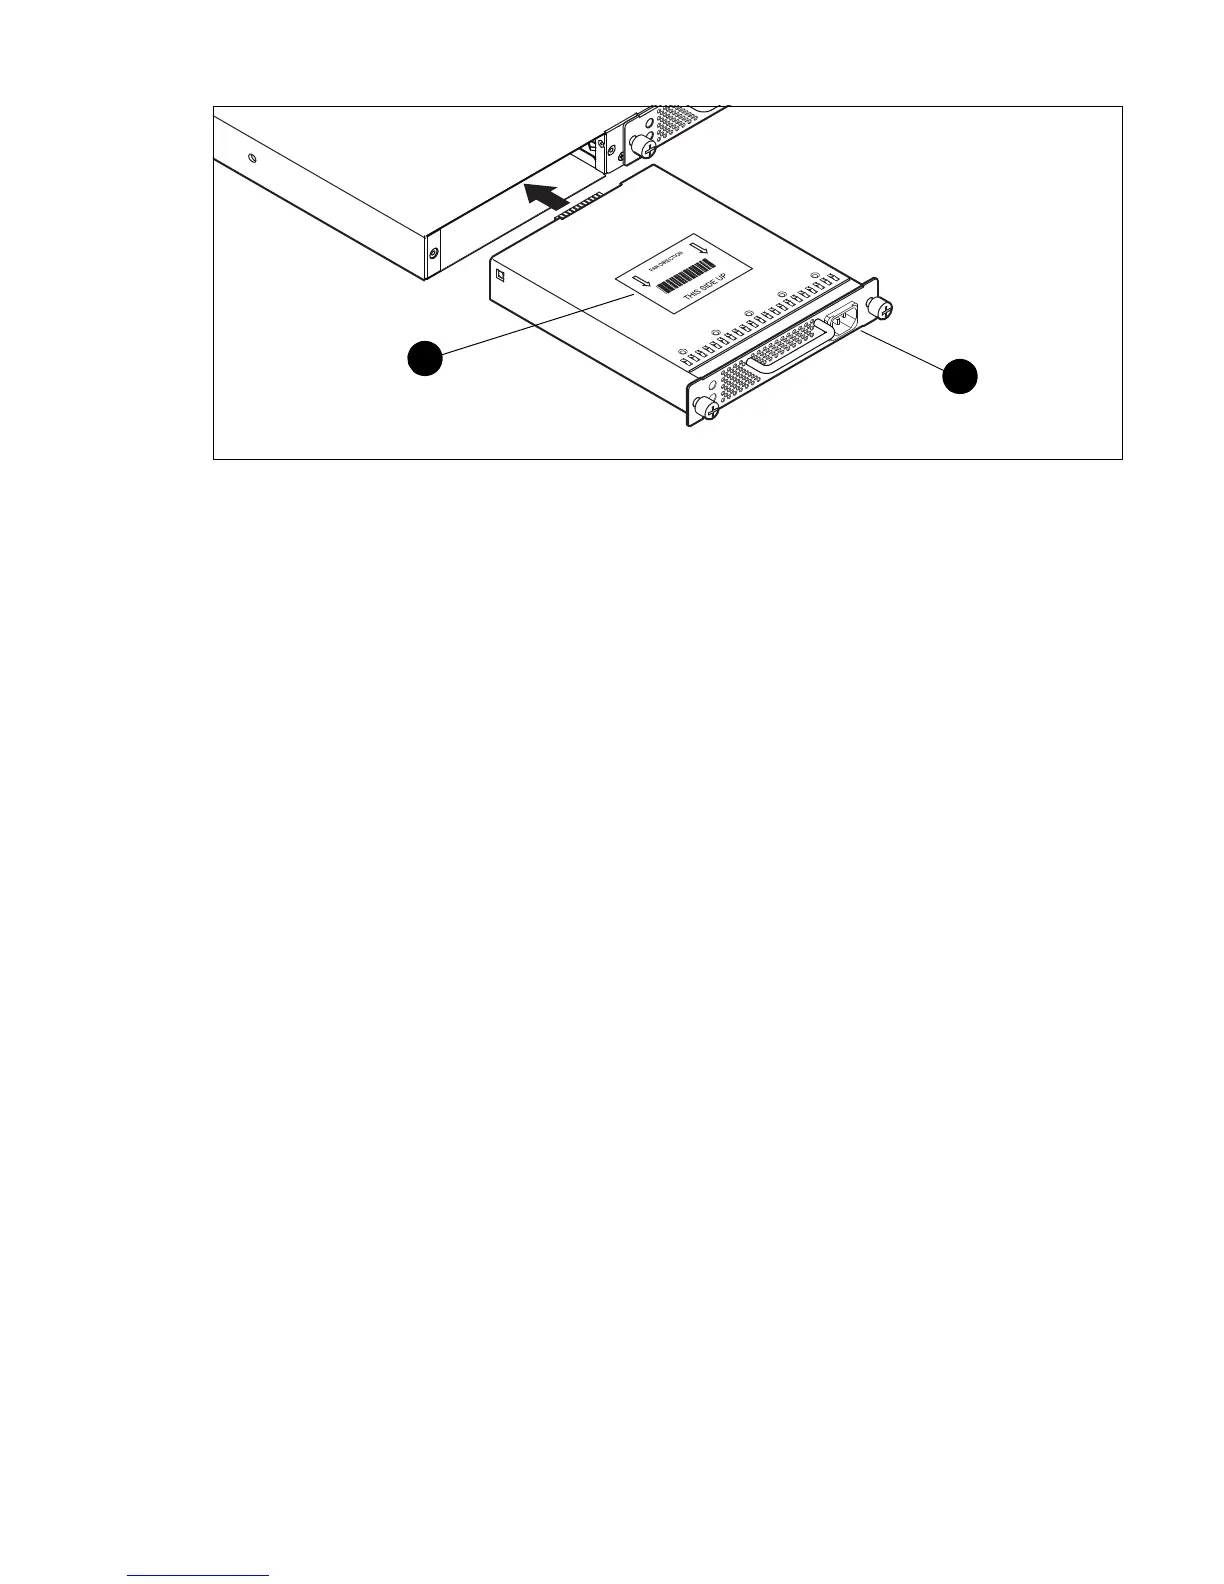
Figure 24 Power supply installation
The power supply in the SN6000 Single Power Supply Fibre Channel Switch can be removed and
replaced, but as there is only one power supply, it is not hot-pluggable.
To remove the power supply:
1. Unplug the power cord from the power supply.
2. Using a cross-head screw driver, loosen the two knurled fasteners (in the position of Power Supply 1 in
(Figure 23).
3. Grasp the power supply handle and pull firmly to disengage the modular connector.
4. Remove the power supply from the bay.
To install the power supply:
1. Confirm that the new power supply is compatible with the switch air flow direction. The part number
label on the power supply indicates the air flow direction (Figure 24).
2. With the AC receptacle on the right, slide the power supply into the bay until it is firmly seated. Secure
the knurled fasteners by hand.
1 Air flow label 2 AC receptacle
 Loading...