SATA hard drive
For more information about SATA hard drives and SATA RAID configurations, see SATA hard drive
on page 91.
This section describes how to remove and install a SATA hard drive.
Removing a SATA hard drive
NOTE: Each workstation hard drive bay can be configured at the factory to hold three small form factor
hard drives instead of two standard size drives. To obtain the option kit documentation for removal and
replacement of small form factor hard drives, refer to the HP xw Workstation series - Small form factor
bay converter and hard drive installation user guide at:
http://www.hp.com/support/xw6600 manuals
To remove a SATA hard drive:
1. Disconnect power from the system (see
Predisassembly procedures on page 52).
2. Remove the side access panel (see
Side access panel on page 58).
CAUTION: To prevent damage to the workstation, observe the following Electrostatic Discharge
(ESD) precautions while performing the system parts removal and replacement procedures:
— Work on a static-free mat.
— Wear a static strap to ensure that any accumulated electrostatic charge is discharged from your
body to the ground.
— Create a common ground for the equipment you are working on by connecting the static-free
mat, static strap, and peripheral units to that piece of equipment.
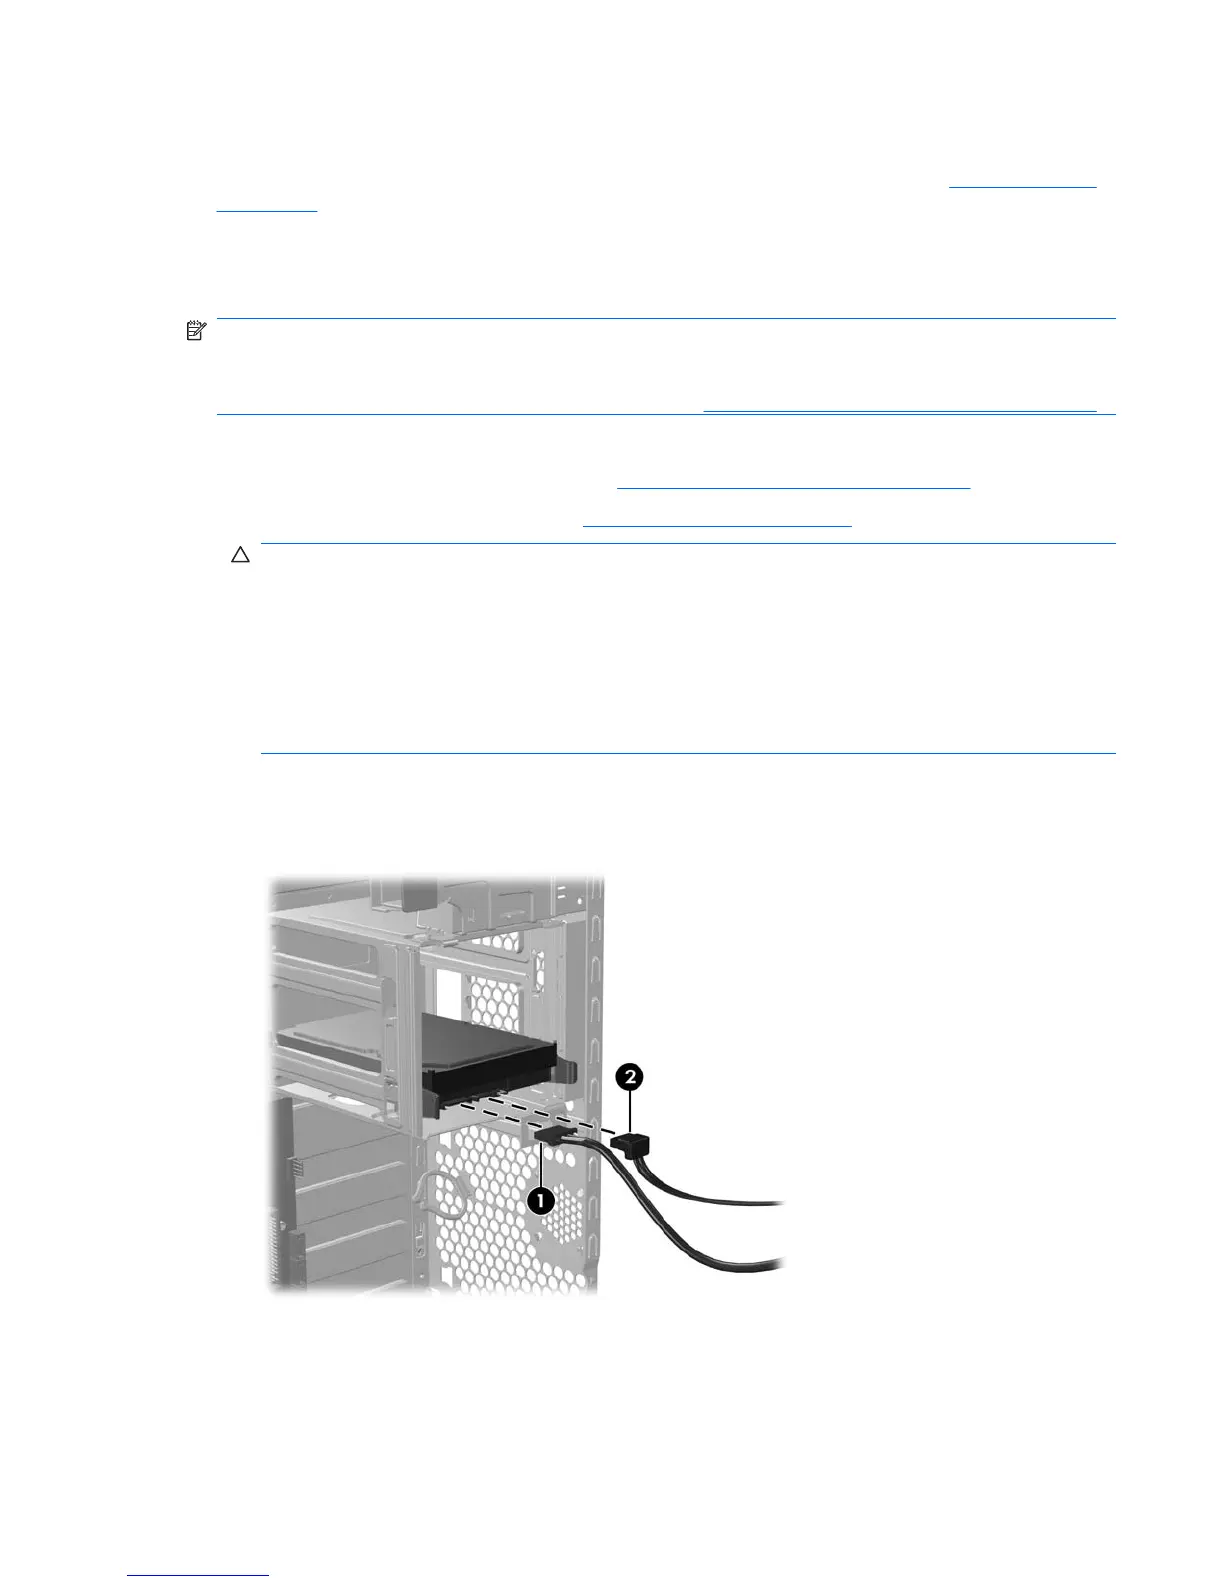
3. Disconnect the data (2) and power (1) cables from the SATA hard drive, as shown in the following
figure.
Figure 4-48 Disconnecting the SATA hard drive cables
ENWW Removing and replacing components 91

 Loading...


