7. Remove the chassis cover .
8. Remove the system board assembly .
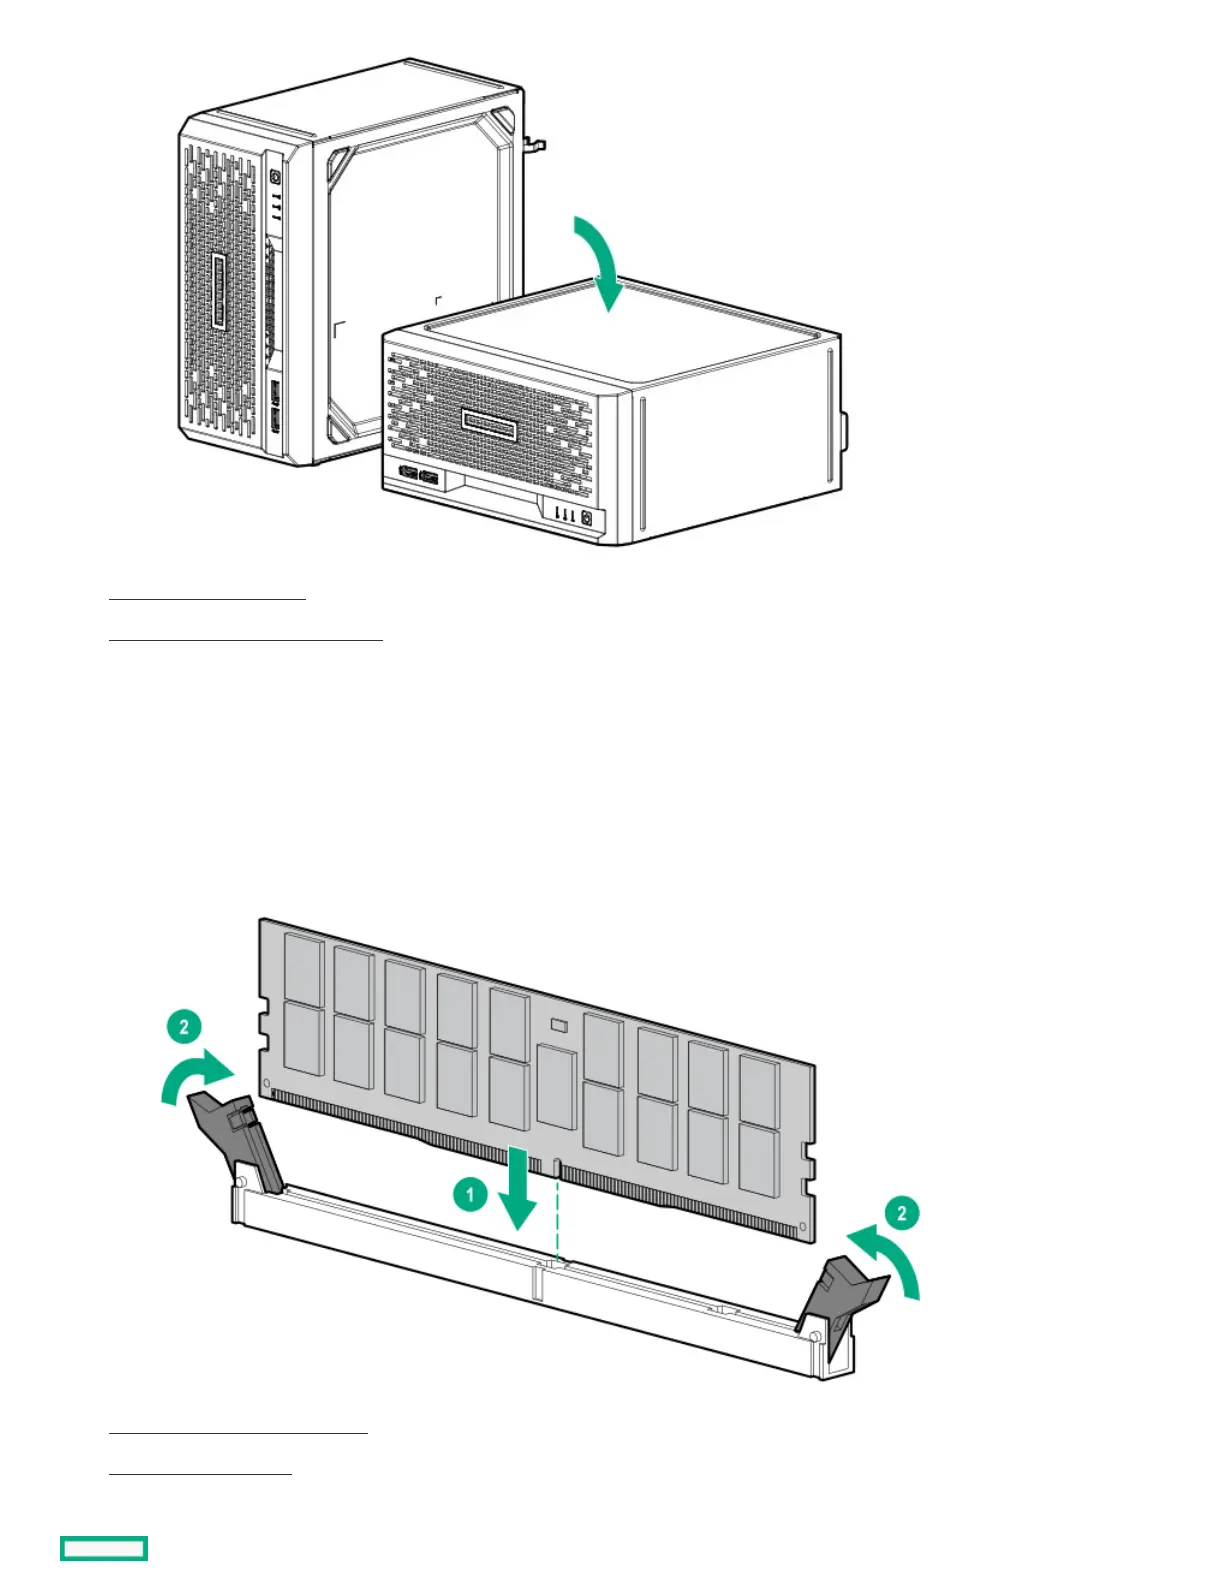
9. Install the DIMM:
a. Open the DIMM slot latches (callout 1).
b. Align the notch on the bottom edge of the DIMM with the keyed surface of the DIMM slot, and then fully press the DIMM into the slot
until the latches snap back into place (callout 2).
The DIMM slots are structured to ensure proper installation. If you try to insert a DIMM but it does not fit easily into the slot, you
might have positioned it incorrectly. Reverse the orientation of the DIMM and insert it again.
10. Install the system board assembly .
11. Install the chassis cover .
12. If removed, install the security padlock and/or the Kensington security lock.