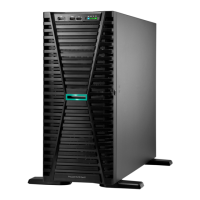
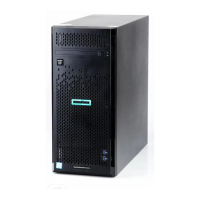
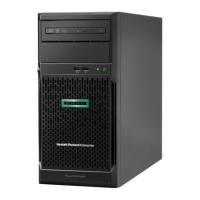
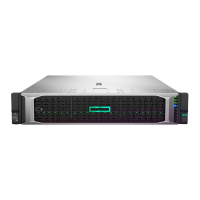
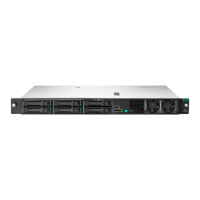
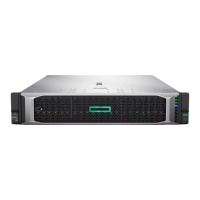
• Rack-mounting hardware (optional)
• Documentation
Install the hardware options
2. (Optional) Install hardware options. For installation instructions, see Hardware options installation.
Orient the server and connect the peripherals
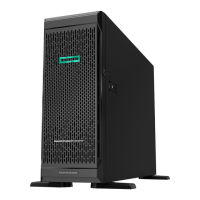
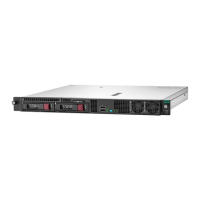
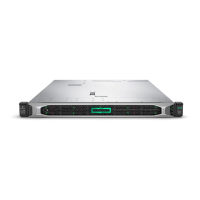
3. Select the server orientation:
•
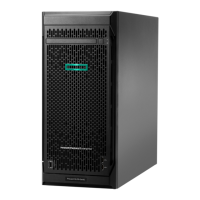
Tower orientation
• Rack orientation
4. Decide how to manage the server:
• Locally: Use a KVM switch or a connect a keyboard, monitor, and mouse.
• Remotely: Connect to the iLO web interface and run a remote console:
a. Verify the following:
◦ iLO is licensed to use the remote console feature.
If iLO is not licensed, visit https://www.hpe.com/info/ilo.
◦ The iLO Management Port is connected to a secure network.
b.
Using a browser, navigate to the iLO web interface, and then log in.
https://<iLO hostname or IP address>
Note the following:
◦ The iLO hostname is located on the serial number/iLO information label located on the top of the chassis.
◦ If a DHCP server assigns the IP address, the IP address appears on the boot screen.
◦ If a static IP address is assigned, use that IP address.
◦ The default login credentials are located on the serial number/iLO information label located on the top of
the chassis.
c.
In the side navigation, click the Remote Console & Media link, and then launch a remote console.
Power on the server
5. Press the Power On/Standby button.
For remote management, use the iLO virtual power button.
Update the firmware
6. Using the SPP,
update the following:
• System ROM
• Storage controller
Setup
37
 Loading...
