8 Replacing components
104
HSD S.p.A. © - 0108h02a.fm100713
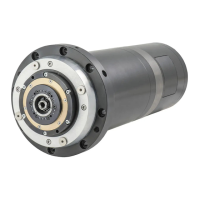
8.4.4 Replacement and adjustment of the sensor unit
Procedure not valid for model “liquid” ES330
1. remove the screw “1” which locks the sensor unit to be replaced;
2. remove the worn sensor unit from its seat;
3. Disconnect the sensor electronically or (if present) its electronic connector “5”;
4. electronically connect the new sensor unit;
5. verify the functionality of the new sensor by placing it in contact with a metal object;
6. insert the new sensor unit in the empty seat;
7. rescrew the screw “1” without tightening it completely, so that the sensor unit can rotate;
8. adjust the sensor unit, so as to obtain the outputs required in the paragraphs immediately
below;
tighten the screw “1” locking the sensor unit, so as to maintain the performed calibration.
For the replacement and adjustment of the sensors illustrated in this and subsequent
paragraphs, refer to figures 12, 14 and 17 of the previous paragraph.