Built on Innovation
®
11
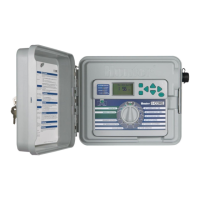
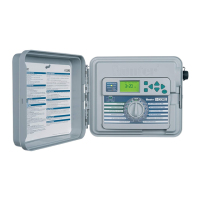
Mounting the Controller
PREPARE THE CONCRETE
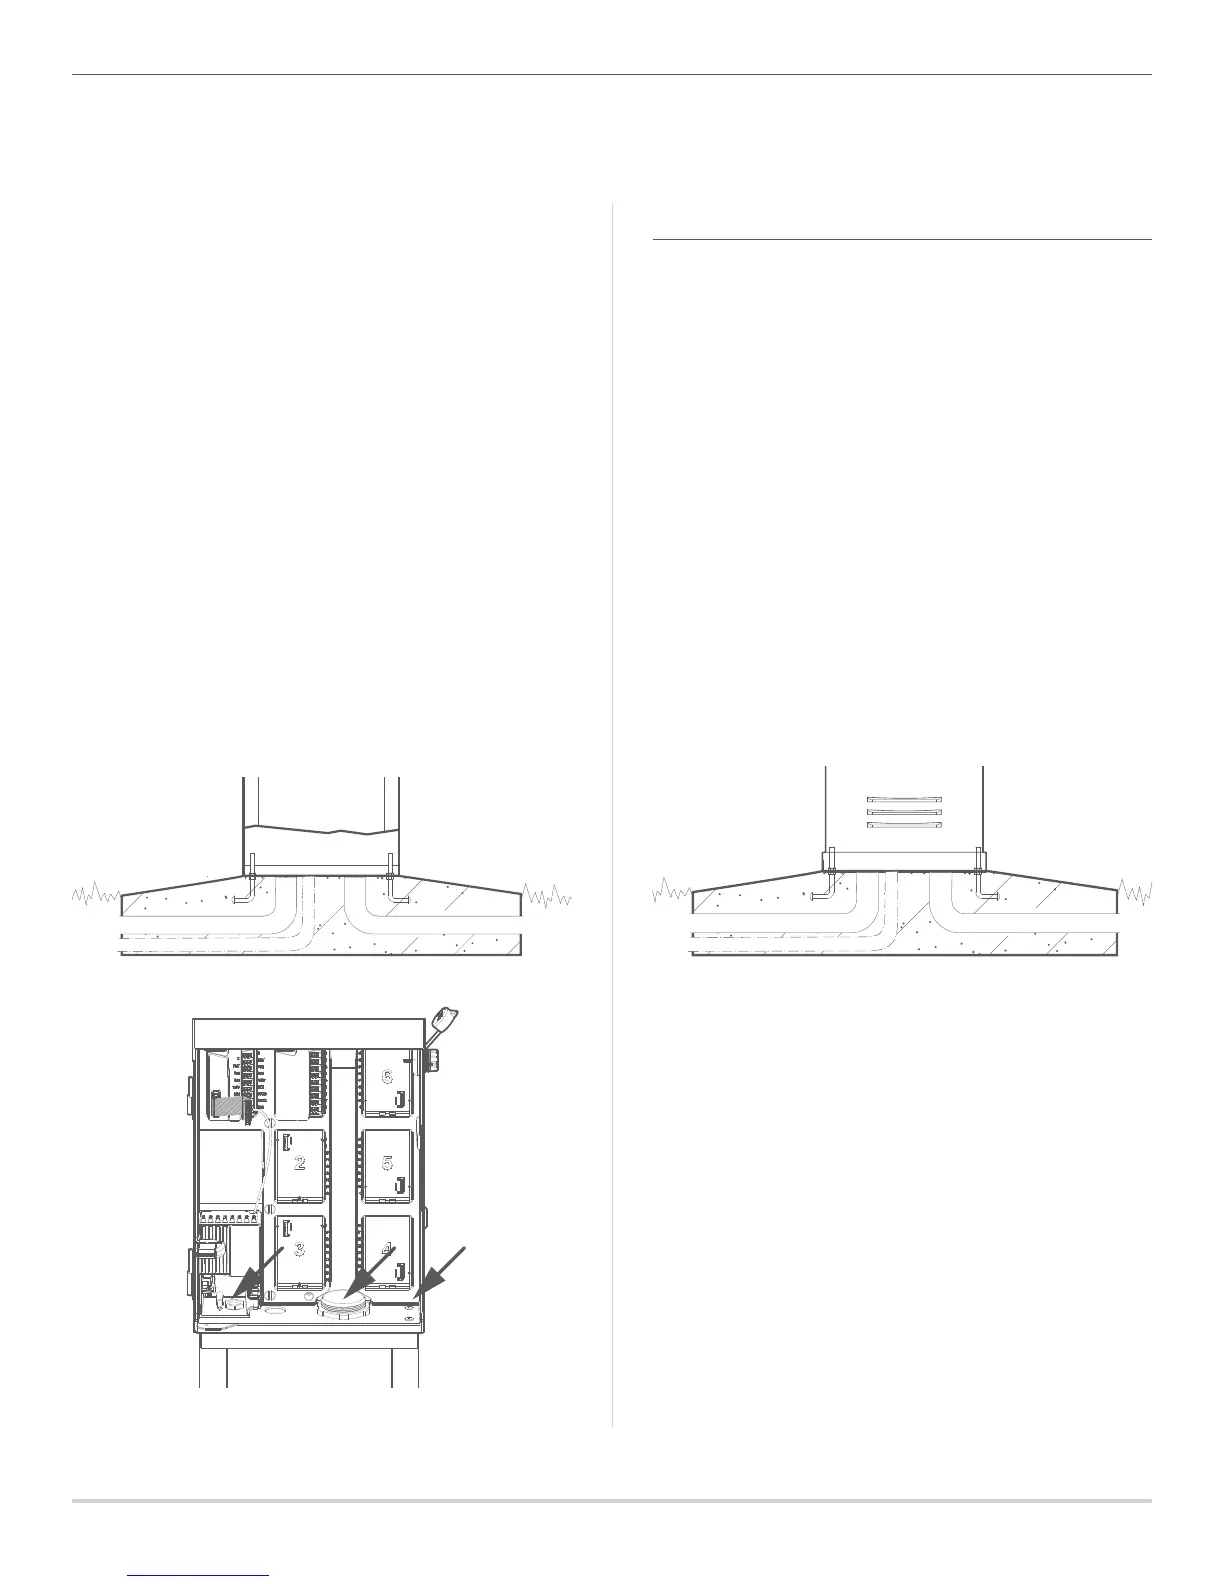
1. Prepare a form for a concrete pad, approximately
20" W x 16" D x 4" H (50 cm W x 40 cm D x 10 cm H) at grade
level. Slope the concrete downward away from the pedestal.
2. Install the J-bolts and wire sweeps (power supply, ground
wire, and irrigation control conduits) in the template and
position them in the opening.
3. Remove the pedestal door and attach the base of the
pedestal to the J-bolts in the concrete slab.
INSTALL CONTROLLER ON THE PEDESTAL
Before installing controller to pedestal, ensure all necessary
conduit plugs are removed from the bottom of the controller.
1. Secure the controller by inserting 2" conduit nipple up
through the top of the pedestal into the bottom of the
controller, and tighten the locknut on the threads.
2. Remove the wiring compartment cover from the front of
the transformer junction box, and secure the controller
with ⁄" conduit coupler and nipple.
3. Insert two #10-32 screws down through screw holes on
the bottom right side of the cabinet, and tighten with
corresponding nuts.
PLASTIC PEDESTAL MOUNTING
1. Mount the irrigation controller pedestal to the
concrete form.
2. Electrical supply conduit: Connect to power source;
J-box inside controller.
3. Ground wire conduit: Ground per ASIC guidelines.
4. Run irrigation control wire through conduit per local codes.
5. Pedestal base per plan: Ensure positive drainage away
from pedestal.
Note: Controller shall be hardwired to grounded 120 VAC or
230 VAC (international) power source.