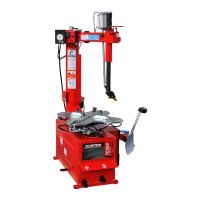
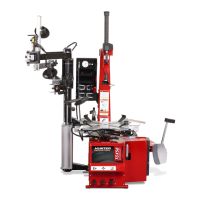
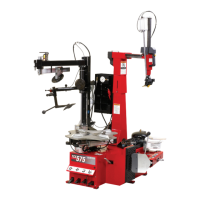
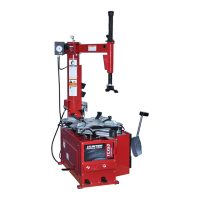
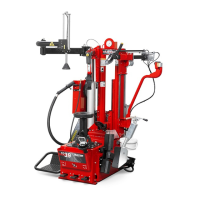
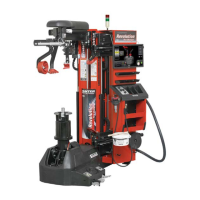
Operation Instructions for TCX50 Tire Charger
23
Release the “In” button to disengage the bead-breaker arm and press the “Out”
button to allow the bead breaker arm to open. If the bead has not completely
loosened, rotate the wheel and repeat the bead breaking procedure at a different
area on the tire.
Turn the wheel and break the opposite bead using the same procedure.
2.2 Placing Wheel on Tire Changer
Identify and recognize special wheel combinations such as Reverse Drop Center (needs
inverted on changer), AH, “Run-Flat” Extended Mobility Tires, and standard tires with pressure
sensors. If you are not fully familiar with these special wheel considerations, DO NOT USE
the tire changer. See your supervisor.
Clamping the Wheel from Inside of Rim - Steel Rims
Identify the inner locations on the rim where the clamps will come in contact.
Position the clamps in the fully retracted position (clamps completely in).
Place the wheel centered onto the turntable.
Step down
on the clamping pedal to expand the clamps to the rim.
Avoid clamping inside rim of alloy wheels. Steel jaws may damage the nish of
inside rim surface during use.
Verify that the wheel has been properly clamped and centered.
NOTICE
Clamping the Wheel from Outside of Rim - Alloy Rims
Place the clamping pedal in the stopped position by partially stepping down on the
pedal with the clamps expanding or in the fully expanded position.
From this stopped position, use additional partial steps on the clamping pedal to incrementally
retract the clamps. Set the clamps to the mark on the turntable that corresponds to the size of
rim to be clamped (12”- 14” - 16”).
Place the wheel onto the turntable.
Continue to incrementally retract the clamps until all four clamps contact the rim.
Step down
once only on the clamping pedal to fully retract the clamps to the rim.