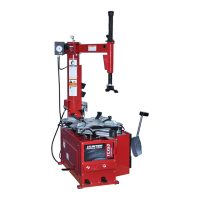
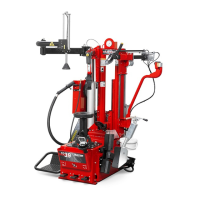
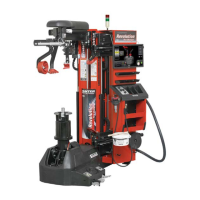
Operation Instructions for TCX50 Tire Charger
45
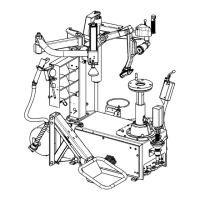
3- Position the tool head manually against the edge of the rim.
4- Keep the roller in contact with the edge of the rim, alternately loosen and tighten the two
hex bolts until there is no gap.
5- When the correct position has been achieved, tighten the hex bolts alternately to lock it in
position.
6- Tighten the head retaining bolt.
Adjust the Offset of Lock Mechanism – Steel and Plastic Heads
1- Again, position the mount/demount head on the outer edge of upper rip lip and lock in this
position.
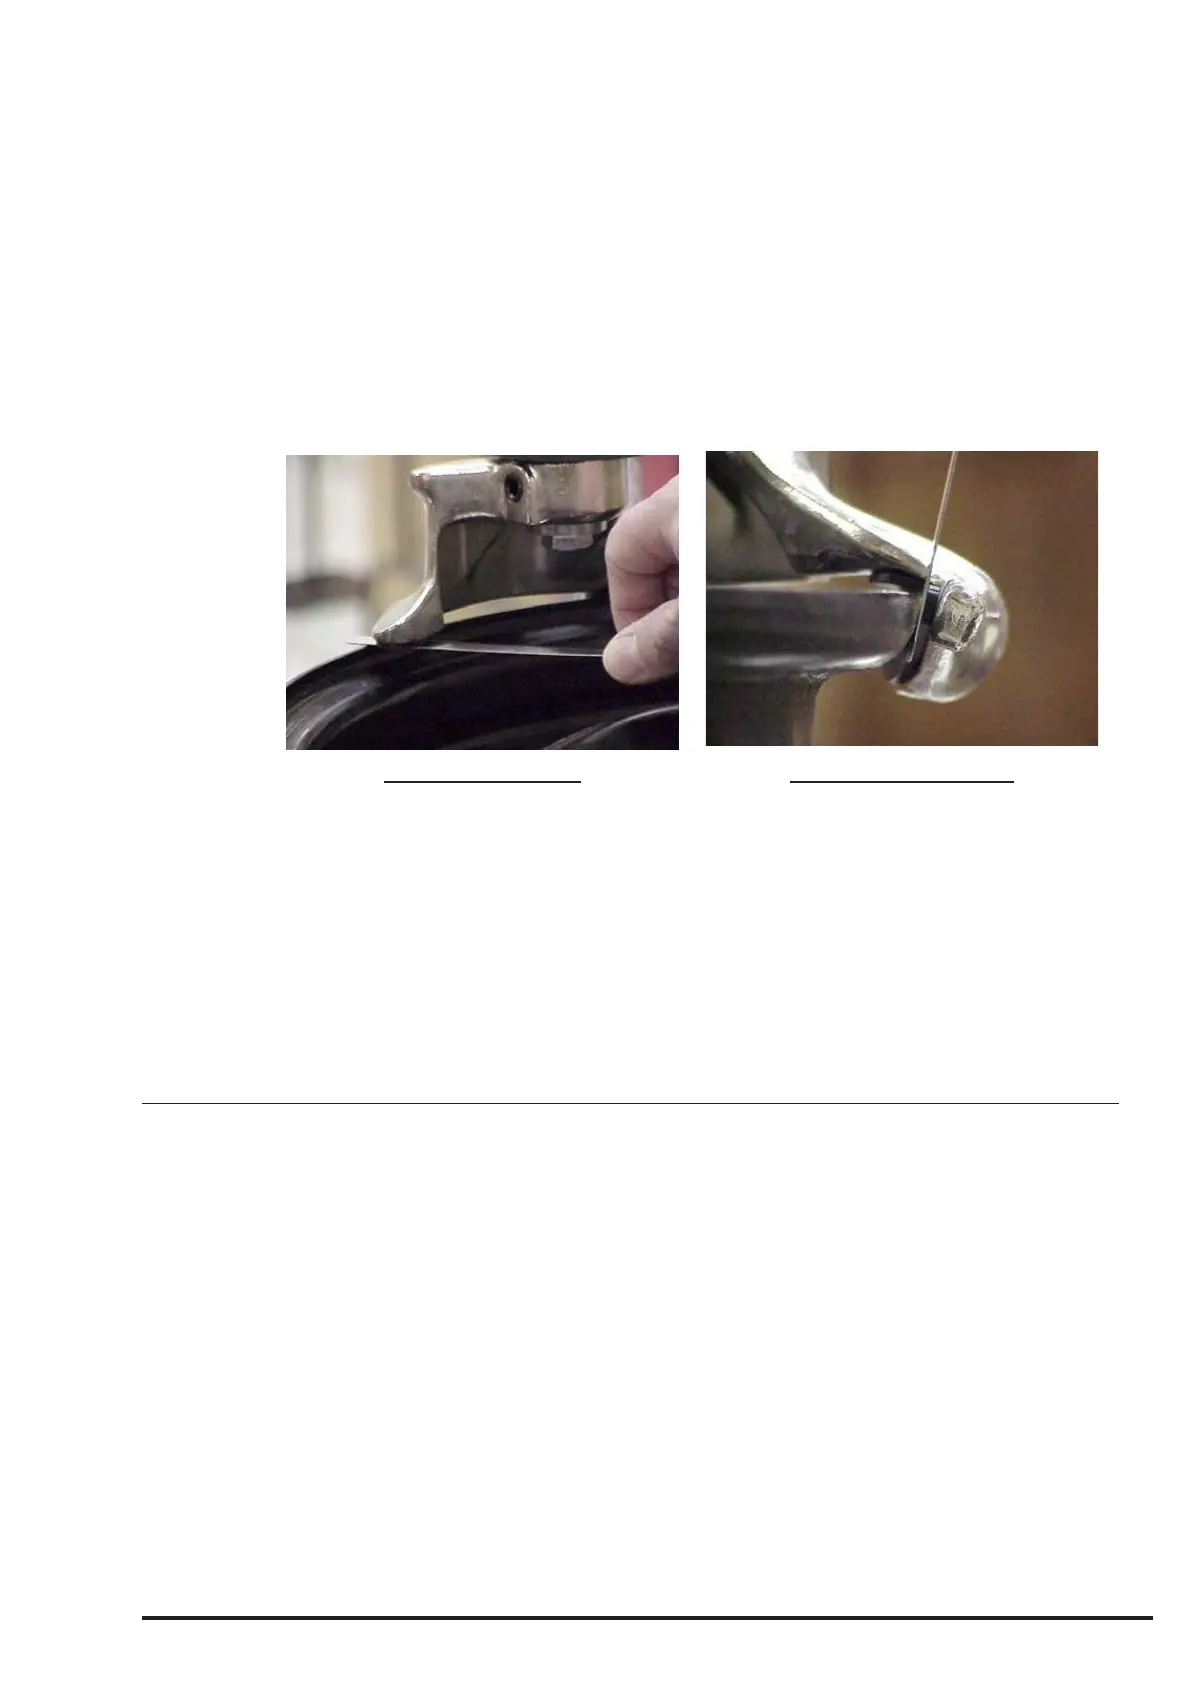
2- Use gauges to measure distances between head and the top of the rim. Measure at
inserts on steel head.
TIRE MOUNTING LIP
TOP GAP
Measure with feeler gauge
5/64-inch specication
TIRE DEMOUNTING LIP
SIDE GAP
Measure with feeler gauge
5/64-inch specication
Change the offset by removing the plastic cover and adjusting the nuts located on front of the
locking mechanism.
Replace the plastic cover.
Conrm head clearances to the 17 in rim are correct. Position the mount/demount head on the
outer edge and lock in this position. Check clearances.
3.5 Leverless Mount/Demount Head Assembly
Mount/Demount Head Calibration
The mount/demount head is pre-calibrated from the factory, however, double checking the
calibration is recommended. Calibration requires the use of an (approximately) 18 inch bare
rim.
1- Clamp rim without a tire on the tire changer turntable.
2- Before making any adjustments, loosen the four adjustment screws and tighten the head
retaining bolt until some grip is obtained.