12. Reassemble the drive in reverse order.
This
ends the procedure.
6383, 6384, 6385, 6386, 6387 - Tape cartridge
For use by authorized service providers.
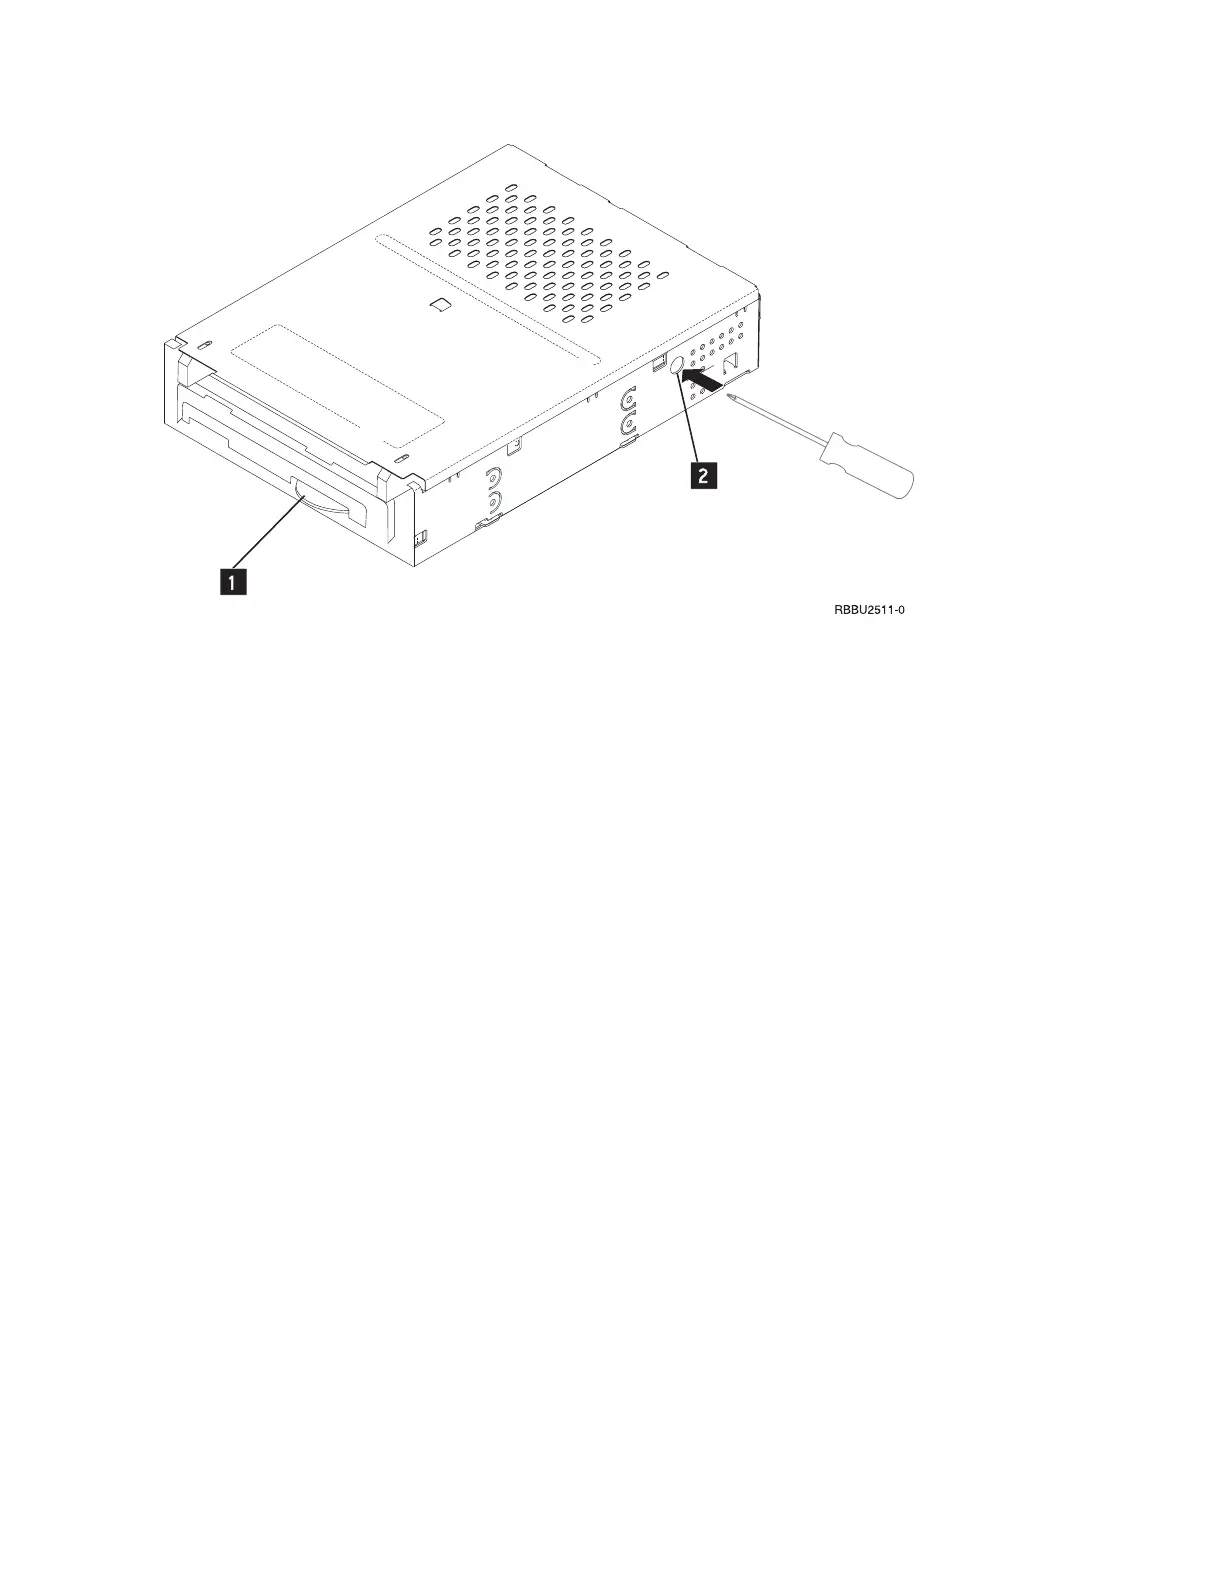
Use this procedure to manually remove a tape cartridge from a 6383, 6384, 6385, 6386, or 6387 tape unit.
You may need this procedure if a power failure or tape unit failure prevent the tape cartridge from ejecting.
Attention: This procedure is very delicate and may damage or destroy the tape cartridge. Use this
procedure only when you have tried the other options for removing the tape cartridge.
Determine the position the tape unit is in:
1. Open the tape unit door and check the location of the bridge.
2. Choose from the following options:
v If the bridge is engaged to the cartridge, go to the Locked position (See page 220) procedure below.
v If the bridge is moved away from the cartridge, go to the Standby position (See page 220)
procedure below.
Locked position
1. Power off the tape unit.
2. Open the tape unit door.
3. Locate the metal axle (B) inside the tape unit. Look towards the lower right corner.
4. Insert a pointed object (like a pen or screwdriver) into the tape unit and push the axle inward.
5. Push the bridge (C) to the right. The tape unit is now in standby position. Continue with the Standby
position (See page 220) procedure below.
Standby position
1. Power off the tape unit.
2. Open the tape unit door.
3. Locate the hook shaped metal rod (A) inside the tape unit in the upper left corner.
4. Insert a pointed object (like a pen or screwdriver) into the tape unit and push the metal rod downward.
220 Hardware (Remove and Replace; Part Locations and Listings)