Attention: Static electricity that is released to internal server components
when the server is powered-on might cause the server to halt, which might
result in the loss of data. To avoid this potential problem, always use an
electrostatic-discharge wrist strap or other grounding system when you work
inside the server with the power on.
2. Disconnect the power cord from the connector on the back of the power supply.
Attention: To ensure proper system cooling, do not leave the top cover off the
server for more than 2 minutes.
3. Press the locking latch on the power-supply and pull the power supply out of the
bay.
To install a hot-swap power supply, complete the following steps:
1. Place the power supply into the bay and push it in until it locks into place.
2. Connect one end of the power cord for the new power supply into the connector
on the back of the power supply, and connect the other end of the power cord
into a properly grounded electrical outlet.
3. Make sure that the ac power LED on the top of the power supply is lit,
indicating that the power supply is operating correctly. If the server is turned on,
make sure that the dc power LED on the top of the power supply is lit also.
Power-supply docking cable
The following section describes how to replace the power-supply docking cable.
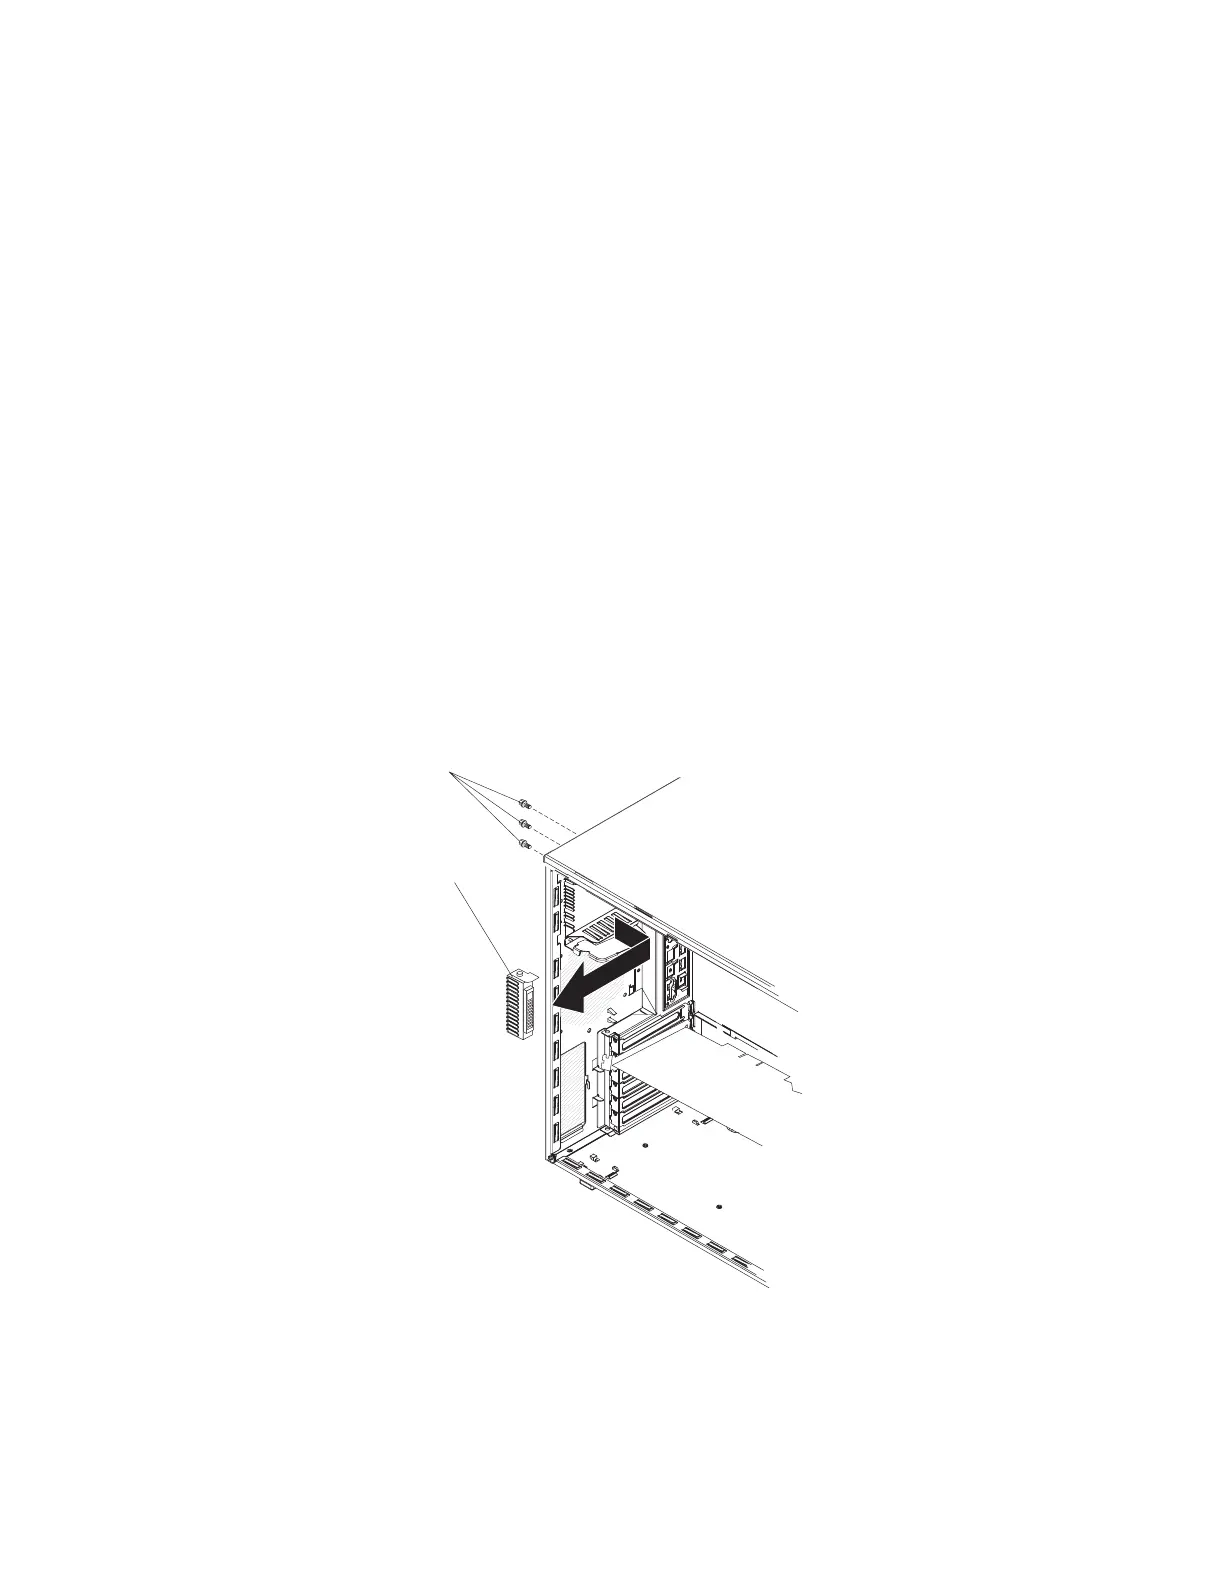
To remove the power-supply docking cable assembly, complete the following steps.
Power supply
docking cable
assembly screws
Power supply
docking cable
assembly
1. Read the safety information that begins on page vii and “Handling
static-sensitive devices” on page 57.
2. Turn off the server and peripheral devices; then, disconnect the power cords
and all external cables necessary to replace the device.
3. Unlock and remove the left-side cover (see “Removing the left-side cover and
bezel” on page 57).
Chapter 4. Removing and replacing server components 73

 Loading...


