Tier 2 CRU information
You may install a Tier 2 CRU yourself or request IBM to install it, at no additional
charge, under the type of warranty service that is designated for your server.
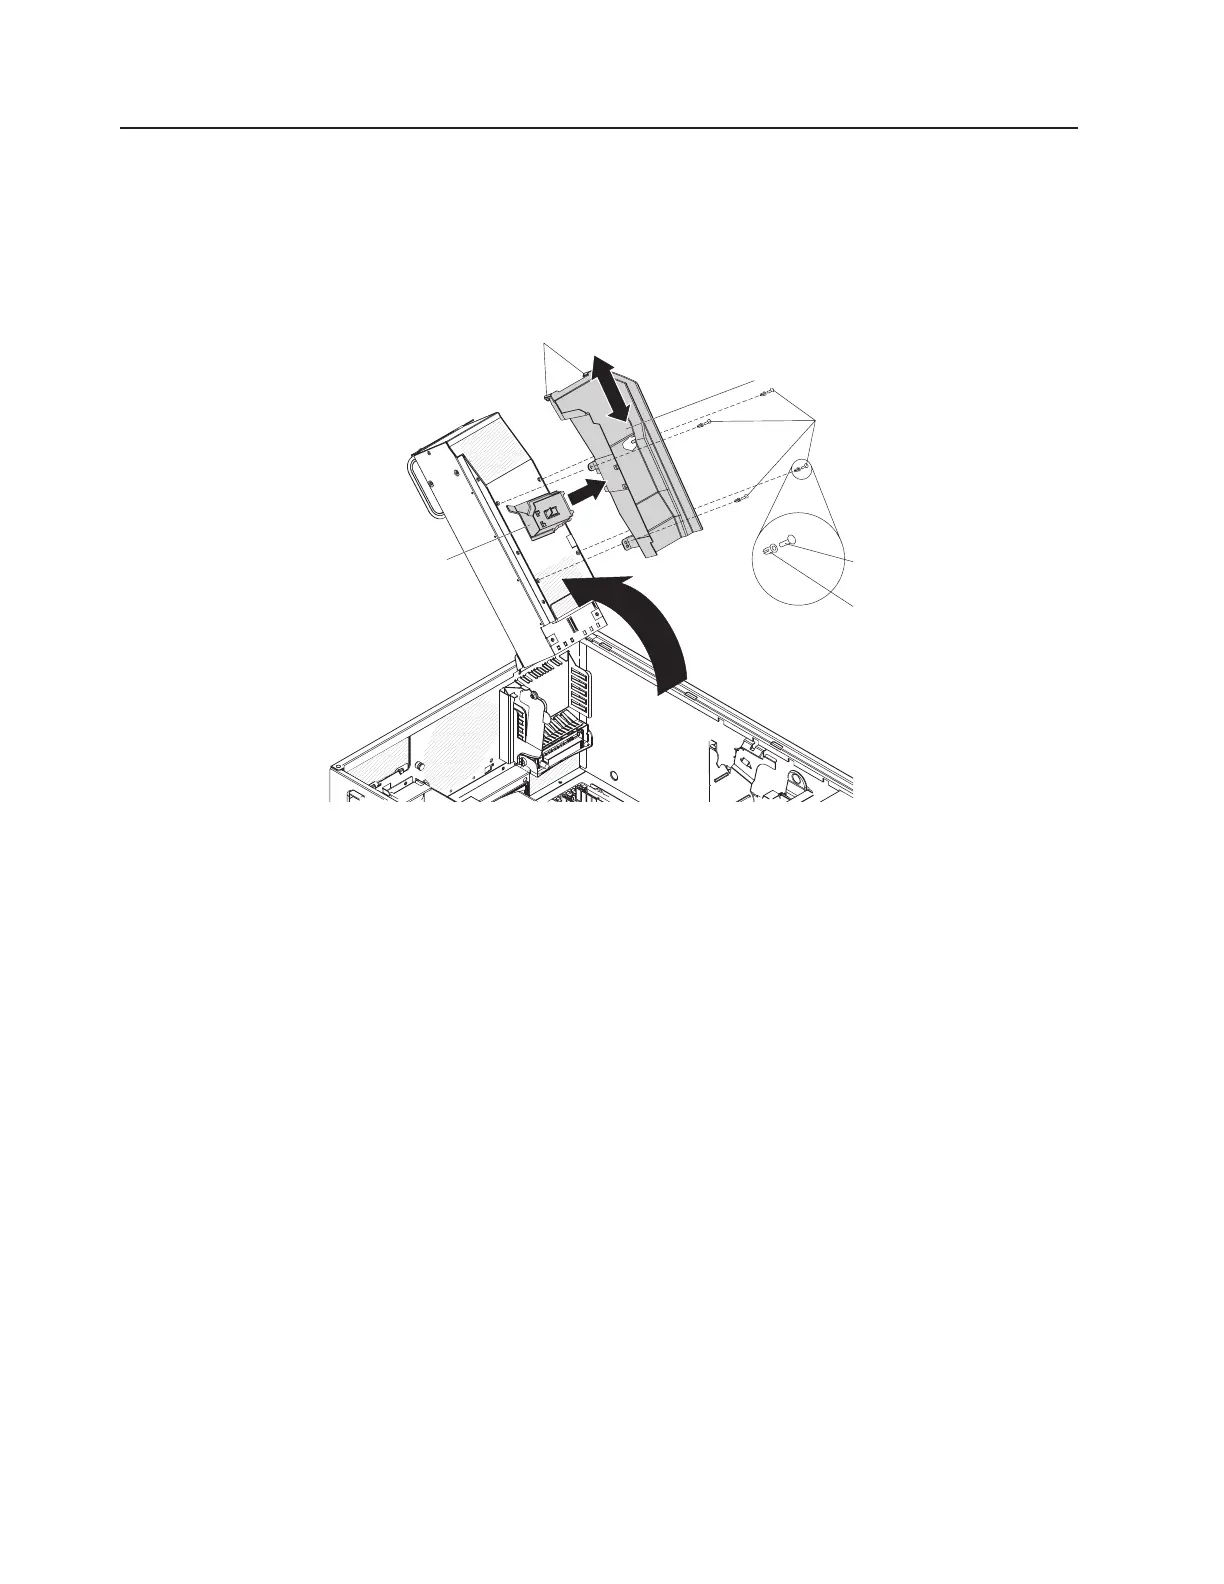
DIMM air duct
To remove the DIMM air duct, complete the following steps.
Transition duct
DIMM air duct
Plastic
push pins
Positioning pins
Rivet
Pin
1. Read the safety information that begins on page vii, and “Handling
static-sensitive devices” on page 57.
2. Turn off the server and peripheral devices, and disconnect the power cords and
all external cables necessary to replace the device.
3. Unlock and remove the left-side cover (see “Removing the left-side cover and
bezel” on page 57).
4. Remove the power supply or power supplies from the power-supply cage; then,
rotate the power-supply cage to its open position.
5. Remove the plastic push-pins that secure the DIMM air duct to the
power-supply cage.
a. Grasp the top of the plastic push-pins and pull them out of the rivets.
b. Grasp the rivets and pull them out of the mounting hole and set them to the
side.
Note: If the DIMM air duct in your system is secured with screws, remove
the screws.
6. Push the air duct up toward the rear of the power-supply cage. When the
locator pins are free of the power-supply cage, you can remove the air duct
from the server.
To install a replacement DIMM air duct, complete the following steps:
1. Align the positioning pins on the end of the air duct so that they hang over the
end of the power-supply cage.
76 IBM System x3500 Type 7977: Problem Determination and Service Guide

 Loading...


