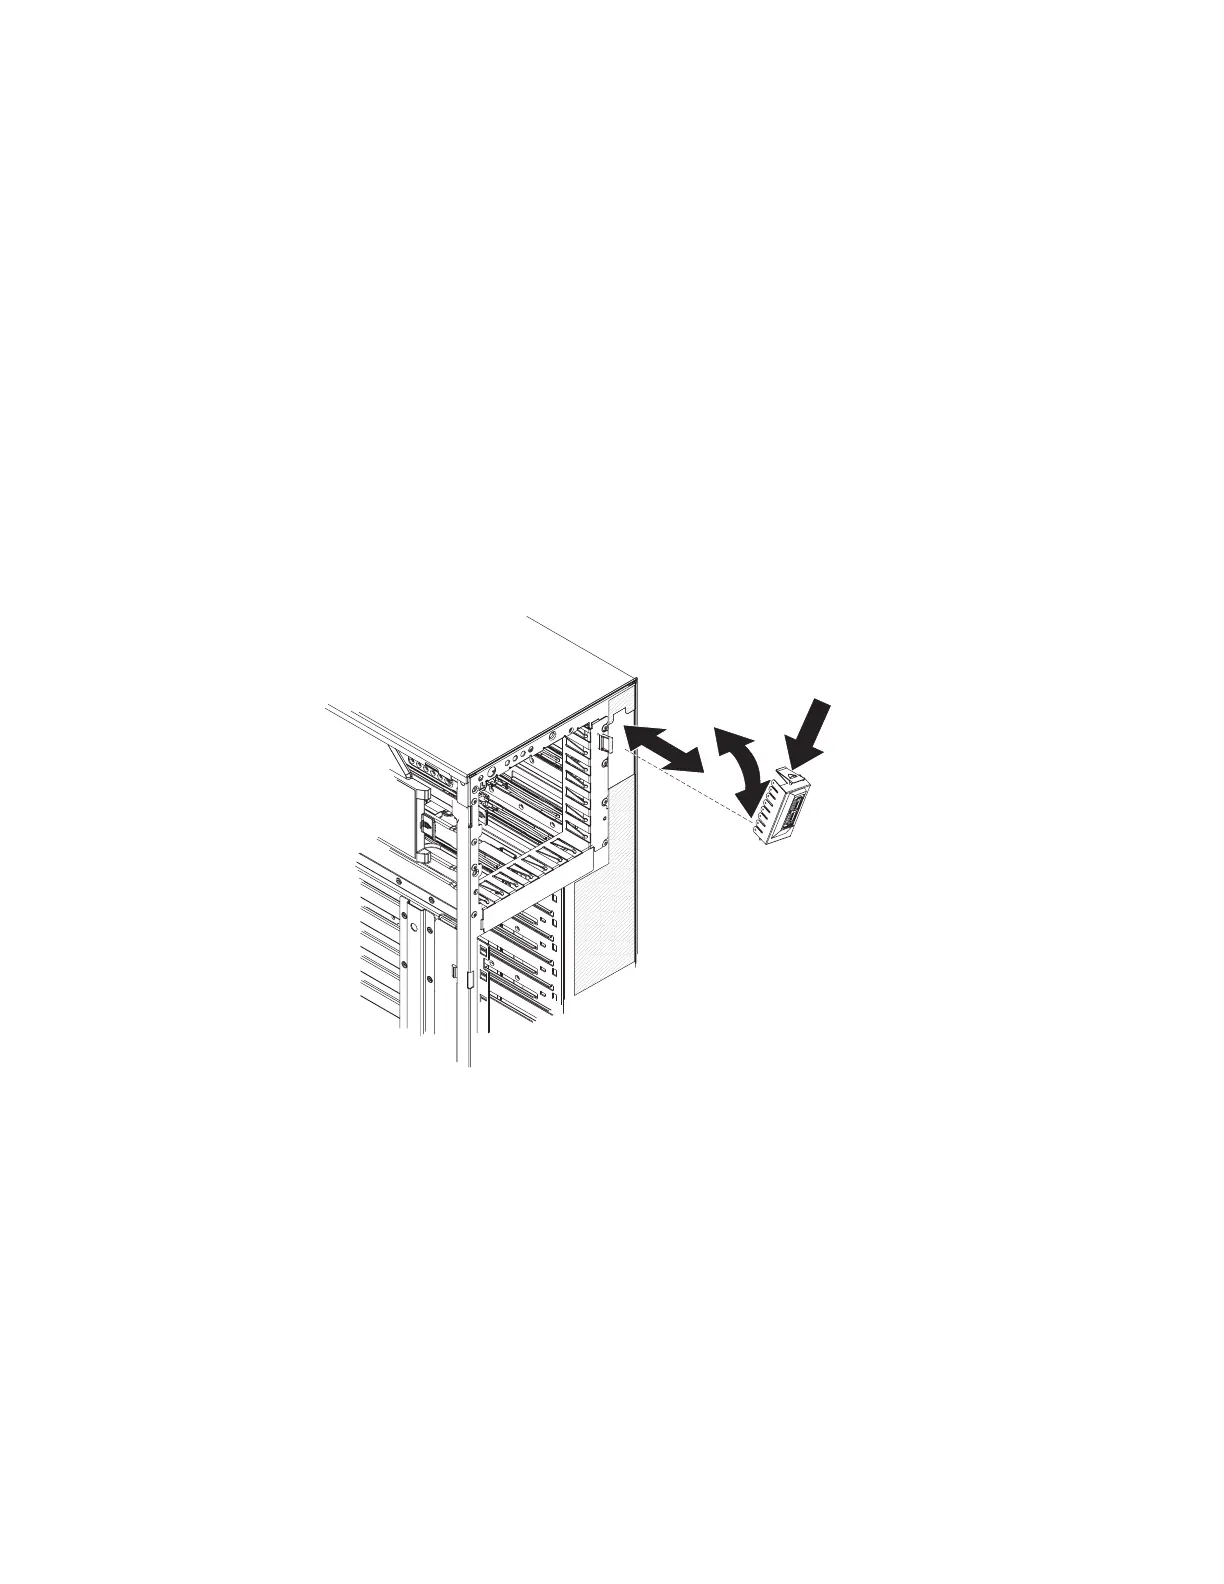
4. Remove the power supply or power supplies from the server.
5. Rotate the power-supply cage out of the way.
6. Disconnect the power-supply docking cable from the system board.
7. Using a Phillips screwdriver, remove the three screws that secure the
docking-cable connector to the chassis and remove the docking cable and its
cage from the server.
To install a new power-supply docking cable, complete the following steps:
1. Connect the power-supply docking cable to the system board.
2. Position the power-supply docking cable cage inside the server, aligning the
screw holes with the holes in the chassis.
3. Secure the cage in the chassis using the three screws.
4. Lower the power-supply cage into place.
5. Install the power supply; then, connect the power cord and all external cables.
6. Install and lock the left-side cover.
USB cable assembly
To remove the USB cable assembly from the server, complete the following steps:
1. Read the safety information that begins on page vii and “Handling
static-sensitive devices” on page 57.
2. Turn off the server and peripheral devices; then, disconnect the power cords
and all external cables as necessary to replace the device.
3. Unlock and remove the left-side cover and open the bezel.
4. Disconnect the USB cable from the system board.
5. Press down on the release latch on the top of the USB mounting bracket and
rotate the top of the mounting bracket away from the server.
6. Lift the mounting bracket out and away from the server while you pull the USB
cable through the hole.
To replace the USB cable in the USB mounting bracket, complete the following
steps:
74 IBM System x3500 Type 7977: Problem Determination and Service Guide

 Loading...


