Beginning procedure
Note: If the cartridge in the drive is an INPUT tape that contains ACTIVE or 'ONLY COPY' data (there is no
backup), eject commands that are issued at the host fail to unload the tape, and power-cycling the drive
fails to eject the cartridge, make no further attempts to unload this tape. Call Technical Support and
open a PMR if one is not already open, to initiate the process of sending the drive with the loaded
cartridge in for recovery.
Removing the drive brick from the sled
1. Remove the tape drive sled from the library.
2. Place the sled on a clean, sturdy work surface.
It is not necessary to remove the plastic cover or connection card.
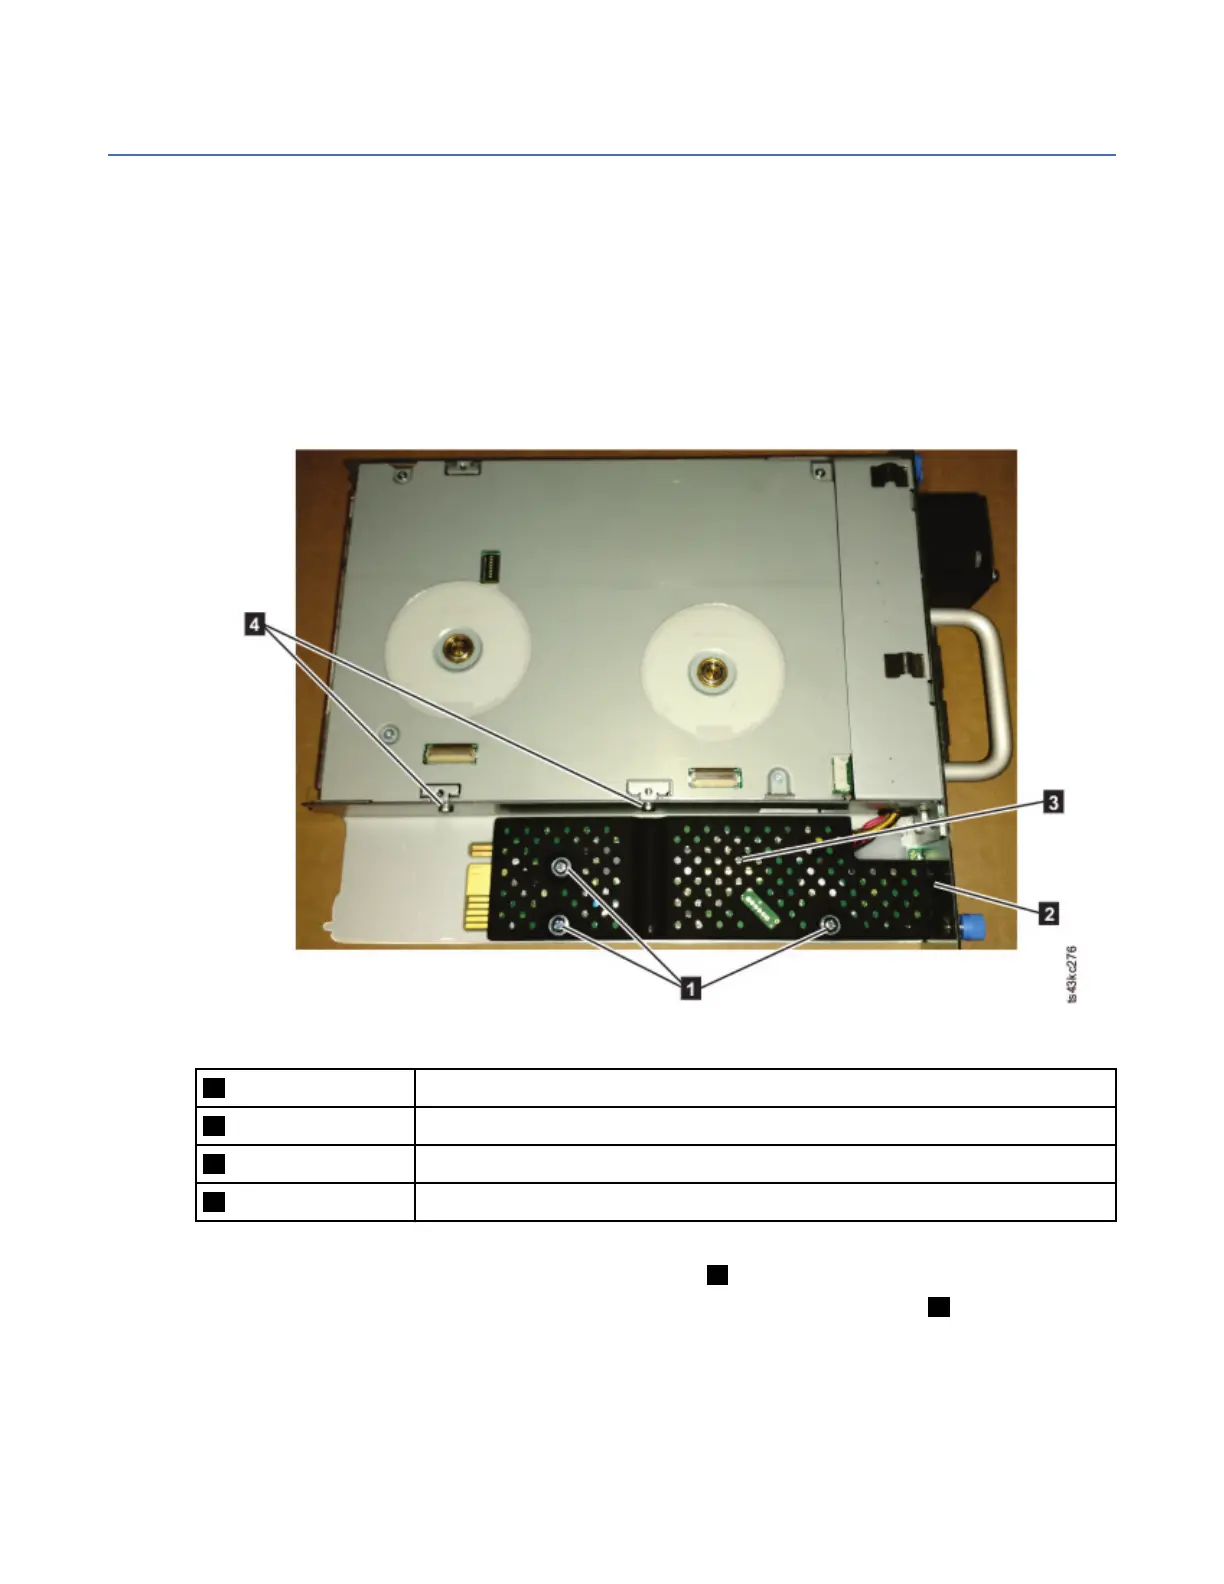
Figure 101. Connection screws and plastic cover
1
Connection card screws
2 Plastic cover
3 Connection card (under the plastic cover)
4 Screws that hold the drive brick to the sled (2 on each side).
3. Remove the drive brick from the sled by completing these steps:
a. Remove the four screws (two on each side of the sled 4 ) that secure the sled to the drive brick.
b. Pull the drive brick out of the front of the sled far enough to unplug the cables ( 5 ). Some of the
cables and connectors are small and can be delicate, so be careful when you are unplugging them.
Appendix D. Manual cartridge removal procedure
179

 Loading...


