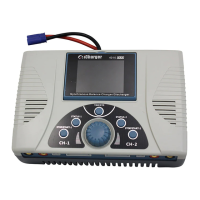
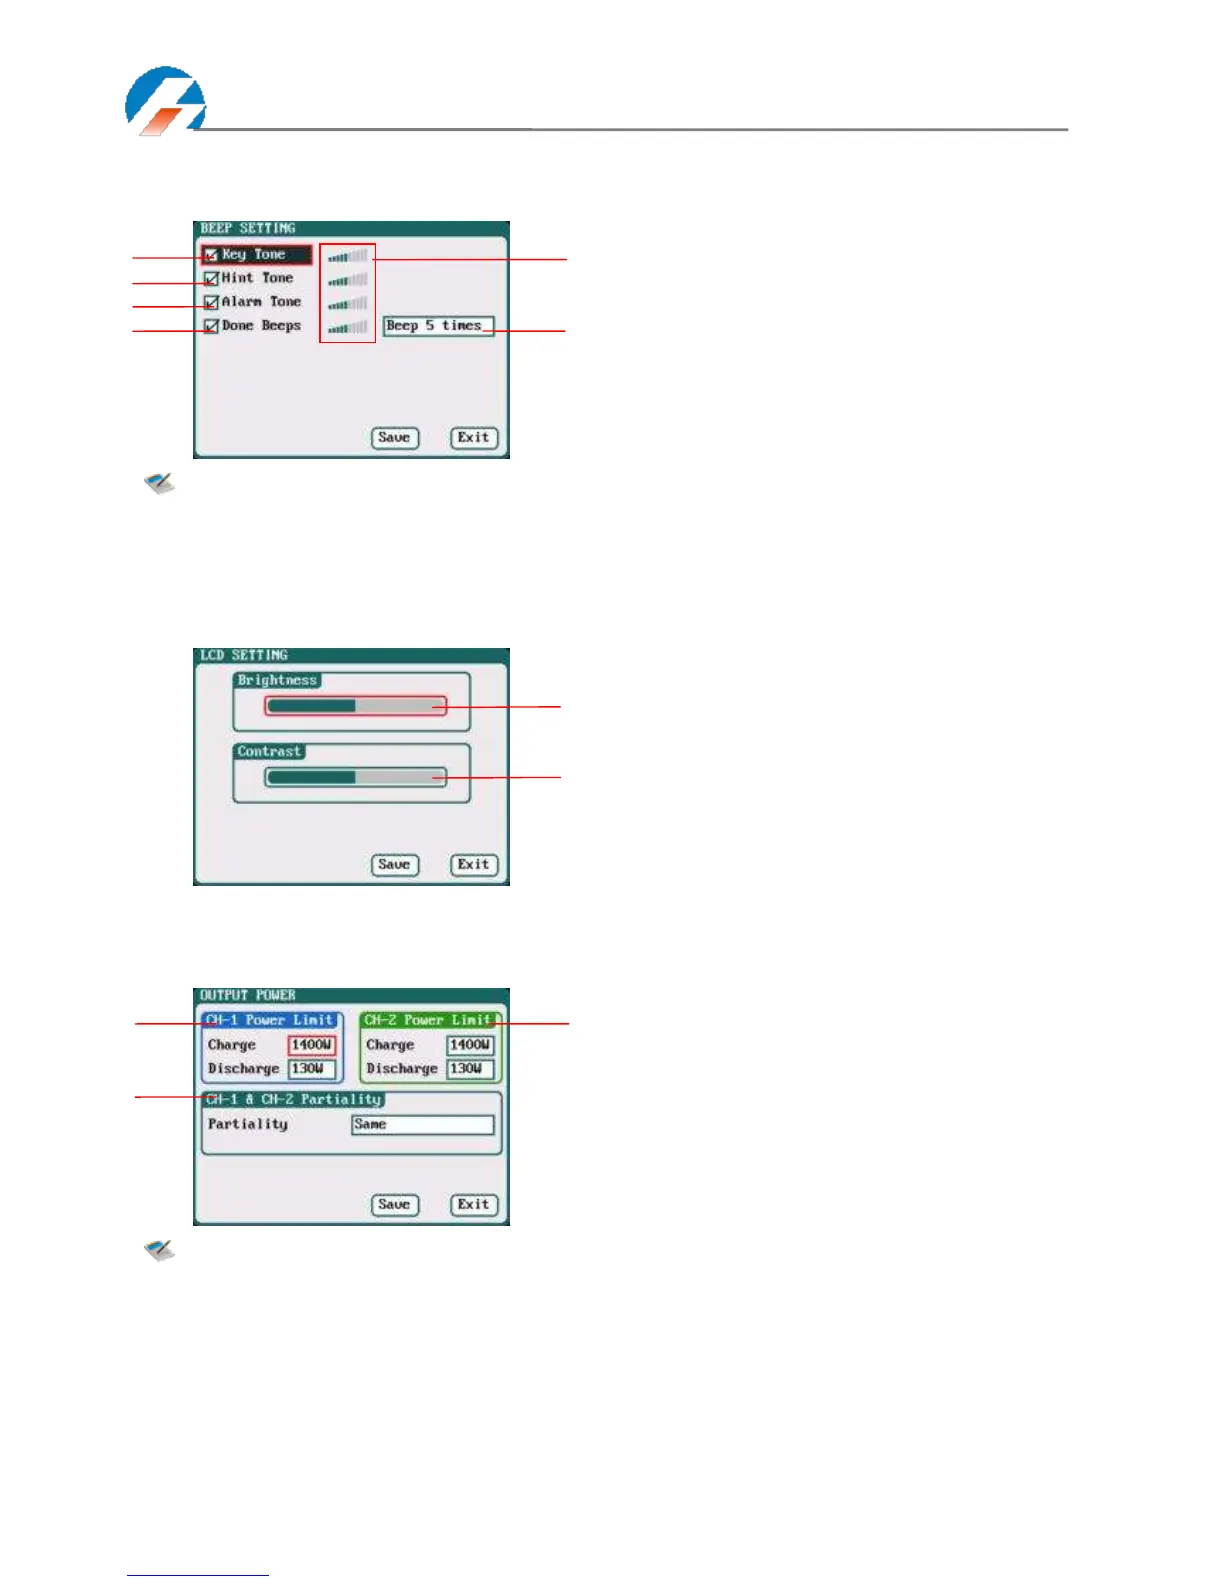
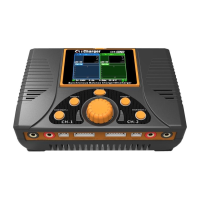
Beep Tone Setup
Select SYSTEM MENU→Charger Setup→Beep Tone to enter the setup interface.
Note: Tick the appropriate tone, and then go to Volume adjustment bar to adjust the volume; If the
beep tone is not ticked the corresponding volume adjustment shows inactive; Done Beeps have
many styles available, in sequence number 5 above.
LCD Setup
Select SYSTEM MENU→Charger Setup→LCD Screen to enter the setup interface.
Output Power Setup
Select SYSTEM MENU→Charger Setup→Output Power to enter the setup interface.
Note: The maximum power limit for regenerative discharge is equal to the maximum power limit for
charge.
When the input or output power of charger is limited, it will trigger the CH-1/CH-2 Channel
Partiality.
When Partiality switches to Same, charger assigns the output power equally to two channels,
switch to CH-1 or CH-2, the charger will give priority to the selected channel output, while the
output power of other channel may be reduced to 50W (discharge for 5W).
1/2: CH-1/CH-2 Output Power Setup
Charge: Maximum Power Limit for charge
5W-1400W; default: 1400W
Discharge: Maximum Power Limit for discharge
5W-130W; default: 130W
3: CH-1/CH-2 Channel Partiality Selection
Same (default), CH-1, CH-2
1: Key Tone 2: Hint Tone
3: Alarm Tone 4: Done Beeps
5: Volume adjustment display
Beep 5times (default)
Beep 30second
Beep 3minutes
Beep always
6: Program Done Beep Tones Selection