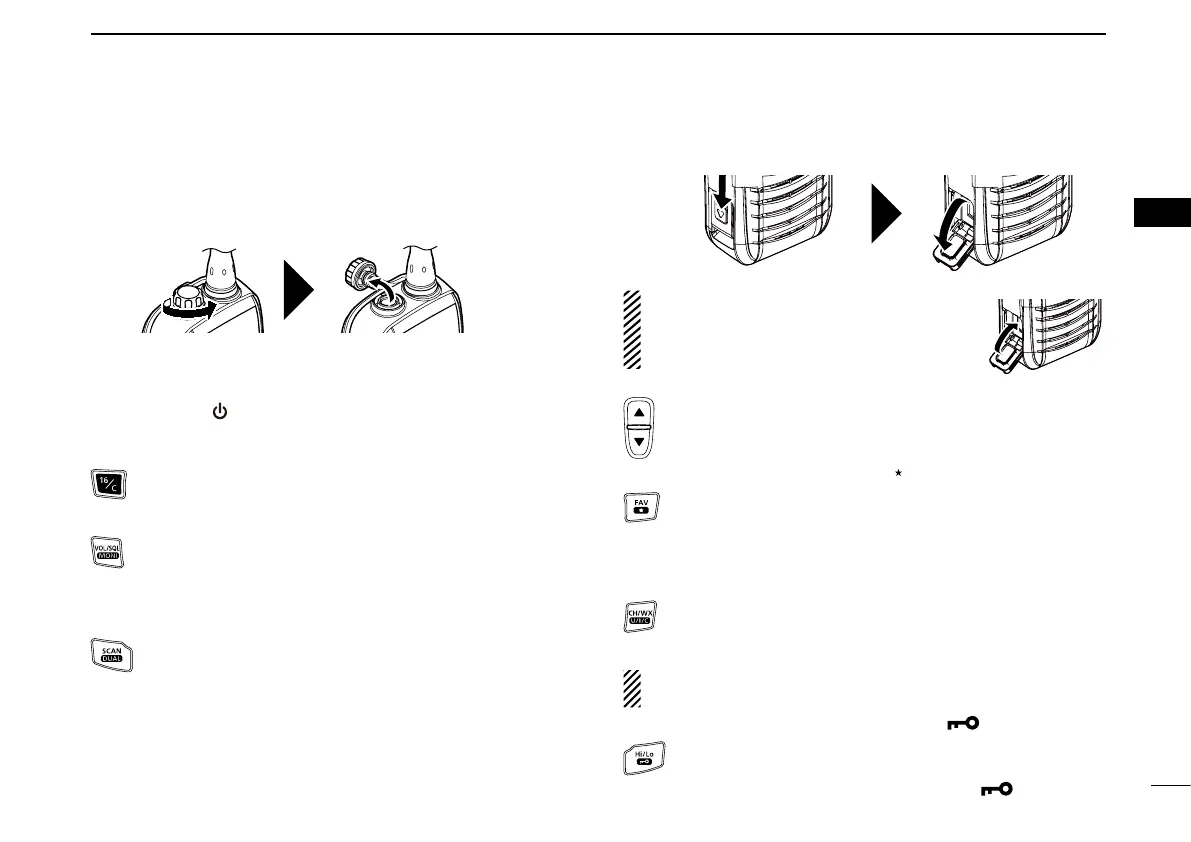
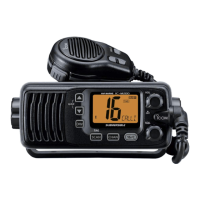
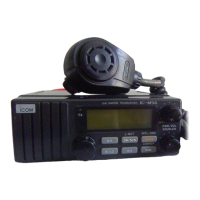
ANTENNA CONNECTOR (Page 2)
Connect the supplied antenna here.
SPEAKER/MIC JACK [SP/MIC] (Page 25)
Connect the optional HM-213 s p e a k e r m i c r o p h o n e here.
PTT SWITCH [PTT]
Hold down to transmit, release to receive.
POWER KEY [ ]
Hold down to turn power ON or OFF.
CHANNEL 16/CALL CHANNEL KEY [16/C] (Page 9)
➥ Push to select Channel 16.
➥
Hold down for 1 second to select the Call channel.
VOLUME/SQUELCH/MONITOR KEY [VOL/SQL MONI]
Push this key, and then push [Y] or [Z] to adjust the
volume/squelch level.
•
You can adjust the volume/squelch level while the “VOL”/“SQL”
iconisblinking.(Pages10and11)
SCAN/DUAL KEY [SCAN DUAL]
➥ Push to start or stop a scan. (Page 15)
➥
Hold down for 1 second to enter the Dual/Tri-watch
mode. (Page 16)
➥ Hold down this key and
[Hi/Lo]
for 1 second, to
activate the Aq
uaQuake function. (Page 13)
[CHARGE] SOCKET
Connect the supplied charger. (Page 3)
CAUTION: When closing the socket cover
Stand the transceiver up straight. Otherwise,
any water that is on the socket cover will get into
the transceiver.
UP/DOWN KEYS [Y] or [Z]
➥ Push to select the operating channel.
➥
Push to change the volume/squelch level while adjusting.
➥ In the Set mode, push to select an item option.
FAVORITE CHANNEL KEY [FAV
] (Page 15)
➥ Push to sequentially select a Favorite channels
while ignoring normal channels.
➥ Hold down for 1 second to set or clear the selected
Favorite channel.
CHANNEL/WEATHER CHANNEL KEY [CH/WX U/I/C]/[CH]
➥ Push to switch between a regular channel and
weatherchannel.(Page9)
➥
Hold down for 1 second to change the channel group. (Page 8)
NOTE: [CH] is described as [CH/WX U/I/C] in this
instruction manual.
TRANSMIT POWER/LOCK KEY [Hi/Lo
]
➥ Push to set the output power to high or low. (Page 11)
➥ Hold down for 1 second to lock all keys except
[PTT], [VOL/SQL MONI] and [Hi/Lo
]. (Page 12)
5
3
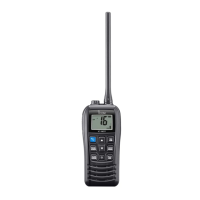
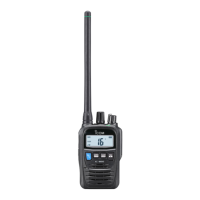
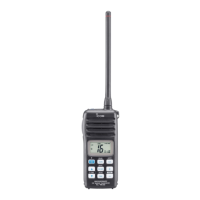
PANEL DESCRIPTION
1
2
3
4
5
6
7
8
9
10
11
12
13
14
15
16
Unscrew the cap. Lift the cap to detach it.
Slide down the cover lock.
Pull the cover down to open it.