20
Installation and Servicing
SECTION 2 - INSTALLATION
INSTALLATION
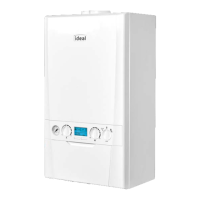
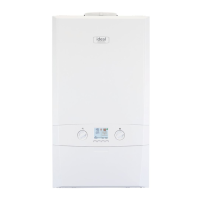
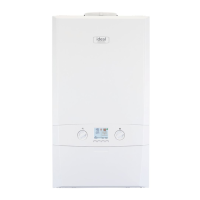
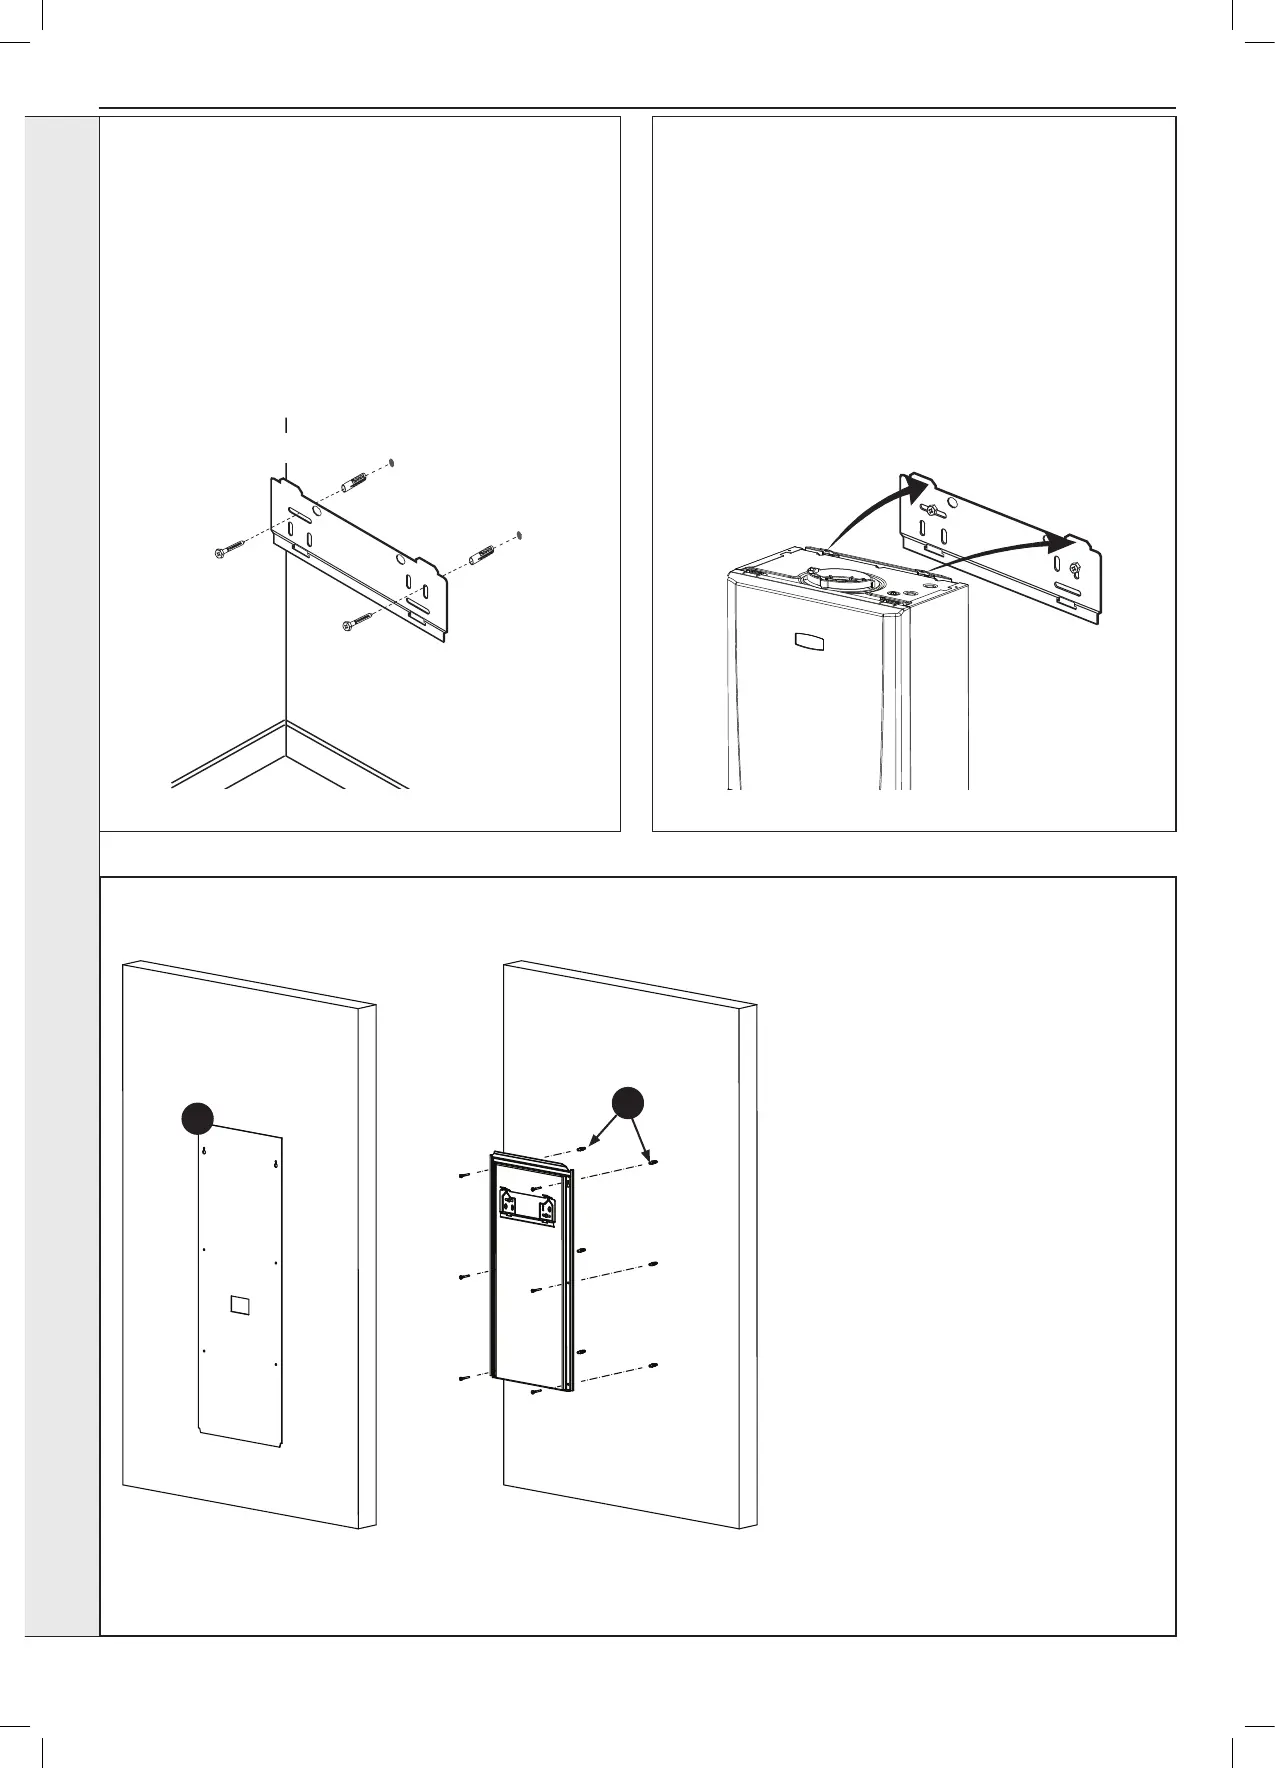
2.8 FITTING THE WALL MOUNTING
BRACKET - INTERNAL BOILER
1. Ensure the plastic plugs are removed from both the CH
and DHW connections before mounting the boiler.
Note. Boiler may contain residual water.
2. Lift the boiler onto the wall mounting plate (refer to the
Introduction section for safe handling advice), locating it
over the two tabs.
Screw the wall mounting plate to the wall using 2 wall plugs
(previously tted) with the 2 screws provided.
Choose one of the 2 sets of slots in left and right bank.
Ensure that at least one of the screws is tted into a top slot
and the mounting bracket is level.
2.9 MOUNTING THE BOILER - INTERNAL
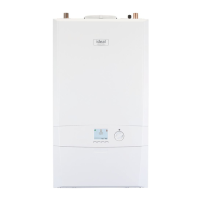
2.10 FITTING THE WALL MOUNTING BRACKET - EXTERNAL BOILER
1. Align the template on the wall, ensuring
adequate clearances are met, as
dened in Section 1 and level and mark
the 6 holes.
2. Drill the 6 holes with the appropriate
masonry drill size required for the
masonry plugs used.
3. Insert all 6 masonry plugs ensuring a
ush t to the wall, and insert the top
two mounting screws, leaving screws
approximately 10mm proud.
4. Carefully lift the mounting bracket into
position and onto the upper two screws
aligning with the two slotted holes.
5. Attach the 4 remaining screws, and
secure the bracket to the wall. Ensure
that all screws are secured ush and
the mounting bracket is at and level
with no twisting or bending.
1
4