75
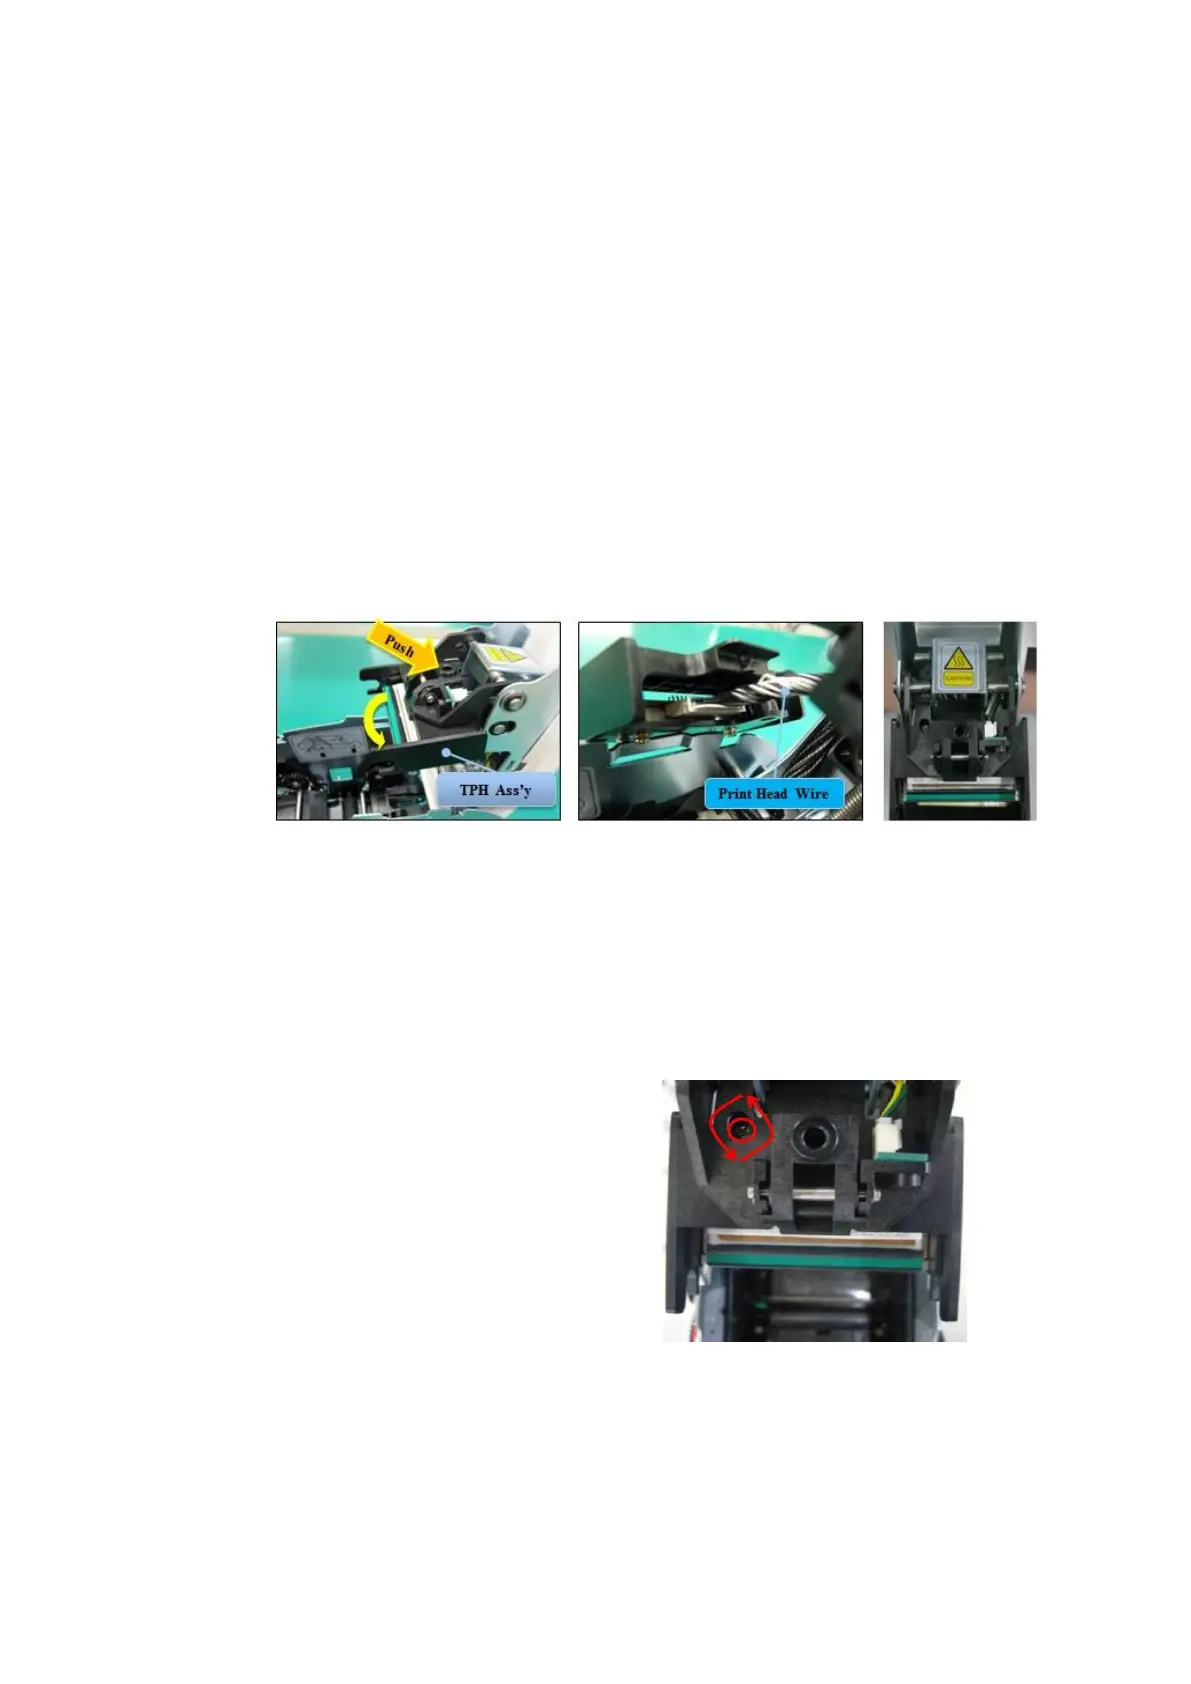
4. Replacing the new Print Head
Step1: Remove the old Print Head from the top cover.
(1) Turn off the printer and open the top cover.
(2) Hold the Print Head and press the locked hook, then the Print Head is
disconnected..
(3) Disconnect the Print Head from print head wire carefully.
(Caution: Print Head is possible to HOT.)
Step2: Installing the new Print Head
(1) Connect new Print Head to the print head wire.
(2). Put the new Print Head on the Shift and pull it up until be locked..
Figure 102 Print head replacement
5. Setup the print position and the color density.
After installing the new Print Head, you must reset the print position and the color density
using CardPrinterConfig utility. Refer to “4.1.2 Default setting”
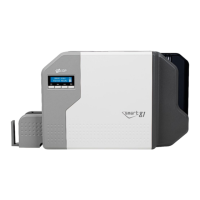
6. Calibration of Print Head Angle
To get the best print quality, the Print
Head should be located vertically with
card surface.
If print quality has the problem, it
could be caused by print head angle.
Through Adjusting print head angle
by screw (red mark in the right
picture), you could make good quality
of print.
(Use the appropriate screw driver to
adjust, and turn the screw by 90
degrees at a time.)
Figure 103 Print head angle