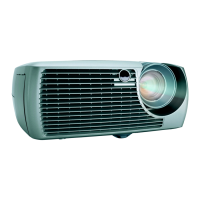
X2 Service Manual 11
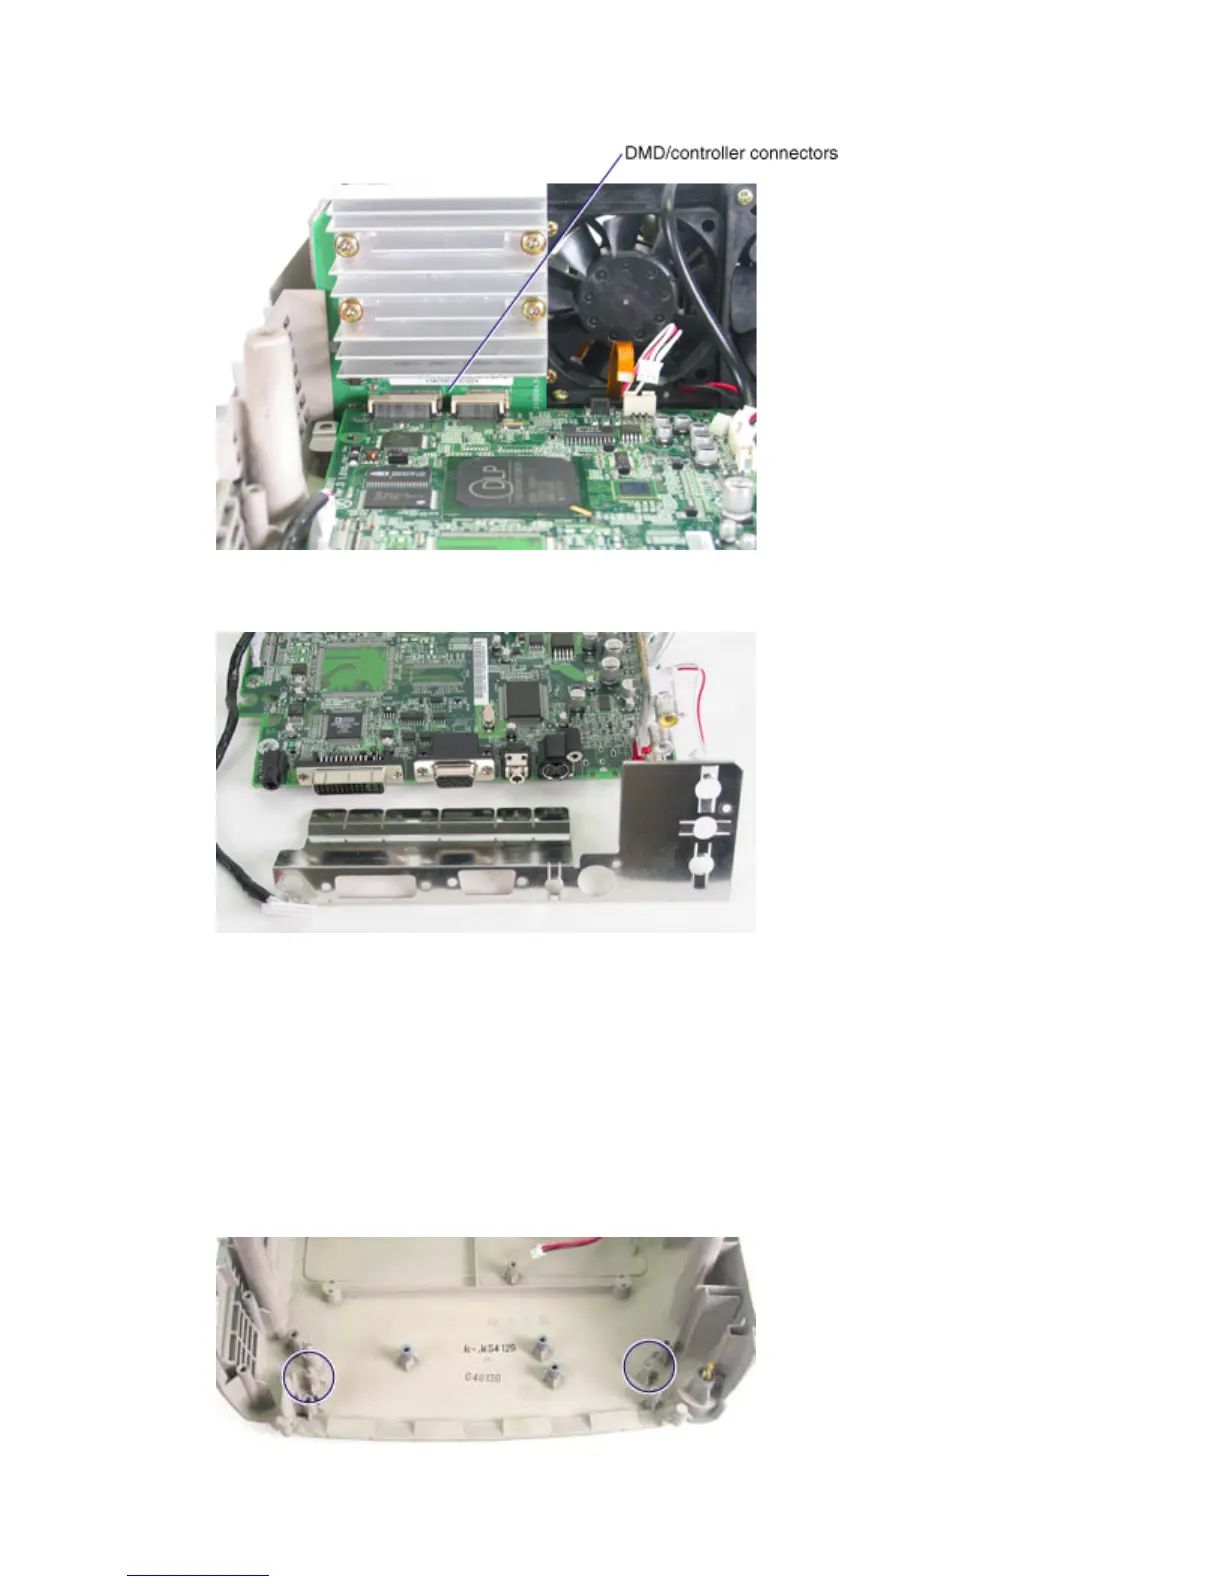
3 Lift the rear of the controller ECA away from the bottom case. Then gently pull the controller
rearward to separate the two connectors at the DMD ECA.
4 If you are replacing the controller ECA, remove the I/O EMI shield from the connector panel. Take
care not to bend the shield or the contact fingers as you work the shield off.
Assembly Notes
♦ Ensure that the cables from the 60mm and 80mm fans route through the retainers in the bottom
case. See the illustration in step 2.
♦ Place the controller ECA into the projector, then slide it forward to engage the two connectors at
the DMD ECA.
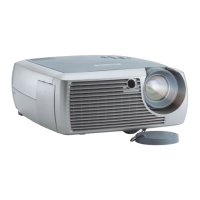
♦ Before installing the two screws, make sure that the pins in the bottom case (circled below) fit into
the alignment holes in the controller ECA. Gently press down on the controller ECA to ensure that
it is in proper position over the pins on the bottom case.