Using the Tablet
SCANNING AND TESTING A SELECTED MODULE
38
Enter the mileage shown on the vehicle’s odometer using the
keyboard (see USING THE KEYBOARD on page 4), or, tap Pull
From Vehicle to retrieve the current mileage from the odometer,
then tap Submit.
4. The screen displays the results of the scan (see Viewing Network
Scan Results on page 38).
Viewing Network Scan Results
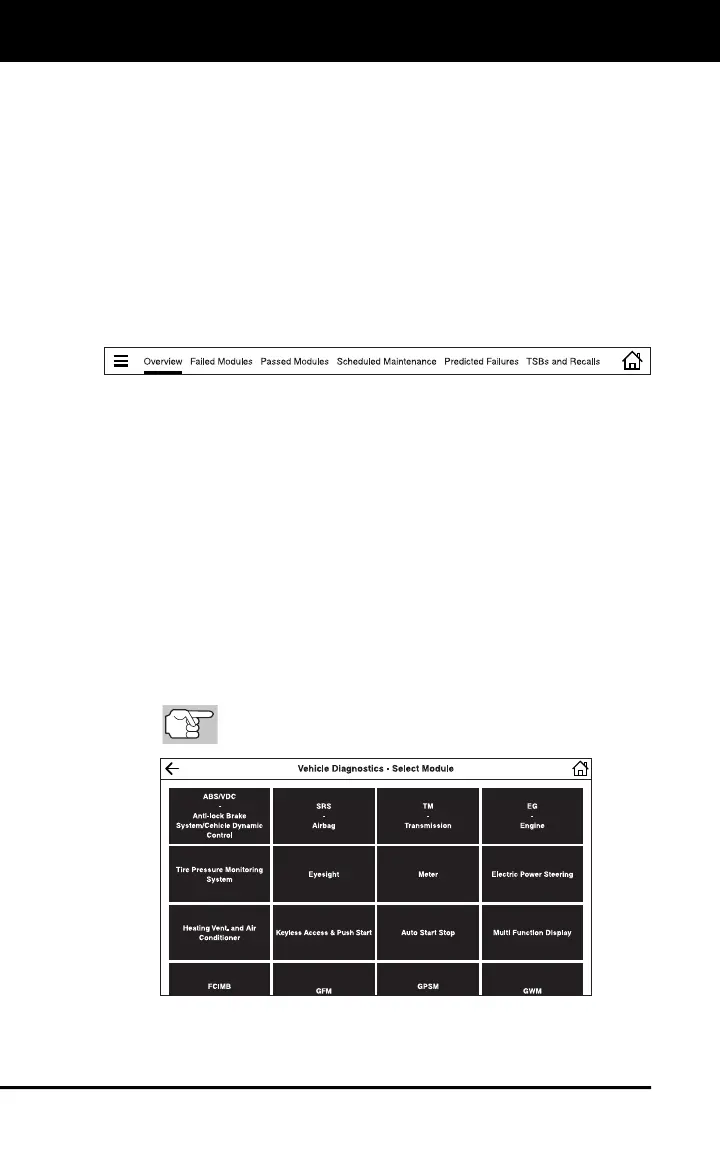
The Network Scan results screen is similar in content to the Custom
Scan screen. It includes the Overview, Failed Modules, Passed
Modules, Scheduled Maintenance, Predicted Failures and TSBs
and Recalls pages (see VIEWING SCAN RESULTS on page 25).
Certain fields and pages require that you create a RepairSolutions
report to access, download and display the associated data. A
RepairSolutions “Create Report” message is shown where applicable
(see Creating a RepairSolutions Report on page 36).
SCANNING AND TESTING A SELECTED MODULE
The Select Module function lets you perform diagnostics for a single,
selected vehicle module. Depending on the module selected, you can
Read DTCs, Erase DTCs, view Live Data, and perform Actuator Test
and/or Special Test procedures.
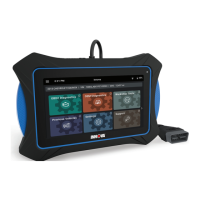
1. On the Vehicle Diagnostics screen (see VEHICLE DIAGNOSTICS
on page 36), tap Select Module.
The tablet displays a menu of available module for the vehicle
under test.
The list of available modules is vehicle-specific and will
vary between vehicles.
2. Tap the name of the module for which you wish to perform diagnostics.
The “Actions” menu for the selected module displays.


 To Next Page