41
Connecting Your Components
—Continued
■
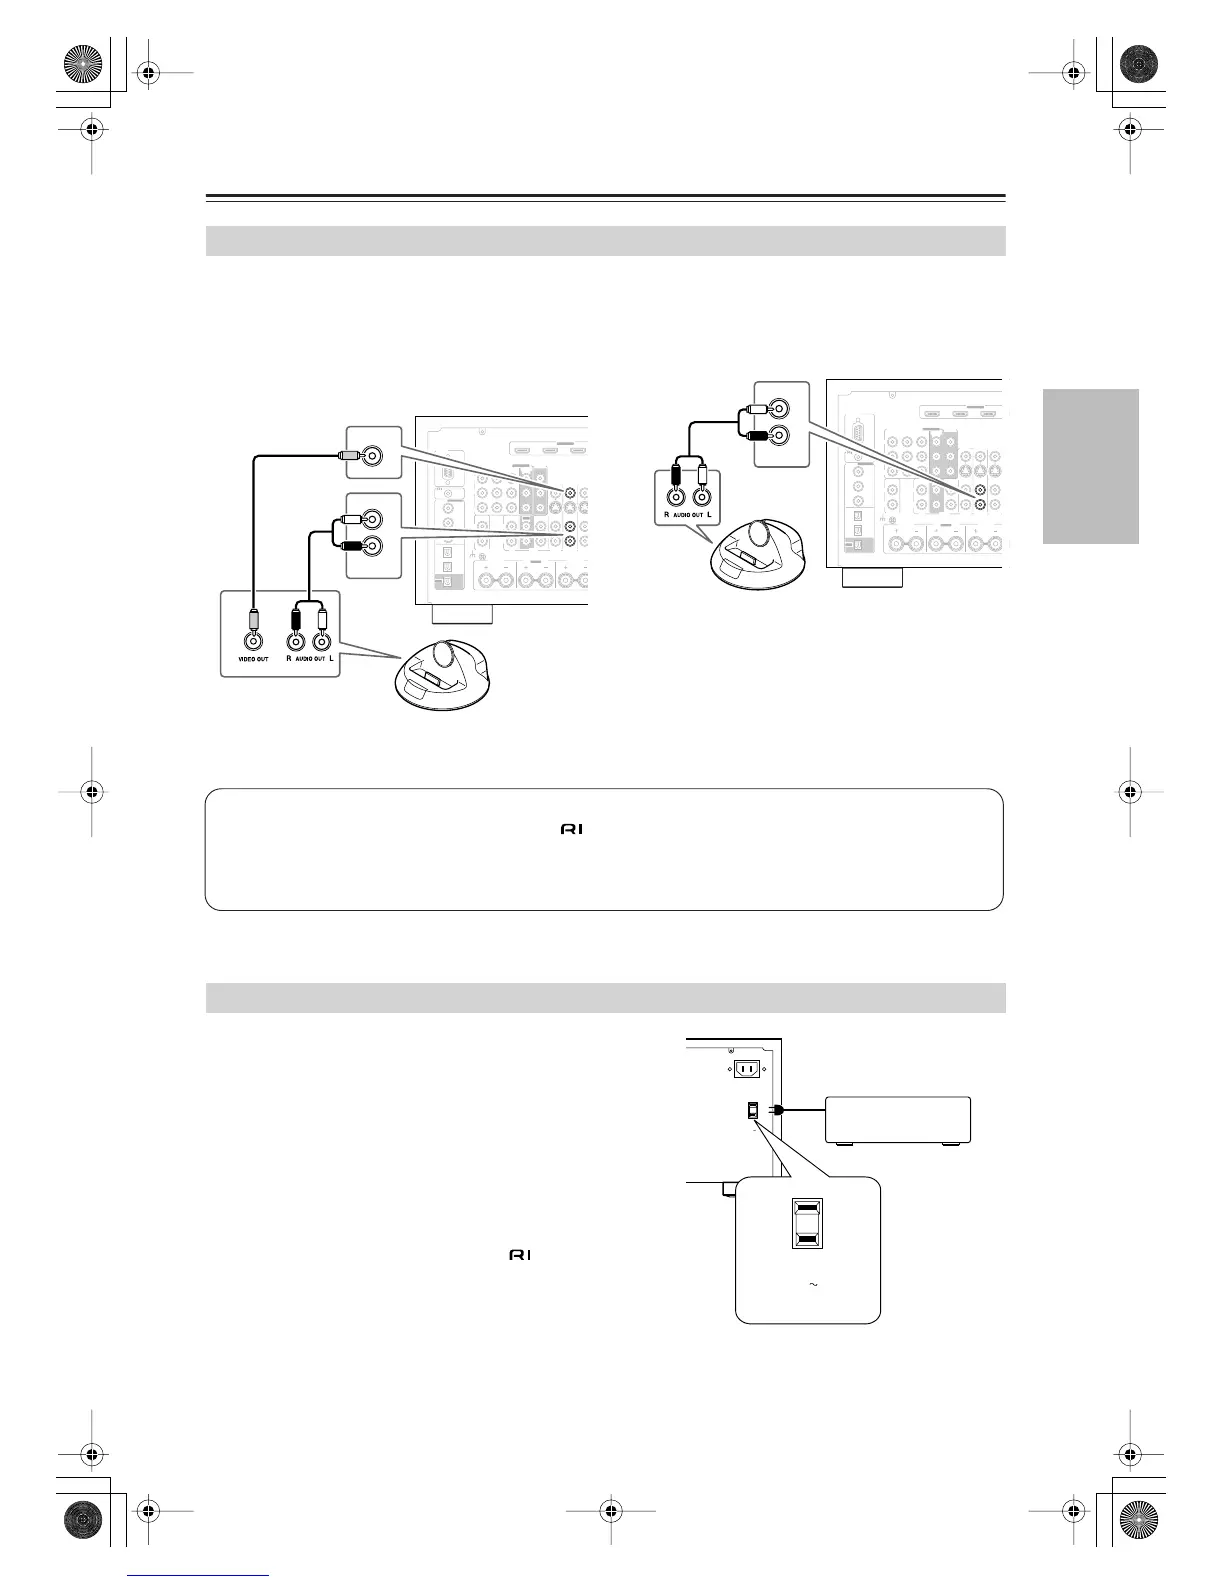
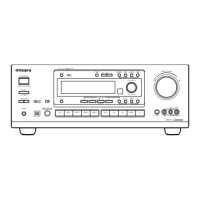
If Your iPod Supports Video:
Connect your RI Dock’s audio output jacks to the
AV receiver’s GAME/TV IN L/R jacks, and connect
its video output jack to the AV receiver’s GAME/TV
IN V jack.
(Onkyo DS-A2 hookup shown below.)
If you have an Onkyo DS-A1 RI Dock, connect its video
output jack to the AV receiver’s GAME/TV IN S jack.
■
If Your iPod Doesn’t Support Video:
Connect your RI Dock’s audio output jacks to the
AV receiver’s GAME/TV IN L/R jacks.
(Onkyo DS-A2 hookup shown below.)
The AV receiver has AC outlets on its rear panel that can be
used to connect the power cords of other components that you
intend to use with the AV receiver. These components can
then be left turned on so that they turn on and off as and when
the AV receiver is set to On or Standby.
Caution:
• Make sure that the total capacity of the components that
you connect to the AC OUTLETS does not exceed the
stated capacity (e.g., TOTAL 120 W).
Note:
• Integra/Onkyo components connected via should be
connected directly to a wall outlet, not an AC OUTLET on
the AV receiver.
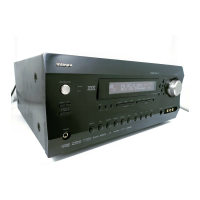
Connecting an RI Dock
RS232
DIGITAL
COAXIAL
OPTICAL
REMOTE
CONTROL
IN 1
IN 1
IN 2
IN IN IN IN
PHONO
ZONE2 R FRONT R
SURR BACK R
CD TAPE AUX 1
GAME/TV
GAME/TV CBL/S
Bi-AMP
MONITOR OUT 2
/ZONE 2 OUT
L
R
IN
GAME/TV
Connecting the Power Cords of Other Components (North American model only)
Notes:
• Connect the RI Dock to the AV receiver with an cable (see page 42).
• Set the RI Dock’s RI MODE switch to HDD.
• Set the AV receiver’s Input Display to DOCK (see page 49).
• See the RI Dock’s instruction manual for more information.
AC OUTLET
AC INLET
AC 120V
SWITCHED
120W 1A MAX.
60Hz
AC OUTLET
AC 120V
SWITCHED
120W 1A MAX.
60Hz
DTR-7.8En.book Page 41 Friday, April 27, 2007 2:18 PM