D-0134090-A – 2022/11
VisualEyes™ - Instructions for Use - EN Page 47
Table 2.7-1: Board Type detection in the InstaCal software for the different Hardware Models.
System 2000 Comprehensive
System 2000 Auto-Traverse
Installation of DAQ hardware driver for Nydiag 200 rotary chair
Ensure that the CAN motor control cable from the Nydiag 200 chair is connected to the computer’s USB port.
Open Windows® Explorer. Navigate to the following location:
C:\Program Files (x86)\Interacoustics\Micromedical VisualEyes™\Driverfiles and run the program
kvaser_drivers_setup.exe.
When asked which components should be installed, choose the default selections for installing the drivers
(32/64-bit x86), Start Menu Shortcuts, and GUI tools.
When asked for the destination folder for installing the drivers, choose the default location of C:\Program
Files\Kvaser\Drivers.
Hardware registration and licensing
When new hardware is connected to the VisualEyes™ system, this needs to be registered in the software to
be recognized correctly. The VNG and vHIT goggles also need to be licensed in the system.
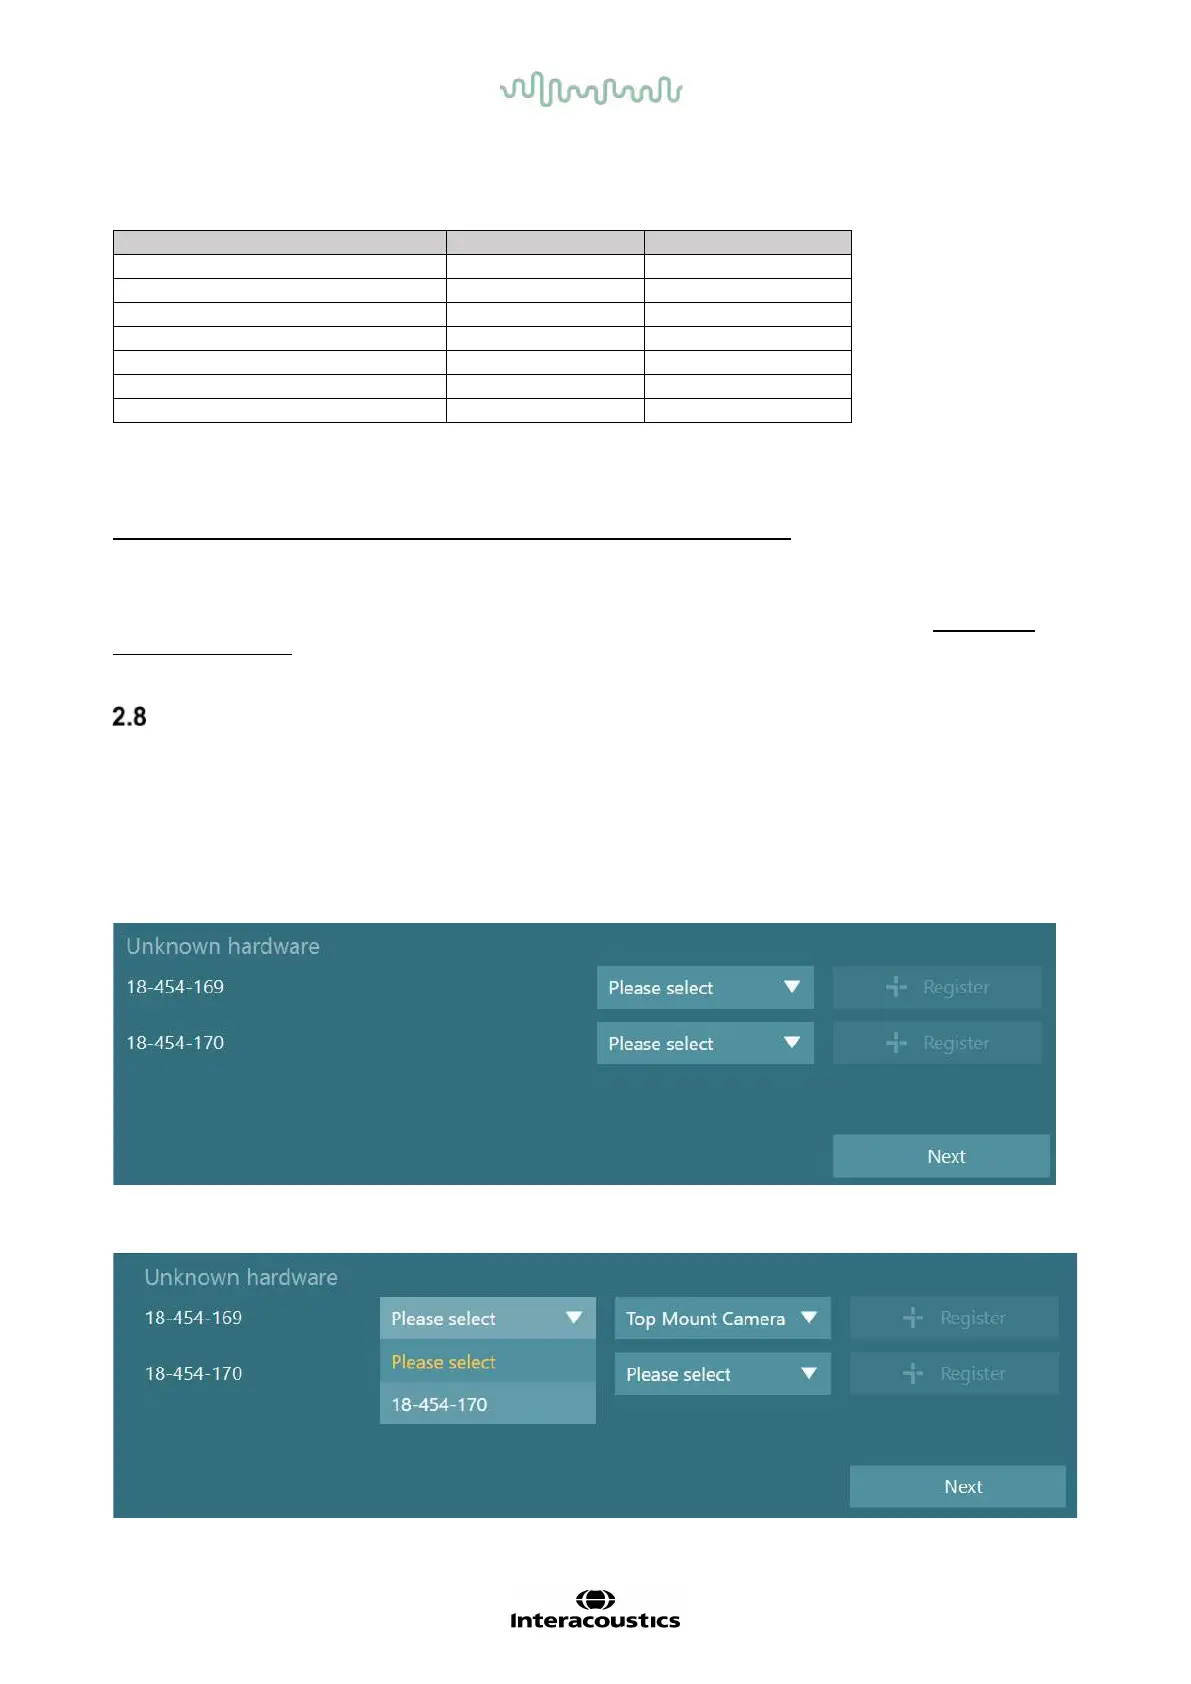
When launching the VisualEyes™ software with new hardware connected, the software automatically
detects the new hardware and the below pop up will appear in the software. This presents the unique
hardware numbers for the specific hardware connected. The user must specify the type of hardware
connected in the drop-down selection menu. It’s important that the VNG goggle is registered and licensed
before the rest of the hardware.
If the selected hardware is a binocular goggle, another drop-down menu will appear to the left, where the
camera to be paired should be selected.