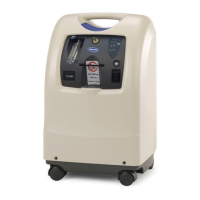
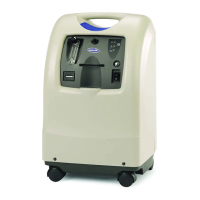
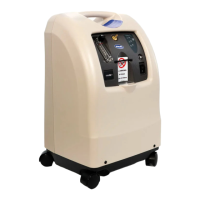
SECTION 10—CHECK VALVES
Perfecto
2
™
46 Part No 1148070
SECTION 10—CHECK VALVES
Replacing Check Valves
DANGER
Topreventelectricalshock,ALWAYSdisconnectconcentratorfromelectricaloutlet
beforeservicing.
NOTE:Forthisprocedure,refertoFIGURE 10.1onpage 47.
1. Unplugunit.
2. Removecabinet.RefertoRemovingCabinet
onpage 23.
NOTE:Replaceoneorbothcheckvalveswhenperformingthisprocedure.Thecheckvalvesareone‐
waydirectionalandcanbecheckedbypassingairthroughthem.Airshouldflowinonedirection
only.
3. ItmaybenecessarytoremovethecompressorHEPAinletfiler.RefertoReplacingthe
CompressorInletHEPAFilteronpage 26.
4. Removetie‐wrapsfromtopandbottomofthecheckvalve(s)anddisconnectcheck
valve(s)from¼‐inchPVCtubing.
WARNING
Thecheckvalvesareone‐waydirectionalandMUSTbeinstalledcorrectly.Theletters
“VAC”areprintedonthecheckvalves.ThecheckvalvesMUSTbeinstalledwiththe
“VAC”ontheundersideofthecheckvalve.Lowsystempressuresandeventualbed
contaminationwillresultifcheckvalvesarenotproperlyinstalled.
CAUTION
DONOTputacheckvalveontheregulatoroutlettubing.Otherwise,damagemayresult.
Theregulatoroutlettubingisidentifiedbytheflowarrowonthesideoftheregulator
whichpointstoit.
5. Installthenewcheckvalve(s)intothe¼‐inchPVCtubingoninlettubingonly.
6. Makesure“VAC”isontheundersideofthecheckvalvetoensureproperorientation
ofcheckvalveswheninstalling.
7. Securethecheckvalve(s)byinstallingnewtie‐wrapstothe¼inch
PVCtubingwhere
previouslyremoved.
NOTE:If¼inchPVCtubingisdamagedinanyway,replacethesectionof¼inchPVCtubing
beforeinstallingcheckvalve(s).
NOTE:Ensurecheckvalvesarenotcrossed.Leftbarbproducttankcheckvalvegoestoleftbarbon
sievebed.Rightbarbproduct
tankcheckvalvetorightbarbonsievebed.