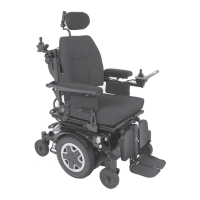
Invacare®TDX®SP2Series
9.6Removing/InstallingtheShrouds
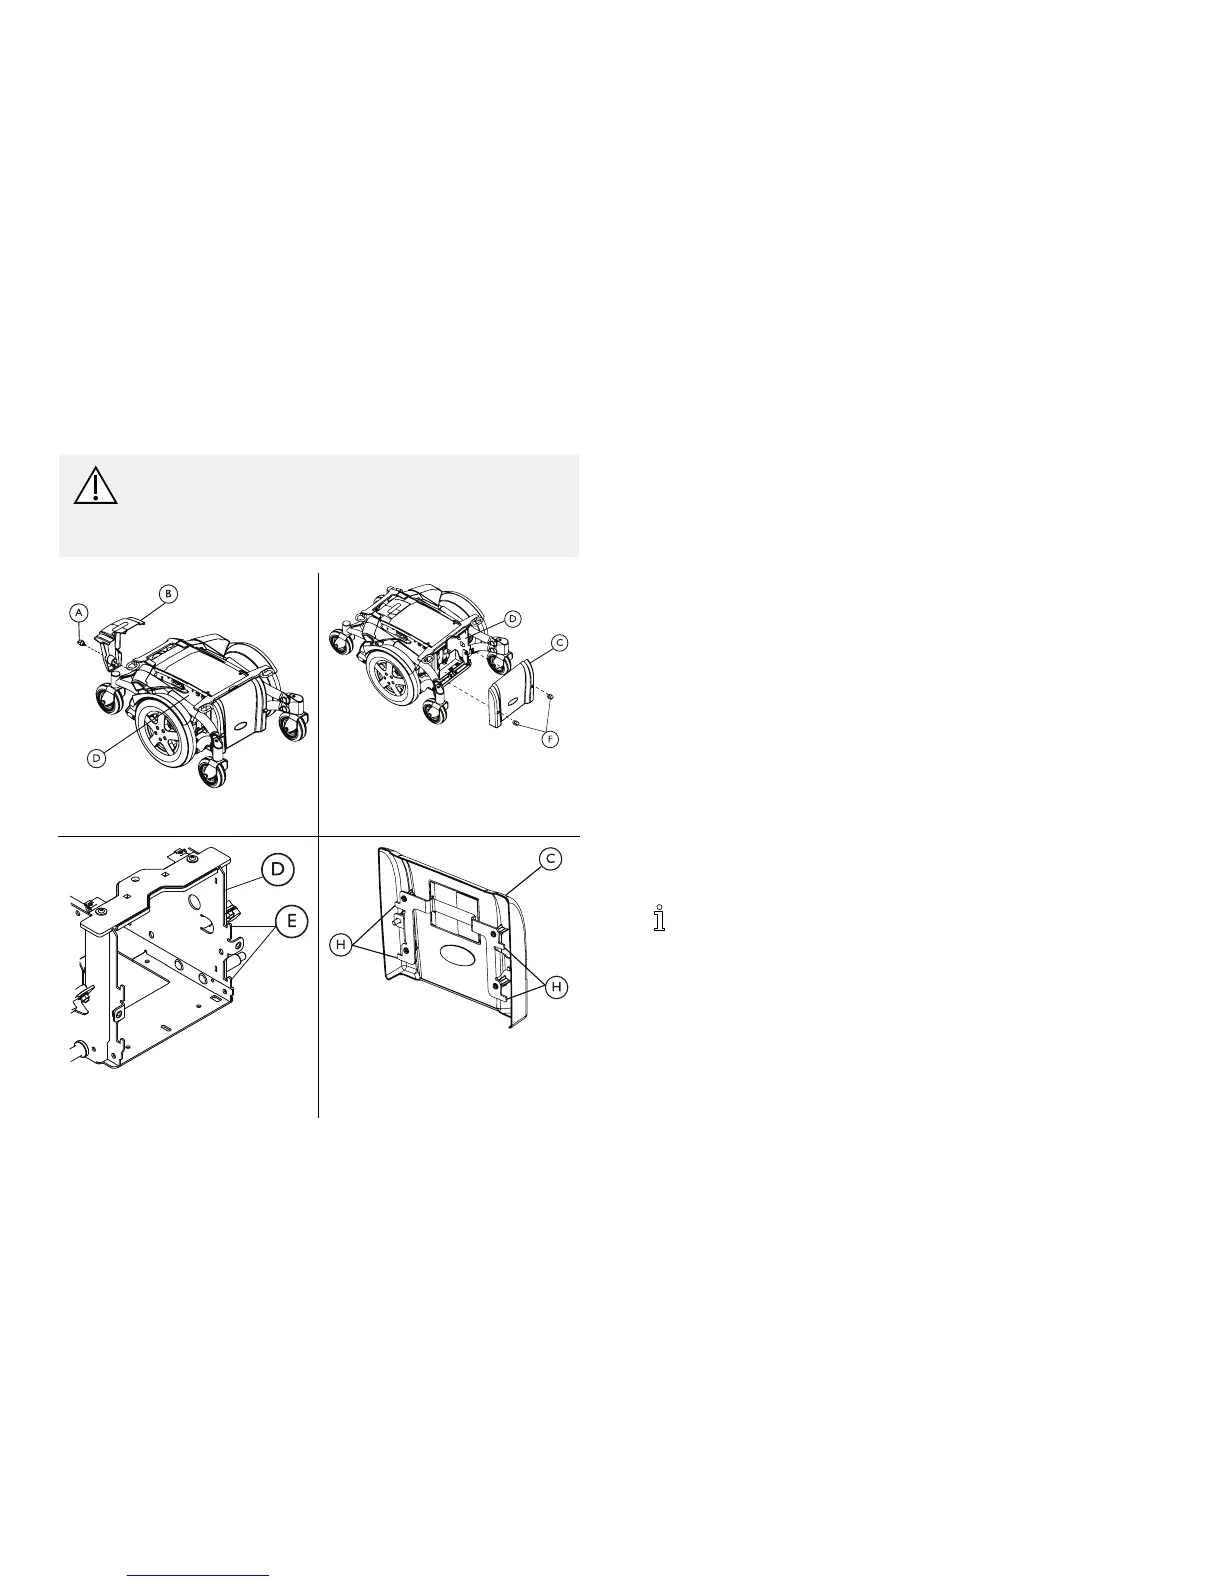
CAUTION!
–Placethewheelchairinawellventilatedarea
whereworkcanbeperformedwithoutrisking
damagetocarpetingoroorcovering.
Fig.9-1Removing/Installingthe
RearShroud
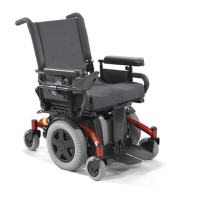
Fig.9-2Removing/Installingthe
FrontShroud
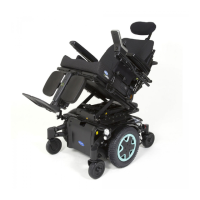
Fig.9-3HooksontheWheelchair
Frame
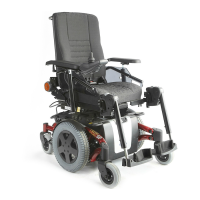
Fig.9-4FrontShroudDetail
9.6.1RemovingtheRearShroud
1.VerifythejoystickOn/OffswitchisintheOffposition.
2.RemovetheknobscrewAthatsecurestherearshroud
BtothebaseframeC.
3.Removetherearshroudfromthebaseframe.
9.6.2InstallingtheRearShroud
1.InstalltherearshroudBandsecureinplacewithknob
screwA.
9.6.3Removing/InstallingtheFrontShroud/Battery
RetentionBracket
Removing
Thefrontshroud/batteryretentionbracketCisremoved
fromandinstalledontothewheelchairframeDasasingle
unit.
Frontshroud/batteryretentionbracketCmountsonhooks
ElocatedonthewheelchairframeD.
Havethefollowingtoolsavailable:1/4inchAllen
Wrench,7/16inchBoxWrench.
1.RemovethemountingscrewsFsecuringthefront
shroud/batteryretentionbrackettothewheelchair
frameD.
2.Liftuptounhookthefrontshroud/batteryretention
bracketfromthebaseframeandremove.
Installing
7060101831-A