IP Gear SmartCell 111L User Guide
3 Installation
3.1 Physical Installation
Select a location for the Smartcell 111L that is indoors and in the proximity of a
power socket and near a proper location for the antenna.
3.1.1 Main unit
Drill holes in the wall to match the wall mounting brackets of the Smartcell 111L
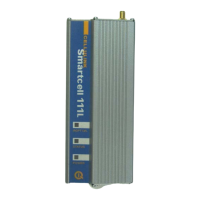
and screw the unit onto the wall. The unit must be placed in the orientation
shown in Figure 2-1, with the antenna socket pointing upward and the
connection panel pointing downward.
3.1.2 Antenna
Connect the antenna provided with the Smartcell 111L to the antenna connector
located on top of the unit. Place the antenna at least one meter away from
Smartcell 111L, in an upright position. The antenna should be placed on a metal
plate. If you install more than one unit, each antenna should be on a separate
plate – minimum distance of 30cm between the antennas. The antenna base is
magnetic, so an iron plate will be the best choice.
3.1.3 SIM card
The next step is to insert the SIM card into the unit. Before you do it, make sure
you have the right SIM. It is easier to use a SIM with no PIN code. If you want
to use the PIN code, start with a SIM that has 1234 as a PIN code. (You can
program it with any mobile phone). You can then use the default PIN or change
it to any other PIN you like, using the DTMF programming process. It is very
important to save the PIN code in a secure place.
The SIM card should normally be with no call waiting and no voice mail. If
needed – use a mobile phone to define the message-centre for SMS transmission.
To insert the SIM card into the SIM drawer located on top of the unit - open the
SIM drawer by inserting a dull, thin object into the appropriate slot. Place the
SIM card in the tray making sure that the SIM card contacts are away from you.
Close the SIM card tray.
3.1.4 Connection to PABX
Connect a routed trunk port from the PABX to the LINE port (shown in Fig 3-2).
The routed trunk port is a trunk interface that was pre-programmed in the PABX
to deliver cellular calls.
Page 7