ELECTRICAL
4181384 First Edition 4-61
4
Fuse Test
Plug-In Fuses
See Figure 4-28.
1. Park the mower safely. (See “Park Mower Safely” on
page 1-7.)
2. Remove fuse from fuse holder. (See “Plug-In Fuses”
on page 4-77.)
Figure 4-28
3. Connect one test lead a terminal (1).
4. Connect the other test lead to the other terminal (2)
and check for continuity.
Is continuity indicated?
YES The fuse is good.
NO The fuse is faulty; replace the fuse.
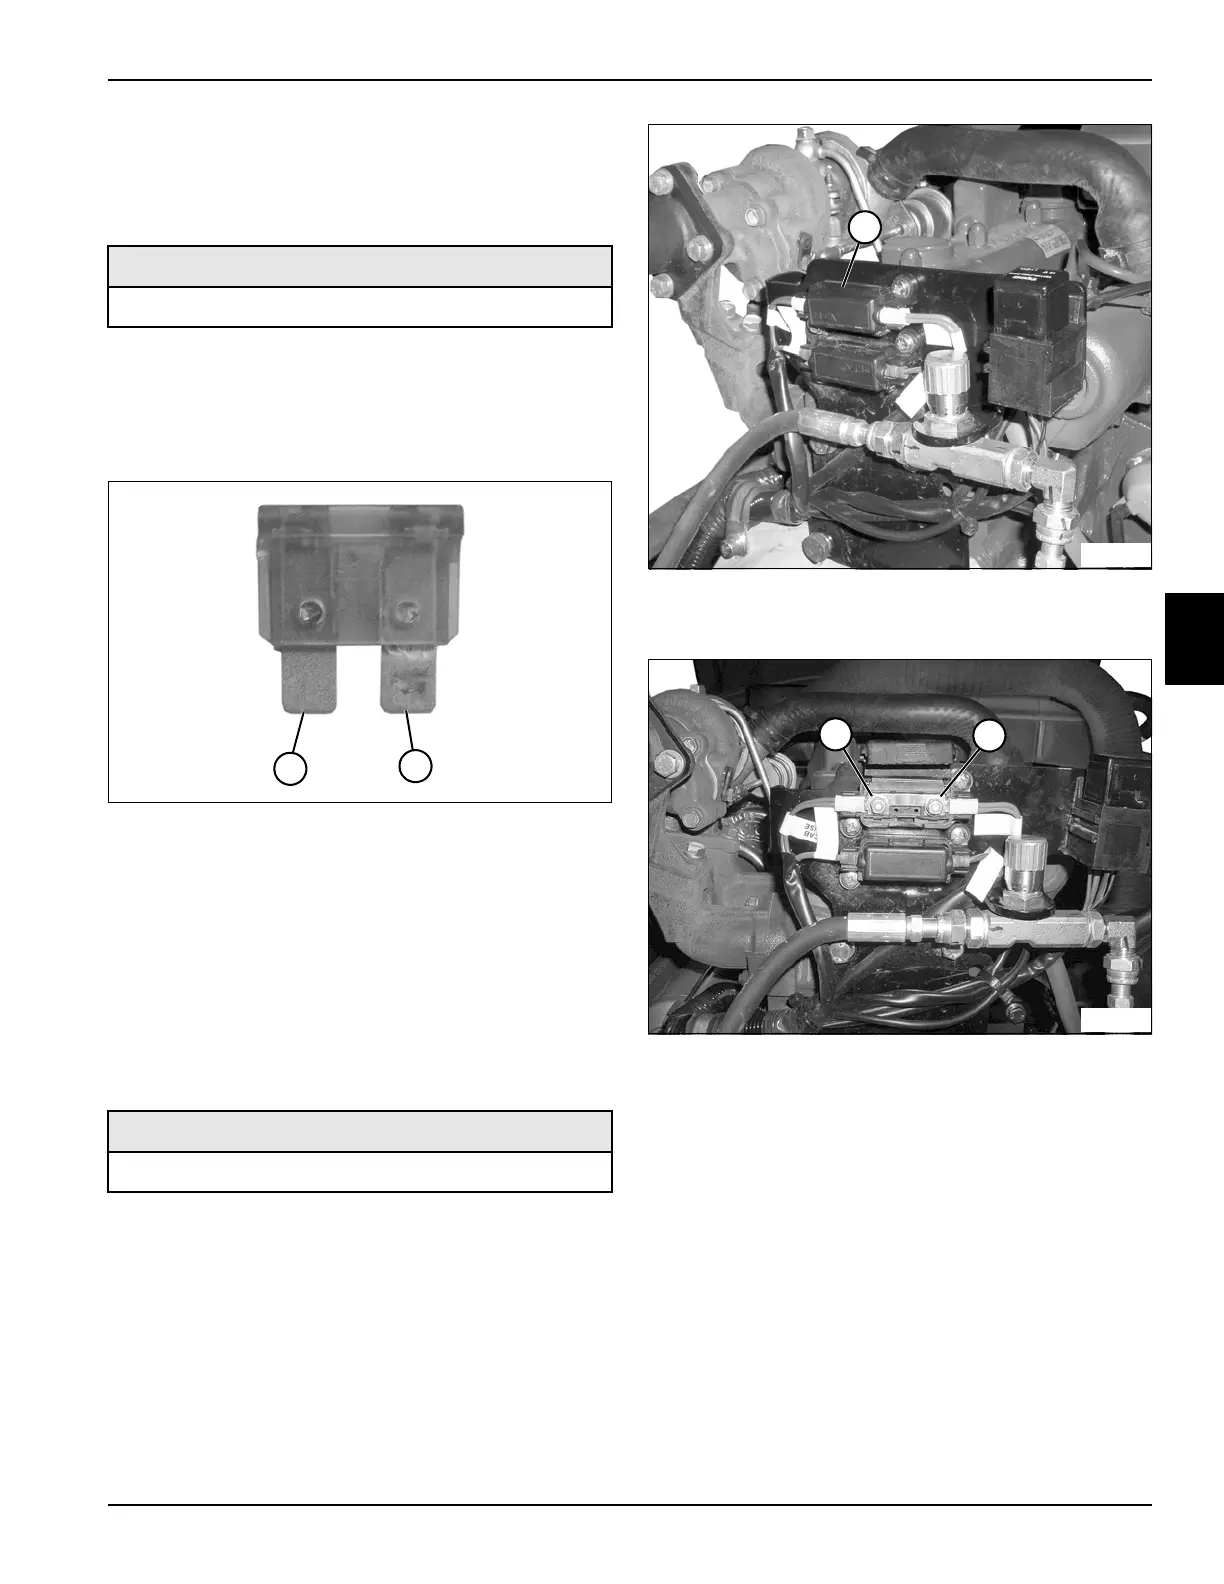
Strip Fuses
See Figures 4-29 and 4-30.
1. Park the mower safely. (See “Park Mower Safely” on
page 1-7.)
2. Disconnect the battery negative (–) cables at the
battery.
3. Open the engine hood.
Figure 4-29
4. Open the fuse holder cover (1).
Figure 4-30
5. Connect one test lead to one side of the strip fuse
(2).
6. Connect the other test lead to the other side of the
strip fuse (3) and check for continuity.
Is continuity indicated?
YES The fuse is good.
NO The fuse is faulty; replace the fuse. (See
“Strip Fuses” on page 4-77.)
Required Tools or Equipment
Digital Multimeter, Ohmmeter, or Continuity Tester
Required Tools or Equipment
Digital Multimeter, Ohmmeter, or Continuity Tester
1
TN1111
2
1
TN1109
3
TN1110
2