HYDROSTATIC POWER TRAIN
4181384 First Edition 5-17
5
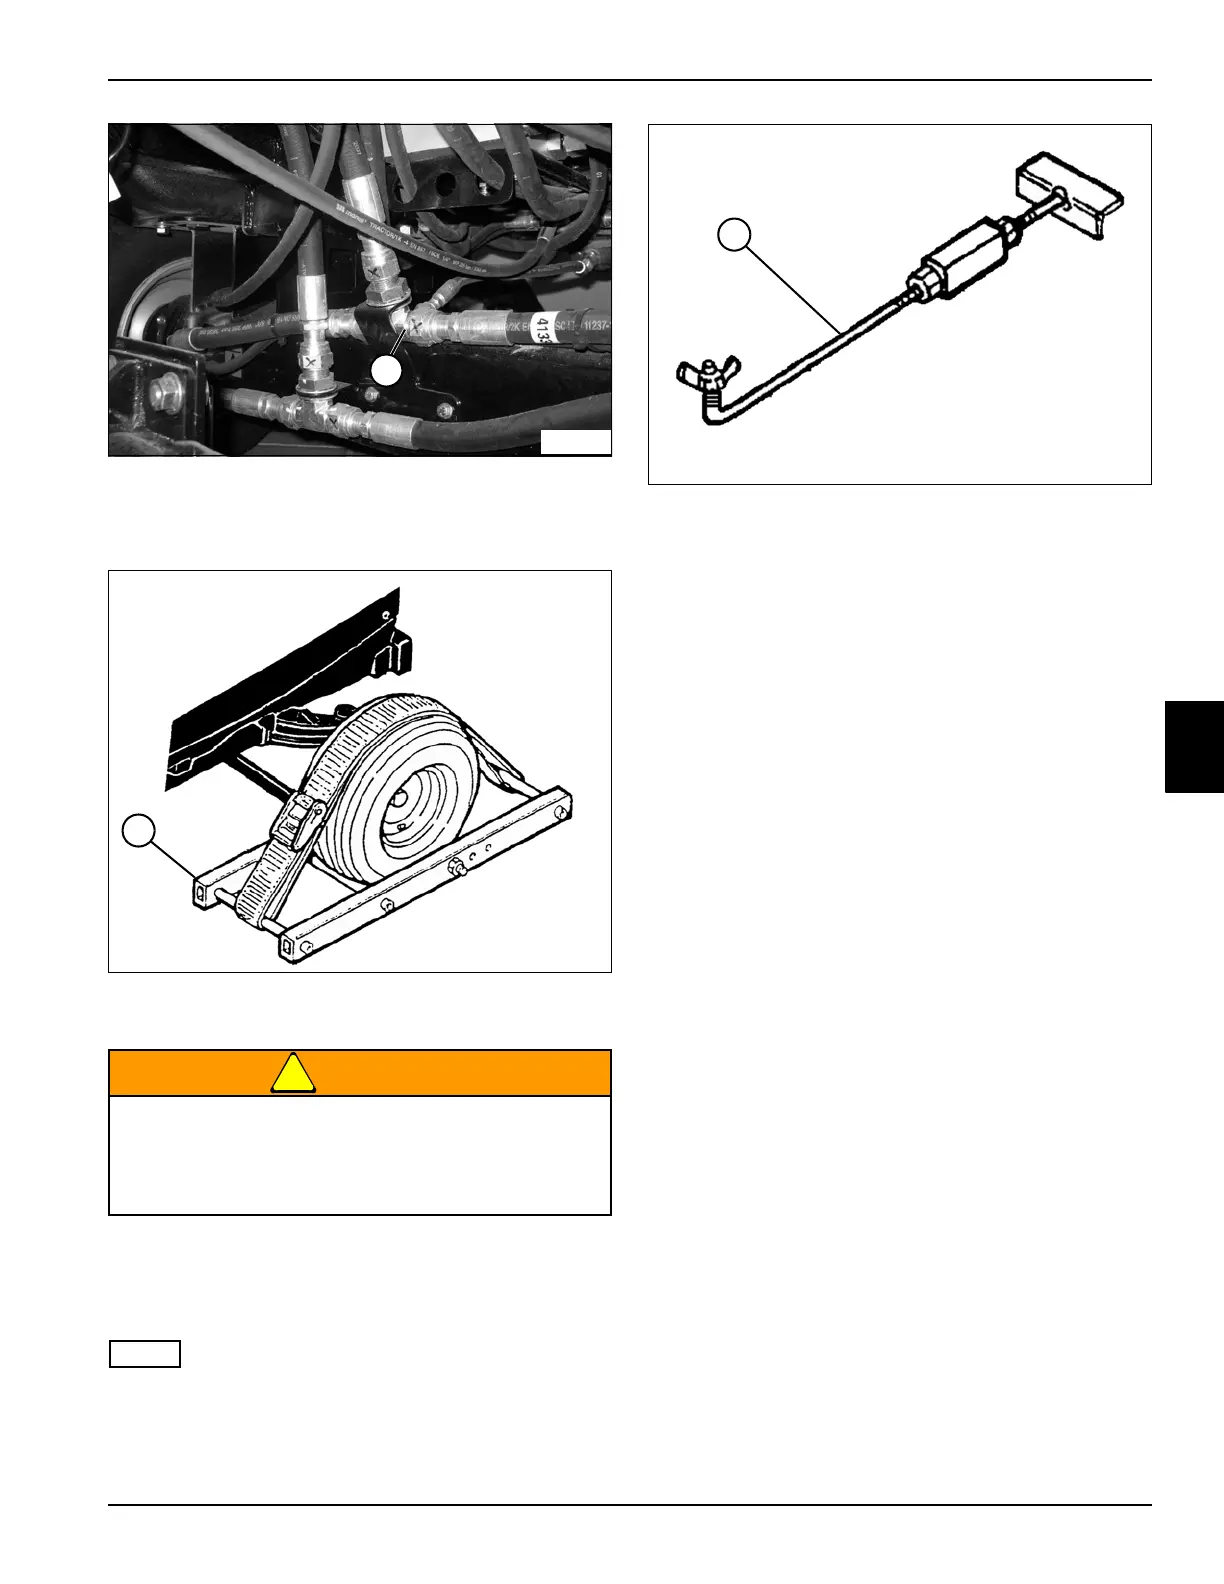
Figure 5-15
5. Install blocking disk at location (1) (backside of front
axle housing) to block oil flow from right wheel motor.
Figure 5-16
6. Install wheel restraints (2) to both front wheels.
!
WARNING
7. Lift rear of machine and support with stand.
8. Open flow meter valve (2) completely before starting
engine.
NOTE
Verify engine rpm is within specification (3150 rpm ± 50)
to ensure accurate hydraulic test results.
9. Start engine and run at full throttle (3150 rpm ± 50).
Figure 5-17
10. Adjust flow lock tool (3) to allow pump to produce 10
gpm (37.8 lpm) in the forward direction.
11. Use the flow meter to warm the hydraulic oil. Turn the
flow meter valve until a reading of 1525 psi (105 bar)
or one half of the relief valve rating is reached. Warm
oil to 120—150°F (49—65°C), open valve fully after
operating temperature is reached.
12. After warming the hydraulic oil, verify flow lock tool is
adjusted to allow pump to produce 10 gpm (37.8 lpm)
in the forward direction.
13. Slowly close flow meter valve until pressure reaches
2300 psi (159 bar). Read and record loaded flow.
14. Stop engine and return flow lock tool back to neutral
position.
15. Calculate left front wheel motor leakage.
(Step 10 of previous test – Step 13 / Step 10 of
previous test x 100 = Leak Percentage)
Is left front wheel motor leakage 10% or less?
YES The left front wheel motor is good. Proceed
to step 16.
NO Proceed to next question.
Is left front wheel motor leakage 11% to 20%?
YES The left front wheel motor is marginal.
Additional testing is required. Continue to
step 16.
NO Proceed to next question.
Is left front wheel motor leakage 21% or more?
YES Repair or replace left front wheel motor. (See
“Front Wheel Motor” on page 5-25.)
16. Remove blocking disk from location (1). Connect
hose back to T-fitting.
17. Return flow lock tool (3) back to neutral position.
18. Open flow meter valve completely before starting
engine.
Prevent personal injury. Use properly rated lifting
devices. Always be sure load is balanced before
lifting.
Support the machine properly using jack stands.
1
TN1358
TN1329
2
3
TN1364