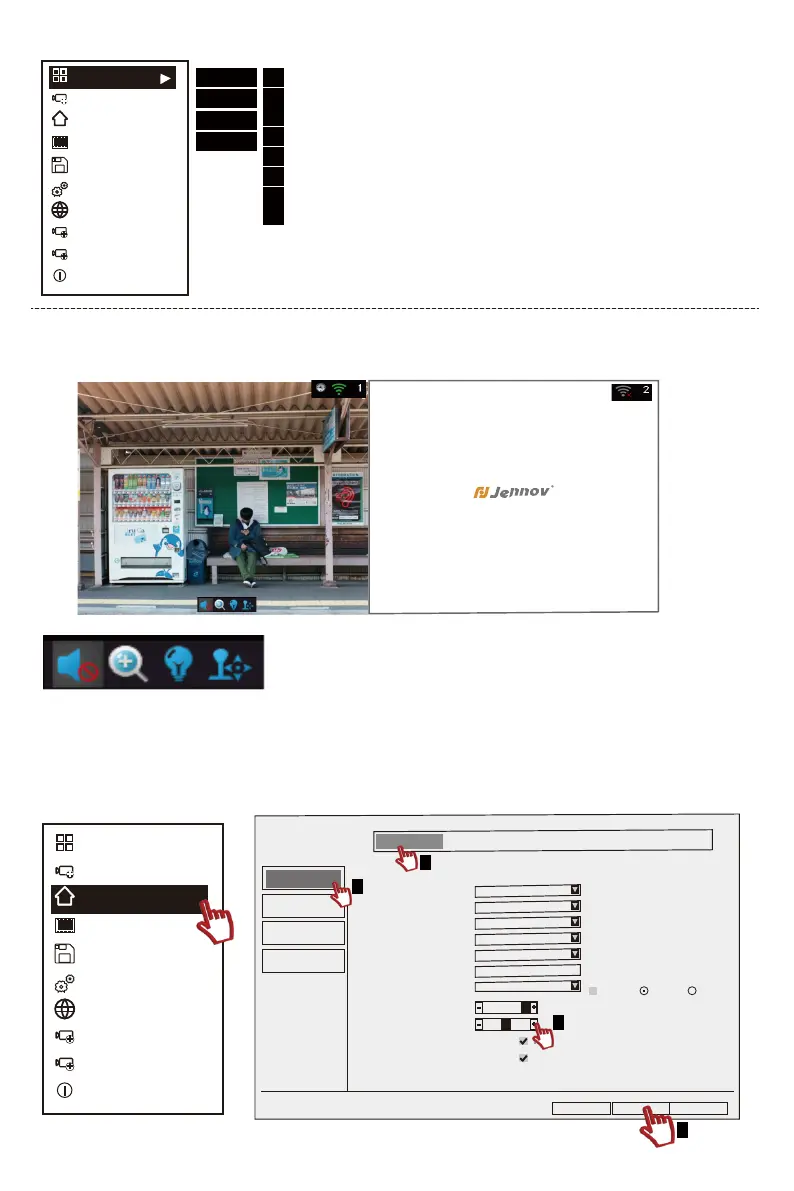
Click on the monitoring screen, and several icons such as sound switch, electronic zoom, color
adjustment, PTZ setting (requires device support) will pop up at the bottom of the screen.
(2) Volume: If the recording function is installed on the device, after turning on the sound mark, you
can hear the live sound on the monitor.
If the machine you are using has a recording function, you can adjust the sound according to the
following steps. If there is no recording function, please ignore this step.
Split Screen
Video Manage
System Setup
Video Playback
Video Backup
Setup Wizard
Fast Network
Repeater
Wireless Add
Exit System
+
+
I
1
1
2
3
4
Apply
Ok Cancel
General Setup
Time Setup
HDD Setup
Error Setup
Language
Display Resolution
Auto Logout
Key Buzzer
Keypad Type
Remote ID
Auto Switch
OSD Alpha
Volume
Show Cloud ID When Preview
Show Time When Preview
General Setup Record Setup Network Setup Channel Setup System Admin
Enable
Enable
English
1280x1024
Disable
Enable
Type1
0
5 seconds
x1 View x4 View
Enable
.
-
-
+
+
Edit Channel Connection Parameters
(1) Split Screen Setting
Click the right mouse button-Main Menu-Split
Screen
Note: You can select 1/4/6/8 screen for the monitor
screen, but you cannot set 2 screens.
X1 View
X4 View
X6 View
X8 View
1
2
3
4
5
6
7
8
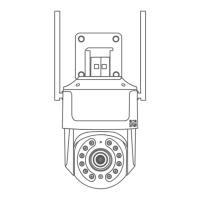
Split Screen
Video Manage
System Setup
Video Playback
Video Backup
Setup Wizard
Fast Network
Repeater
Wireless Add
Exit System
+
+
I
2.2 Basic Button Introduction
- 01 - - 02 - - 03 - - 04 - - 05 -
- 06 - - 07 - - 08 - - 09 - - 10 -
- 11 - - 12 - - 13 - - 14 - - 15 -
- 16 - - 17 - - 18 - - 19 - - 20 - - 21 - - 22 - - 23 - - 24 - - 25 -
- 26 - - 27 - - 28 - - 29 - - 30 - - 31 - - 32 - - 33 - - 34 - - 35 -
- 36 - - 37 - - 38 - - 39 - - 40 - - 41 - - 42 - - 43 - - 44 - - 45 -
 Loading...