Page Issue 01
Chapter - Wearing Items
12:3
VT551 - Maintenance
REFITTING
1. Replacement is the reverse of removal.
2. Lightly grease the fan motor spline using grease part number 94-24 before fitting the impeller.
3. Fit a new Tuflok capscrew and torque up to 101 Nm (75lbf. ft.).
4. Refit fan case cover with a suitable silicone sealant between the mating surfaces.
From July 2009 all impellers have a ‘’V’’ mark (D) at Top Dead Centre (TDC) applied when they are
manufactured. When fitting a replacement impeller it should be rotated so this mark is at the 12 o’clock
(TDC) position before the retaining bolt is tightened to the prescribed torque.
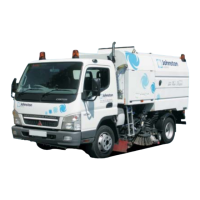
INTAKE DUCT FLAP
When the flap plate is in the open position, it is abraded by the material
discharging from the intake duct into the body. The flap should be
inspected periodically and replaced when worn. To inspect one must
first open the rear door and suitably prop open, then depressurise the air
system in the systems locker, this will allow the flap to be opened and
closed manually from the interior of the body. Enter body and inspect
the flap valve plate which is secured to actuating fingers by a pair of
spring clips.
REMOVAL
To remove a flap plate the springs must be withdrawn using a suitable tool or bar. Notice how the springs
were fitted from each side of the finger guide and around the groove in the finger assembly. Once the
springs are removed the flap plate can be detached from the finger.
REFITTING
Before refitting or fitting a new flap plate, ensure the springs are in good condition and the finger adjustment
areas have been cleaned, then locate flap on the finger and replace springs. Ensure the flap plate seats
correctly on top of the inlet tube, if not, check for excessive wear on the inlet tube/flap, or adjustment of
the flap operating mechanism.
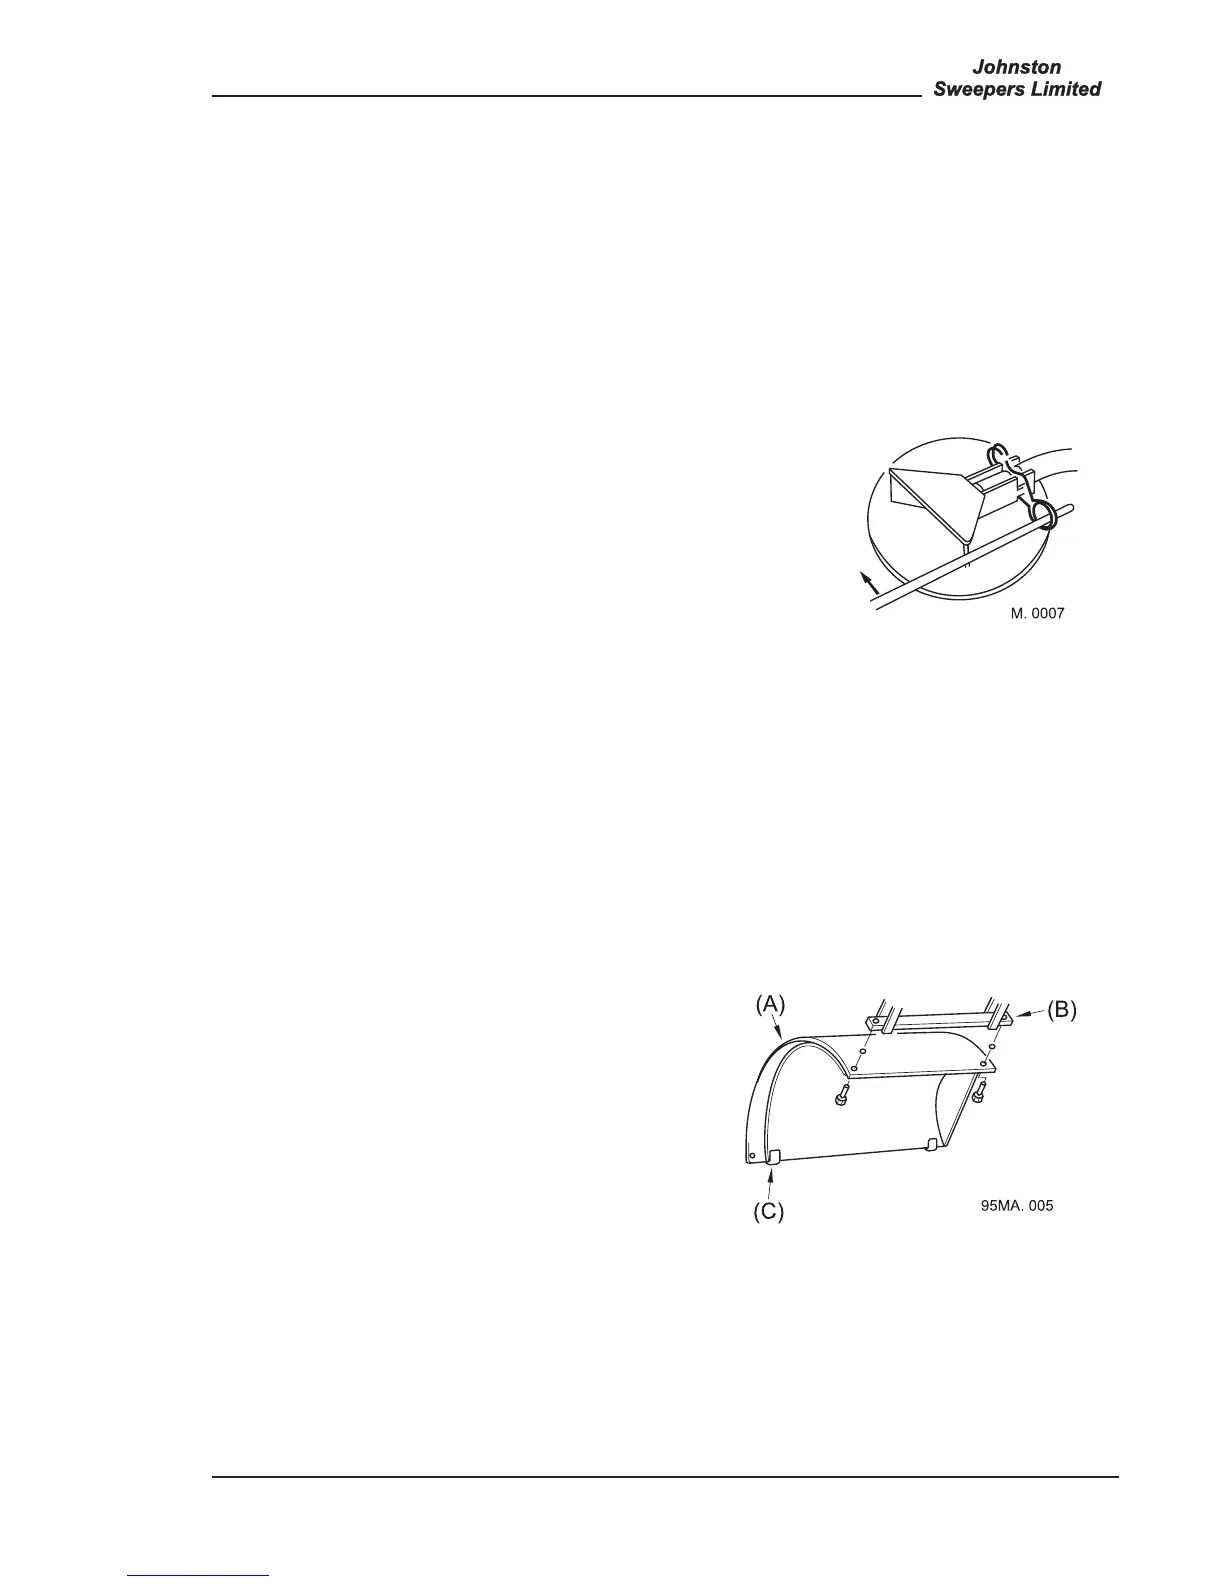
WEAR PLATE
REMOVAL
Enter the body after carrying out precautions as for intake
duct flap. The wear plate (A) is secured by two screws and
a clamp bar (B). It is a wise precaution to prop the wear
plate before attempting to remove these screws. Once the
screws are removed, support the wear plate and remove
the prop. Allow the wear plate to fall slightly and unhook
from the hooks (C) attached to the body outer skin, and
remove. Help may be required in removal as this unit weighs
approximately 36kg.