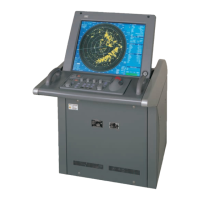
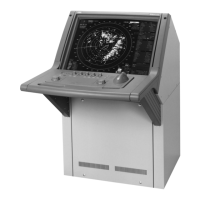
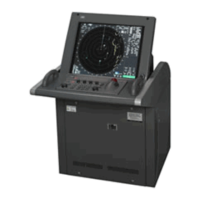
5-18
5.2 Target Tracking Operation
yy
yyy
5
Creating the automatic acquisition and AIS activation Zone
Procedures 1 Open the AZ menu by following menu operations.
AZ
The AZ Menu will appear.
2 Left-click the item button of Make Acquisition Zone1 or Make
Acquisition Zone2 .
The range setting of the acquisition / activation zone 1 (Acquisition Zone1) or acquisition
/ activation zone 2 (Acquisition Zone2) will be started.
3 Set the starting range by turning the [VRM] dial, and push [VRM] dial.
4 Set the ending range by turning the [VRM] dial, and push [VRM] dial.
5 Set the starting azimuth by turning the [EBL] dial, and push [EBL] dial.
6 Set the ending azimuth by turning the [EBL] dial, and push [EBL] dial.
The acquisition / activation zone will be determined.
Manual Acquisition [ACQ MANUAL]
Note:
If more targets are acquired manually in the condition that the maximum number of targets are
under tracking, the targets cannot acquired.
Procedures 1 Press the [ACQ MANUAL] key.
The cursor mode set the Acquire TT.
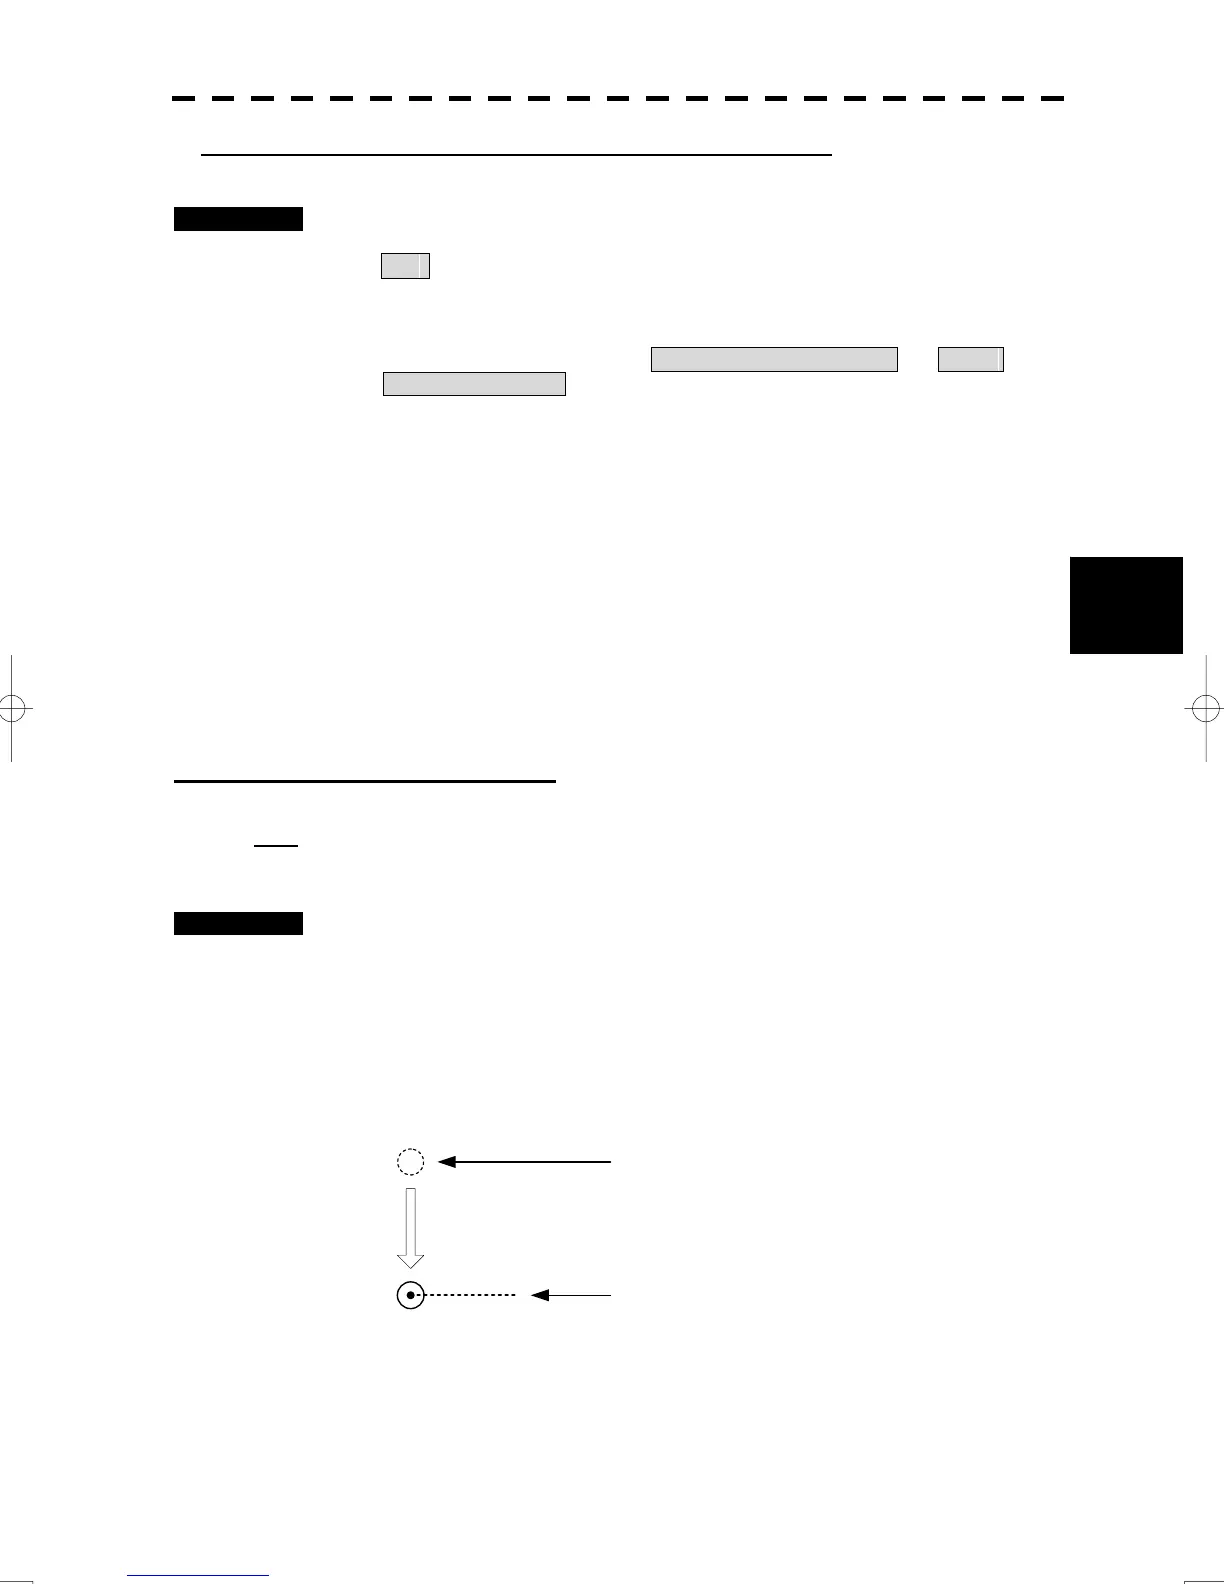
2 Move the cursor onto the target to be acquired, left click.
The target will be acquired and the initial acquisition symbol will be displayed.
The vector will be displayed within one minute.
Target manually acquired.
The initial acquisition symbol is displayed.
Target that has passed for 1 min.
The acquisition symbol and vector are displayed.
To perform operation only in the manual acquisition mode without automatic
acquisition/activation, turn off the automatic acquisition/activation function.
 Loading...