– 11 –
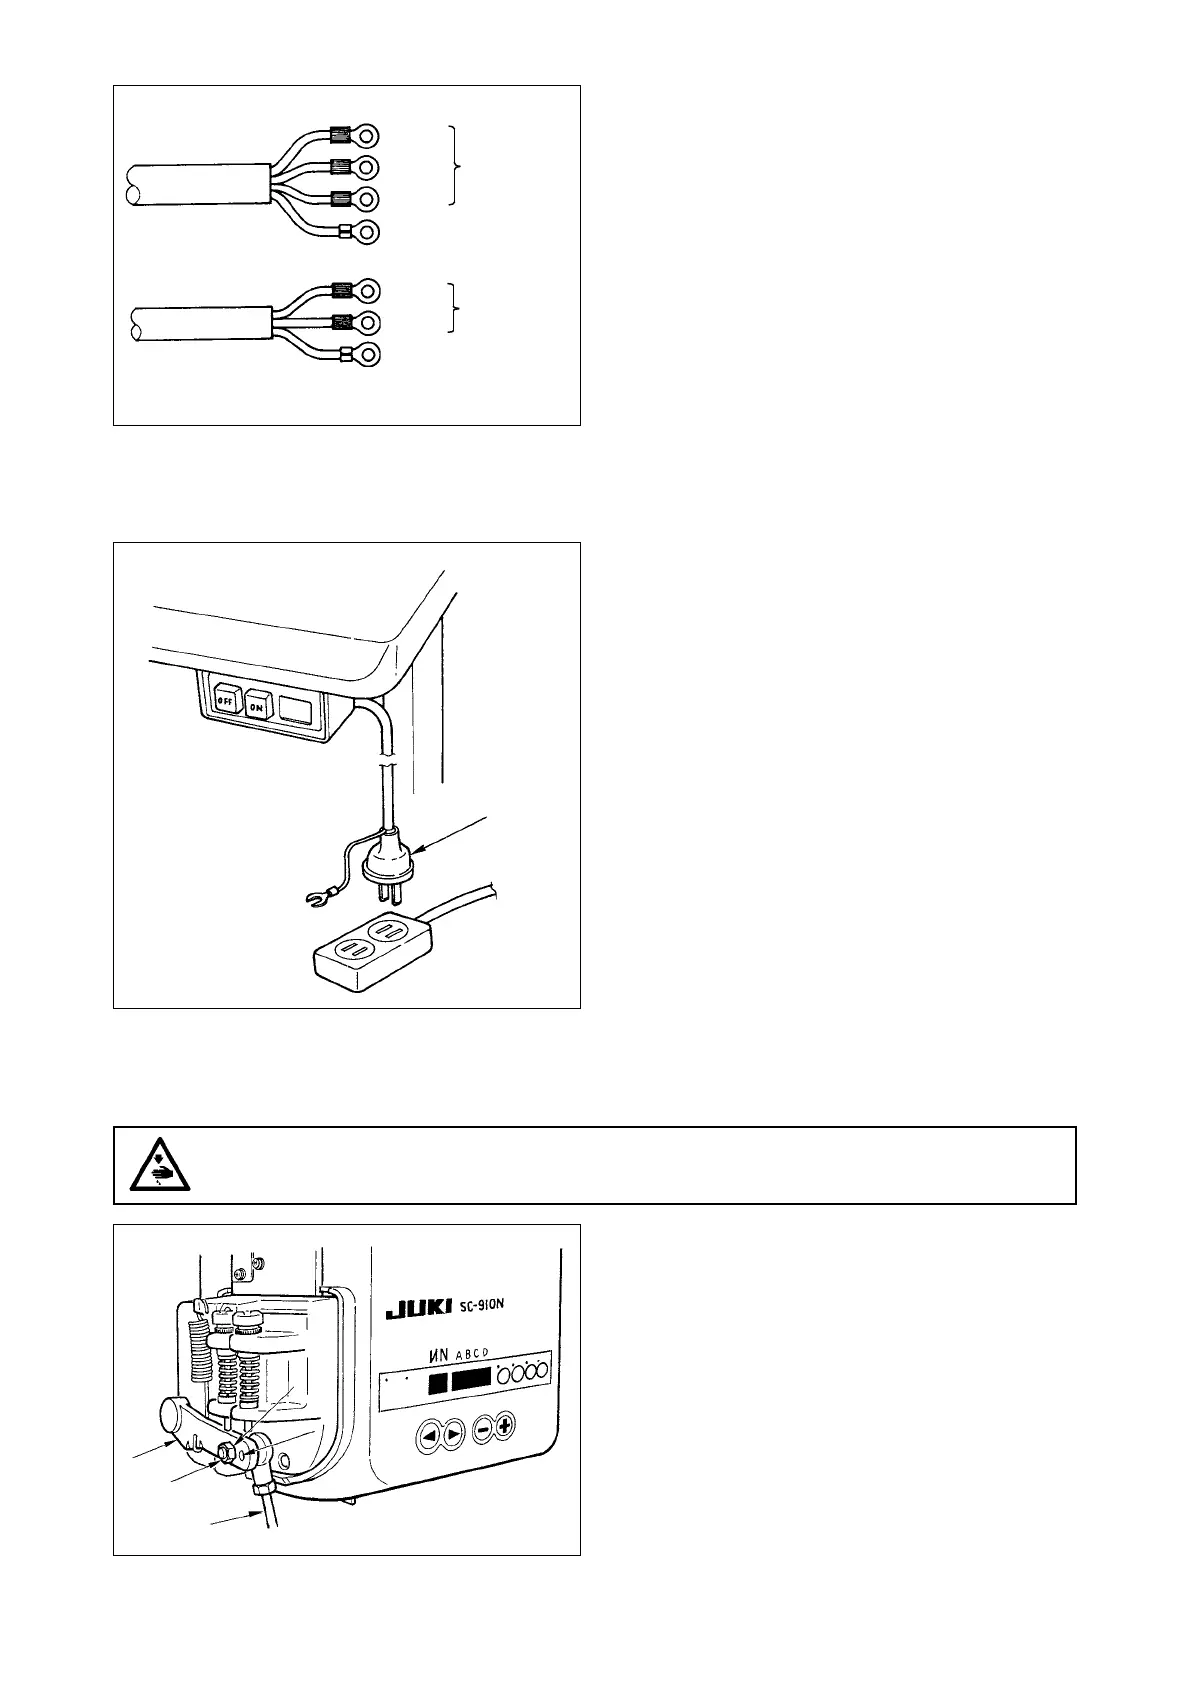
20) Installing power switch
Connect power supply cord to the power switch.
[JA specications]
3-phase 220 V : Power supply cords : black,
white, red and green/yellow
(ground wire)
Single phase 120V : Power supply cords : black,
white, and green/yellow (ground
wire)
21) Make sure that the power switch is turned OFF
and insert power supply cord
@1
coming from the
power switch into the power plug socket. (Illustra-
tion is for the japanese specication 100V type.)
(Caution) 1. Top end of power supply cord
@1
varies in accordance with destina-
tion or supply voltage. Check again
the supply voltage and the voltage
designated on the control box when
installing the switch.
2. Prepare the power switch con-
formed to the safety standard.
3. Be sure to connect the ground wire (
green / yellow).
JA 3ø 220V
AC
200V-240V
Black
Red
White
Green / Yellow
(ground wire)
JA 1ø 120V
AC
100V-120V
Black
White
Green / Yellow
(ground wire)
6. Attaching the connecting rod
1) Fix connecting rod
1
to installing hole
B
of ped-
al lever
2
with nut
3
.
2) Installing connecting rod
1
to installing hole
A
will lengthen the pedal depressing stroke, and
the pedal operation at a medium speed will be
easier.
WARNING :
To protect against possible personal injury due to abrupt start of the machine, be sure to start the
following work after turning the power off and a lapse of 5 minutes or more.
@1
1
2
B
A
3