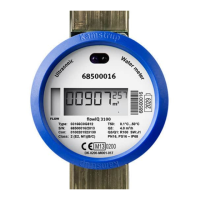
flowIQ
®
3100 TECHNICAL DESCRIPTION
Kamstrup A/S • Technical Description • 5512-1242_B1_GB • 05.2015
7 Installation
7.1 Installation requirements
Prior to installation of the water meter the system should be flushed while a fitting piece replaces the meter.
Install the meter - it must be mounted with matching couplings if needed. Always use new gaskets in original
quality.
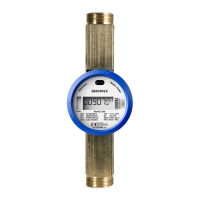
Place the meter as required. The meter can be mounted at any angle, however, it should be installed
correctly in relation to the flow direction, indicated by an arrow on the side of the meter housing.
Furthermore, the meter ought to be orientated so that the display is easy to read. (see section 7.2 and 7.3)
When mounting the water meter, you must ensure that the length of the meter thread will not prevent
sufficient tightening of the sealing surface, and make sure that PN10 or PN16 connections are used.
Kamstrup A/S recommends drinking water approved fibre gaskets for cold water installations. If a non-
return valve is installed, it will usually be necessary to use 4 mm PE gaskets instead, to prevent the collar of
the coupling from damaging the valve.
Kamstrup A/S supply such gaskets.
See separate accessories list: 5810-1270_GB
7.1.1 Installation conditions
As mentioned above the use of new gaskets in original quality is of crucial importance.
7.1.2 Permissible operating conditions
Ambient temperature: 2…55°C – indoors or outdoors. Installation in direct sunlight ought to be avoided.
The sealing surface of the
threaded connection
must be clean and level
 Loading...