Model 2750 Multimeter/Switch System Service Manual Calibration 2-13
Model 2750 Calibration
AC current calibration
After the 700VAC at 1kHz point has been calibrated, the unit will prompt you for 100mA
at 1kHz. Follow these steps for AC current calibration:
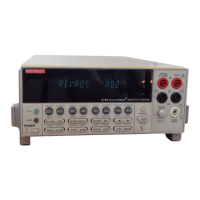
1. Connect the calibrator to the AMPS and INPUT LO terminals of the Model 2750
as shown in Figure 2-3.
2. Perform the calibration steps summarized in Table 2-7. For each step:
• Set the calibrator to the indicated current and frequency, and make sure the
unit is in OPERATE.
• Press ENTER to complete each calibration step.
• Allow the unit to complete each step before continuing.
Setting calibration dates and saving calibration
At the end of the calibration procedure, the instrument will display the CALIBRATION
COMPLETE message. Press ENTER to continue, and the Model 2750 will prompt you to
enter the calibration date and the calibration due date. Set these dates as follows:
1. At the CAL DATE: prompt, use the left and right arrow keys and the range keys to
set the calibration date, then press ENTER.
2. The unit will then prompt you to enter the next calibration due date with this
prompt: CAL NDUE:. Use the left and right arrow keys and the range keys to set
the calibration due date, then press ENTER.
3. The unit will prompt you to save new calibration constants with this message:
SAVE CAL? YES. To save the new constants press ENTER. If you do not want to
save the new constants press the down range key to toggle to NO, then press
ENTER.
NOTE Calibration constants calculated during the present calibration procedure will
not be saved unless you choose the YES option. Previous calibration constants
will be retained if you select NO.
Tab le 2- 7
AC current calibration summary
Calibration Step Calibrator Current, Frequency
100mA at 1kHz
1A at 1kHz
2A at 1kHz
100.0000mA, 1kHz
1.000000A, 1kHz
2.000000A, 1kHz