Do you have a question about the KERN PNJ Series and is the answer not in the manual?
Technical drawings showing the physical dimensions of the balance models.
Explanation of the buttons and their functions on the balance control panel.
Explanation of the symbols and indicators shown on the balance display.
Explains the intended purpose and correct application of the weighing balance.
Details prohibited uses that could damage the balance or lead to incorrect results.
Outlines conditions under which warranty claims become void.
Emphasizes the importance of reading and following the operation manual.
States that only trained personnel should operate and maintain the appliance.
Instructions for checking the appliance for damage upon delivery.
Guidelines for packaging and preparing the appliance for return transport.
Recommendations for choosing an optimal location for accurate weighing.
Procedure for carefully unpacking the device and verifying its contents.
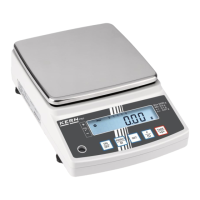
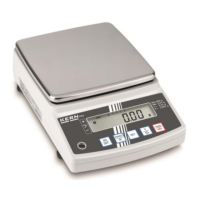
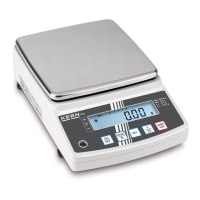
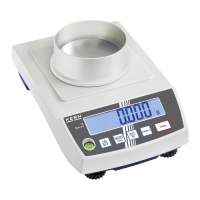
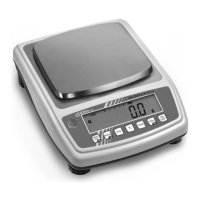
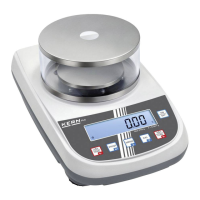
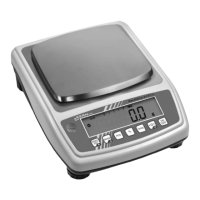
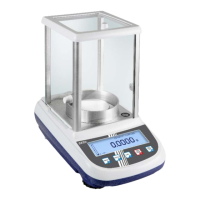
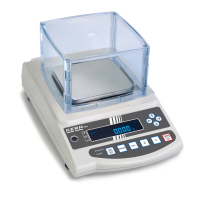
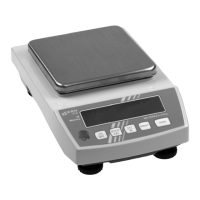
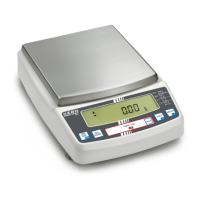
Lists and illustrates all included accessories and the scope of delivery.
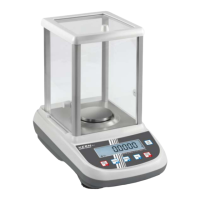
Step-by-step instructions for assembling the windshield for specific models.
Instructions for physically assembling, positioning, and levelling the balance.
Procedure for connecting the balance to the power supply.
Steps for the first-time setup and activation of the balance.
Step-by-step guide for the initial setup and commissioning of PNJ models.
Step-by-step guide for the initial setup and commissioning of PNS models.
Guidance on connecting external devices like printers or computers.
Explanation of the adjustment process to ensure measurement accuracy.
Procedure for performing internal calibration using the balance's built-in weight.
Procedure for performing external calibration using an external weight.
Information regarding the official verification process for weighing scales.
Instructions for turning the balance on and initial readiness checks.
How to put the balance into a low-power stand-by state.
Procedure to reset the balance to zero before weighing.
Basic steps for performing a simple weighing operation.
How to switch the weighing units displayed on the balance.
Methods for excluding the weight of a container or subtracting known weights.
How to tare the weight of a container to measure only the net weight of the contents.
Method for taring multiple components sequentially.
Explanation of how to navigate and use the main function menu.
Detailed steps for navigating through the menu options.
A summary of the available menu items and their default settings.
Accessing and navigating the secondary function menu.
Guide to accessing and navigating the secondary function menu.
Overview of the options available within the secondary function menu.
Instructions for using the balance to count identical items.
How to perform percentage calculations relative to a reference weight.
Using the balance to check if weights fall within specified upper and lower limits.
How to activate and configure tolerance weighing settings within the menu.
Setting tolerance limits by weighing reference items.
Setting tolerance limits by manually entering numerical values.
Function to automatically tare small weight variations.
Adjusting balance response for different environmental conditions.
How to view the balance's current software version.
Enabling automatic dimming of the display to save power.
Procedure for setting the internal clock and date of the balance.
Step-by-step guide to set the current time on the balance.
Step-by-step guide to set the current date on the balance.
Customizing the display format for the date (e.g., DD.MM.YY).
Basic information and requirements for connecting peripheral devices via RS232C.
Instructions for connecting and operating a printer with the balance.
Setting up the balance to generate ISO/GLP/GMP compliant adjustment logs.
Configuring the balance to include date and time in printed output.
Options for configuring how data is transmitted from the balance.
Setting the format for data transfer (e.g., 6 or 7 digits).
Explanation of the codes and data fields used in output.
Illustrative examples of data output formats.
Commands and procedures for controlling the balance remotely.
Guidelines for safely cleaning the balance.
Information on authorized servicing and maintenance procedures.
Proper methods for disposing of the balance and its packaging.
| Weighing plate material | stainless steel |
|---|---|
| Minimum part weight at piece counting (Laboratory scale) | 0.001g |
| Stabilisation time under laboratory conditions | 3 s |
| Power supply/adapter included | Yes |
| Weighing units | g |
| Interface | RS-232 |