30 N1000A Quick Start Guide
2 Installing the N1000A
Step 8. Configure a LAN Connection (Optional)
You can configure the N1000A on a local area network (LAN) for remote control,
file sharing, and using network printers.
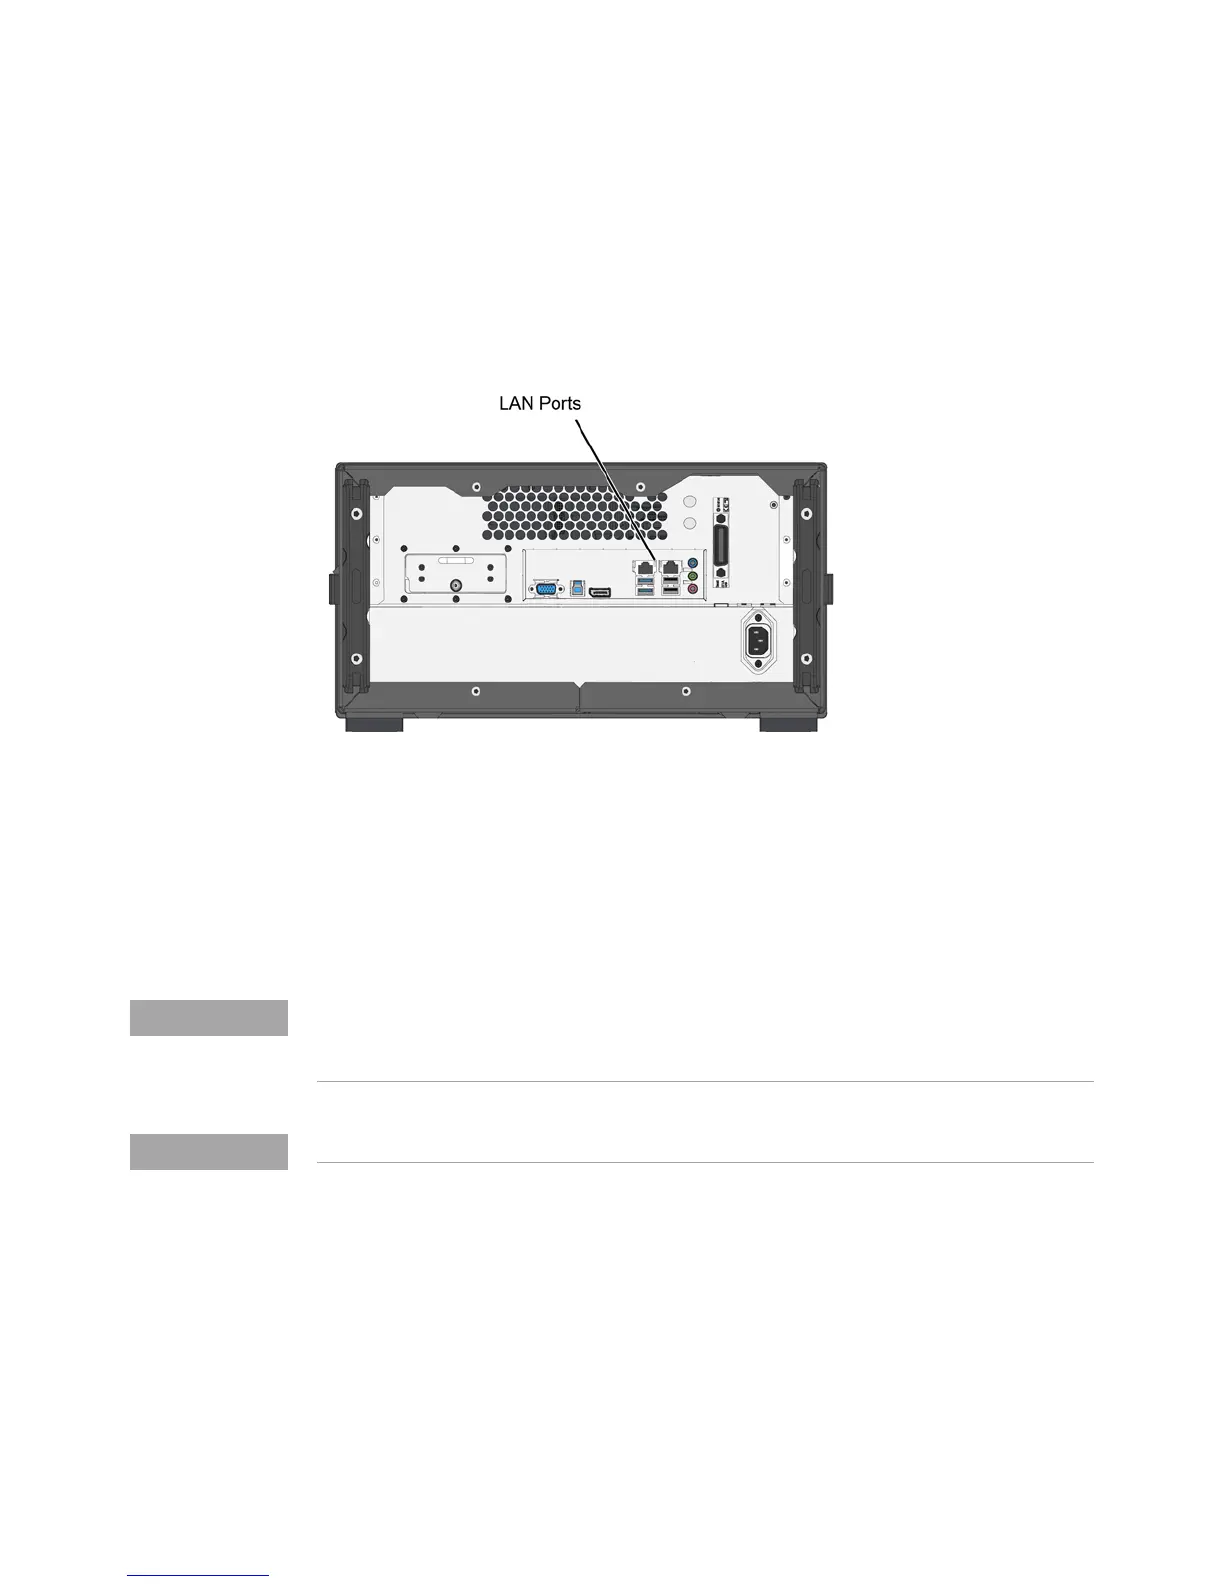
1 Connect your LAN cable to one of two rear-panel RJ-45 connectors.
Figure 13 LAN Connector
2 Start the N1000A.
3 Click File > Exit to close the N1000A DCA application and view the Windows
desktop.
4 Use Windows to setup your instrument with the appropriate client, protocol,
and configuration for your LAN.
If you do not know how to set up a network, contact your network administrator. If you plan on
sharing the N1000A’s hard disk drive with other computers on your LAN, the network
administrator should enable file sharing as part of the network setup.
You can share any folder on the USER (D:) drive.
 Loading...