2-10
c) Remove the template from the floor.
d)Line up the two mounting holes in the
anti-tip bracket with the two holes you
just drilled in the floor.
e)Use the two screws that were supplied
and fasten the anti-tip bracket to the
floor.
4. To mount the anti-tip bracket to a wood
floor:
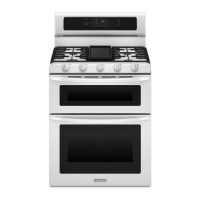
a)Use the bracket template to mark the
hole locations to be drilled.
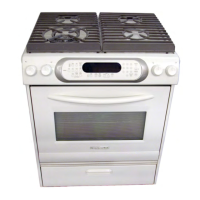
b) Use a 1/8" drill bit and drill the two holes.
5. To mount the anti-tip bracket to a con-
crete or ceramic floor:
a)Use the bracket template to mark the
hole locations to be drilled.
b)Use a 3/16" drill bit and drill the two
holes.
c) Remove the template from the floor.
d)Tap the two plastic anchors into the
mounting holes with a hammer.
e)Line up the two mounting holes in the
anti-tip bracket with the two holes you
just drilled in the floor.
f) Use the two screws that were supplied
and fasten the anti-tip bracket to the
floor.
6. Move the range close to the cabinet open-
ing and plug the power supply cord into a
grounded outlet.
7. Remove the cardboard shipping piece from
under the range.
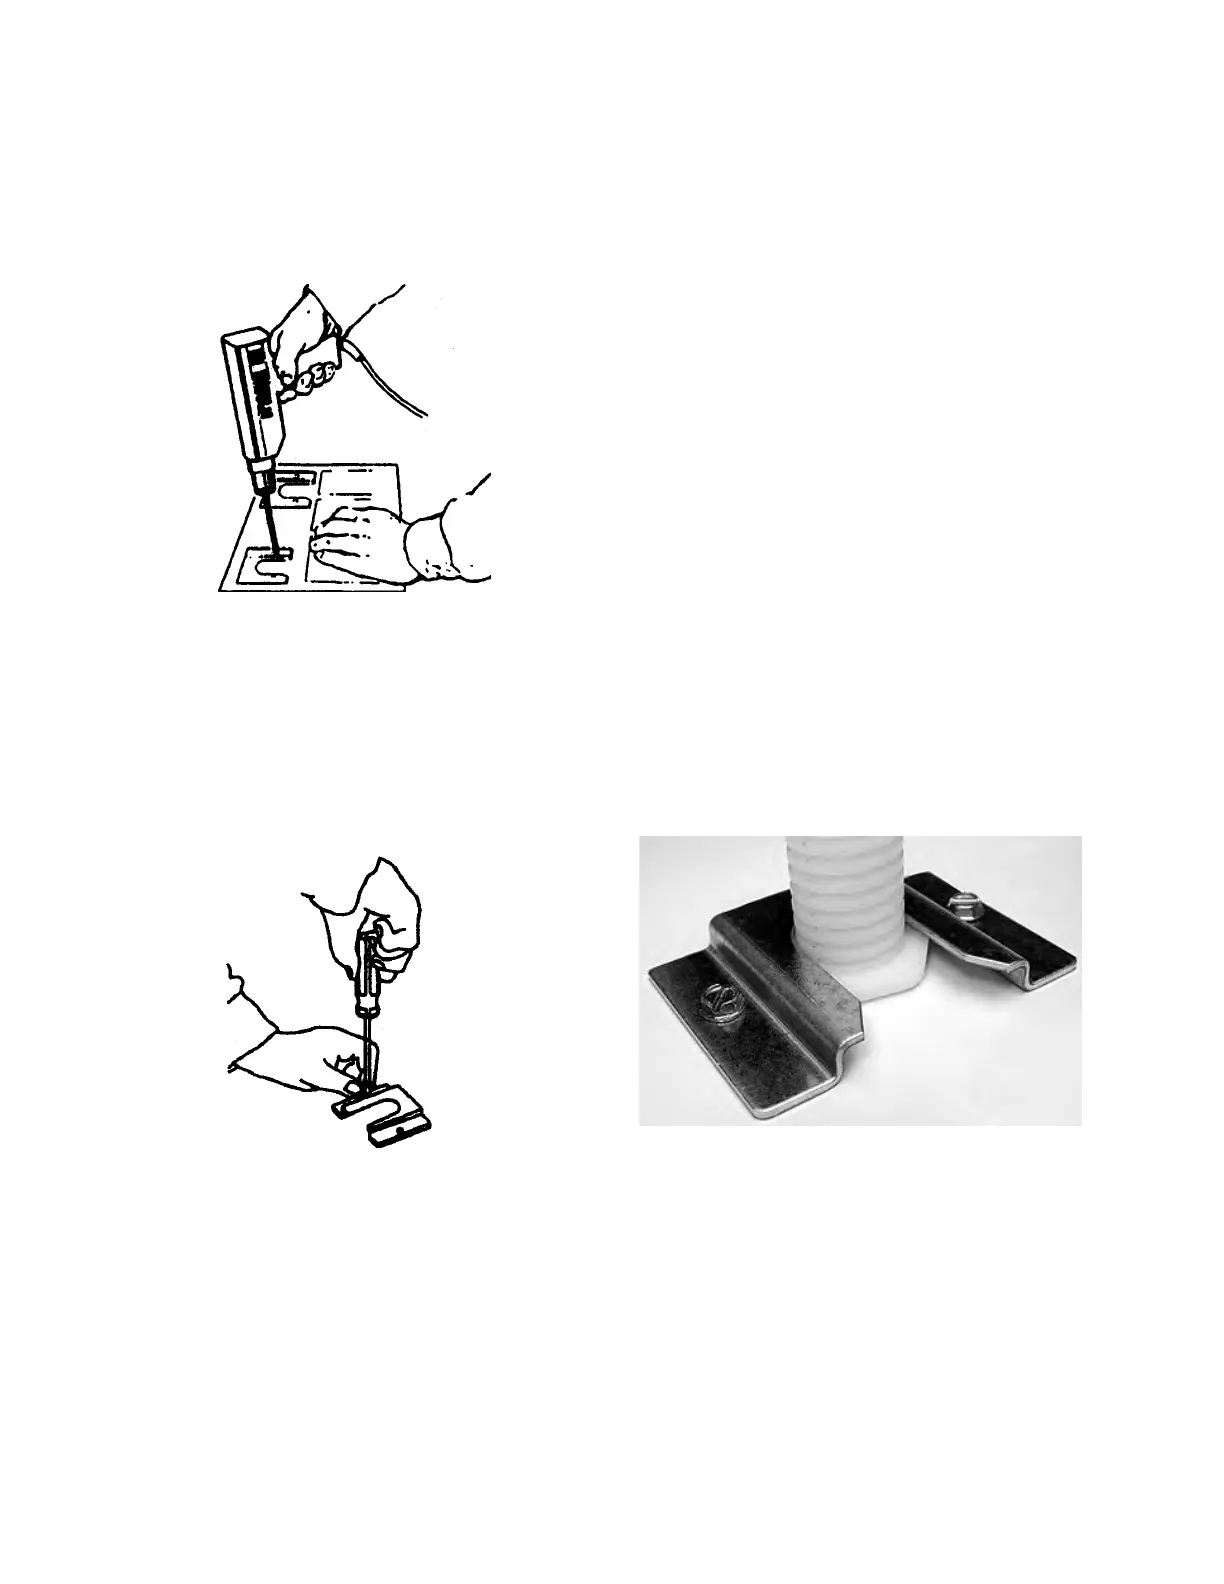
8. Move the range into position and make
sure that the rear leveling leg slides into
the anti-tip bracket, as shown.