TP-6835 9/17 11Section 2 Installation
Section 2 Installation
2.1 Introduction
An automatic transfer and bypass/isolation switch
consists of an upper bypass/isolation switch, a lower
transfer switch, and door-mounted controls.
Kohlerr transfer switches are shipped factory-wired,
factory-tested, and ready for installation. Have the
equipment installed only by trained and qualified
personnel, and verify that the installation complies with
applicable codes and standards. Switch installation
includes the following steps:
D Unpack and inspect the transfer switch upon receipt.
D Verify that the transfer switch voltage and frequency
ratings match the voltages and frequencies of the
sources.
D Install the transfer switch.
D Check the manual operation.
D Connect the controller harness and ground lead.
D Connect the generator set engine start leads.
D Connect the normal power source (utility),
emergency power source (generator set), and load
circuits.
D Connect accessories, if provided.
D Check voltages and operation.
Protect the switch against damage before and during
installation.
Note: An approved protective device such as a
molded-case circuit breaker or fused disconnect
switch MUST be installed on both sources of
incoming power for circuit protection and use as a
disconnect device.
The functional tests in Section 5 a re a necessary part of
the installation. Be sure to perform the functional tests,
which include voltage checks and operation tests,
before putting the transfer switch into service.
2.2 Receip t of Unit
2.2.1 Insp ection
At the time of delivery, inspect the packaging and the
transfer switch for signs of shipping damage. Unpack
the transfer switch as soon as possible and inspect the
exterior and interior for shipping damage. If damage
and/or rough handling is evident, immediately file a
damage claim with the transportation company.
2.2.2 Lifting
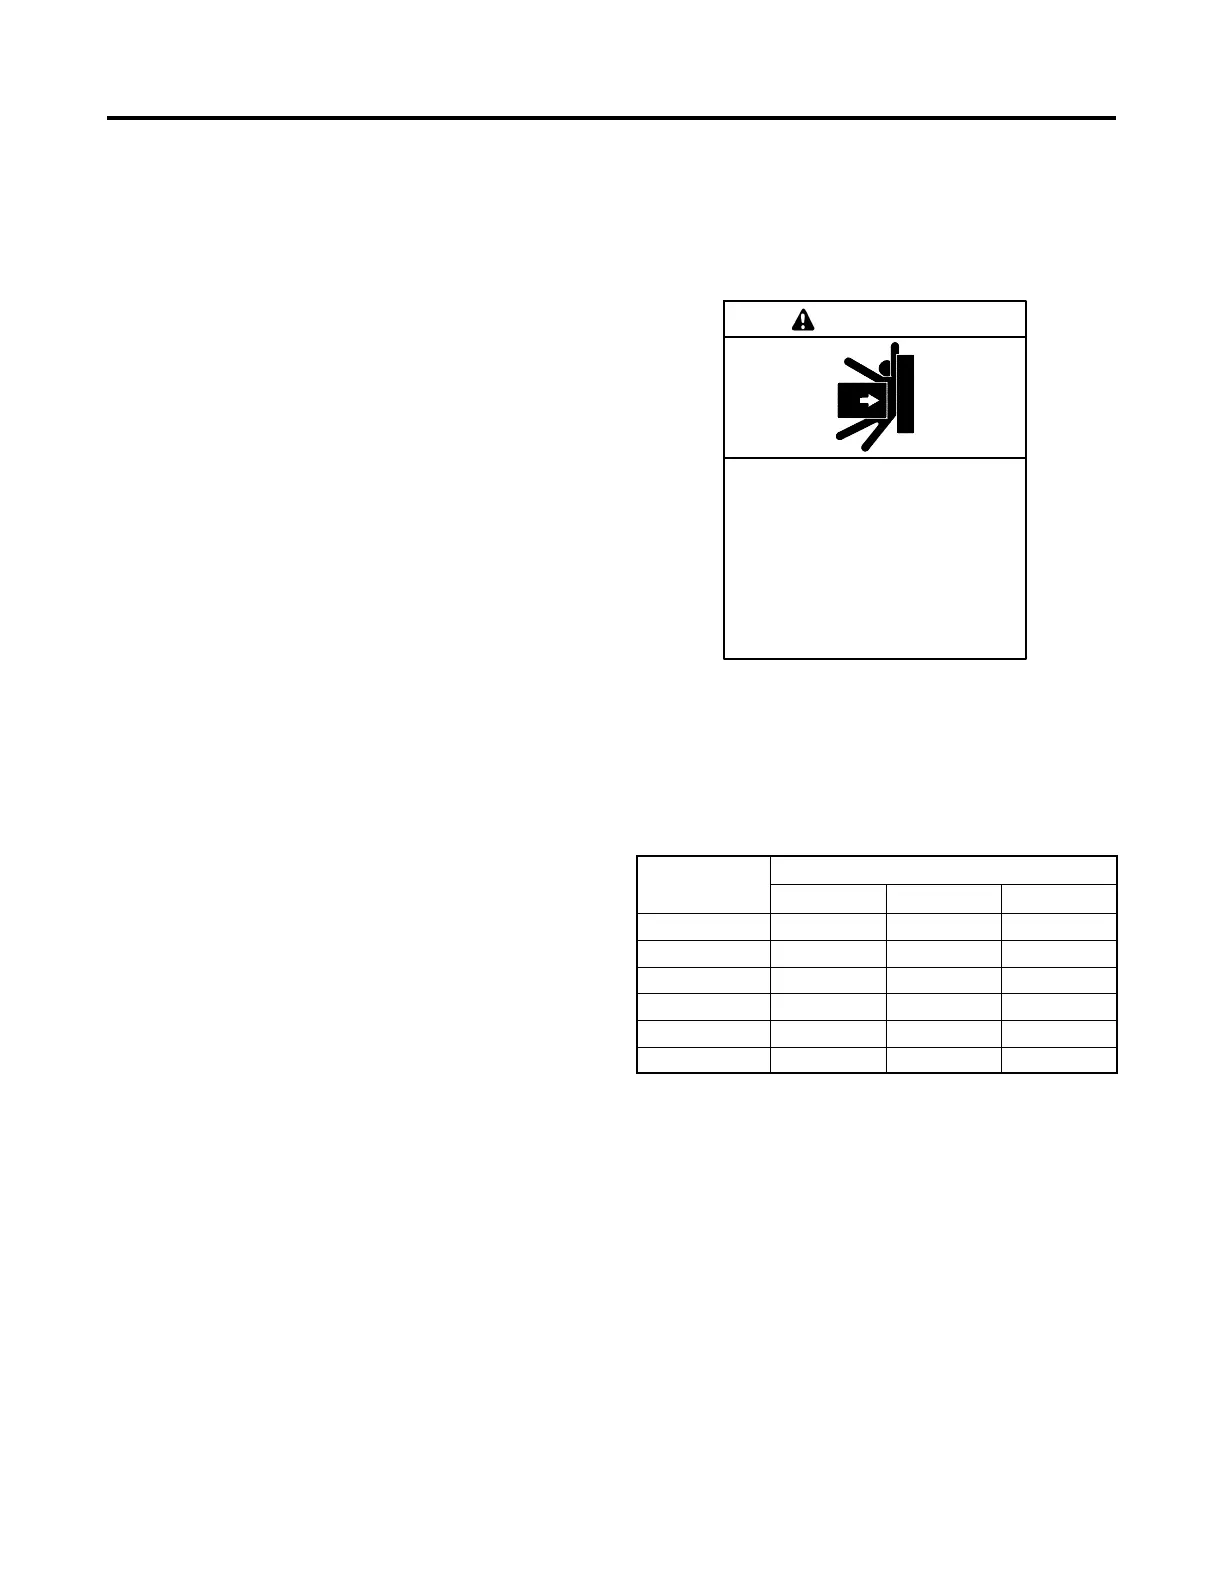
Unbalanced weight.
Improper lifting can cause severe
injury or death and equipment
damage.
Use adequate lifting capacity.
Never leave the transfer switch
standing upright unless it is securely
bolted in place or stabilized.
WARNING
See Figure 2-1 or the dimension drawing for the
approximate transfer switch weight . Use a spreader bar
to lift the transfer switch. Attach the bar only to the
enclosure’s mounting holes or lifting brackets; do not lift
the unit any other way. Close and latch the enclosure
door before moving the unit.
Amps
Weight, kg (lb.)
2-Pole 3-Pole 4-Pole
150--600 431 (950) 431 (950) 431 (950)
800F — 635 (1400) 635 (1400)
600--1200S — 708 (1560) 708 (1560)
1600--2000 — 1070 (2360) 1152 (2540)
2600--3000 — 1240 (2730) 1525 (3360)
4000 — 2087 (4600) 2268 (5000)
Figure 2-1 Approximate Weights with NEMA 1
Enclosures