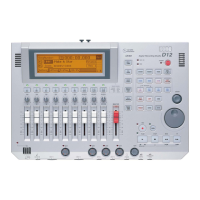
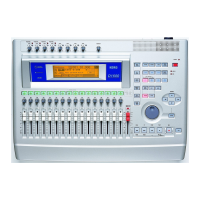
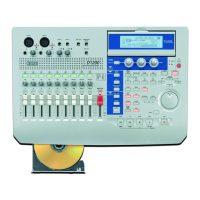
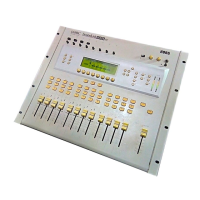
KORG D12 Guided Tour
37
Insert a blank region of audio at the beginning of the song:
This only needs to be done for the first song you write to CD, because some audio CD players may “skip” over the first several
hundred milliseconds at the beginning of an audio track. Then in the writing process, the D12 automatically creates a two second
region of silence before the next song is written to CD.
1. Press [SONG/CD] until you select the “SongSel” tab.
2. Reset to the song beginning, then change the “”Counter” display so that it indicates minutes, seconds, and milliseconds
(“000:00.000”).
3. Press [STORE], then press [IN/LOC1] to store an IN point at the song beginning.
4. u to highlight the millisecond location on the “Counter” (“000:00.000”), then rotate the [DIAL] to set the milliseconds to read
“.300”.
5. Press [STORE], then press [OUT/LOC2] to store an OUT point.
6. Press [TRACK] until you select the “EditTrk” tab, and rotate the [DIAL] to select “InsertTrack”.
7. u to highlight the “ 1 “ edit cell, then rotate the [DIAL] to read “1 – 2”.
8. u to the “Exec.” button and press ENTER, then u to the “Yes” button and press ENTER. You’ve just inserted 300
milliseconds at the beginning of tracks 1 and 2.
Write and finalize a CD:
9. Press the CD-R/CD-RW drive eject button (on the drive itself), then insert a blank CD-R disk and press to close the drive bay.
10. Press [SONG/CD] until you select the “CDR/RW” tab.
11. u to the “WriteToCD” button, press ENTER, and a “Copyright” dialog box will appear.
12. Select the write speed (2x or 4x): u to the “4x” button and press ENTER to select “2x” or “4x”. Then u to “Yes” and press
ENTER. The writing process will begin, and when the display indicates “Completed”, u to “Yes” and press ENTER.
13. Select the next song in the “SongSel” tab, then select the “CDR/RW” tab, and continue from step 11 above. Note: All songs
must be in two track format (tracks 1 and 2) before writing to CD.
14. Once all of the songs are written to CD, u to the “Finalize” button, press ENTER, then u to the “Yes” button and press
ENTER. When the finalizing is completed, the CD will automatically eject.
Playback the new song from CD:
15. Re-insert the CD in the drive, then press [INPUT/TUNER] to select the “Ch 1-6” tab, u to and set input channels 1 and 2 to
“CD-L” and “CD-R”.
16. Press [SONG/CD] until you select the “CDR/RW” tab.
17. u to the “Play/Stop” button in the display and press ENTER to playback the CD:
Tip: For more information on CD mastering with the D12, see the Owner’s Manual, page 49 and 91.
Tips: After you’ve completed this guide, make sure to Delete all of the copied and new songs you created as you went through
each exercise – see the QuickSteps that follow for the procedure. And you may want to backup the demo song to CD
before deleting it from the internal hard disk.