KORG D12 Guided Tour
3
D12 Guided Tour
Getting Started:
Audio connections: Connect the rear panel MONITOR L / R outputs to a stereo monitoring system for playback/recording, and
connect headphones to the front panel PHONES jack. Note: Use the rear panel MASTER L/R outputs when mastering to external
DAT, MD, etc.
Recording sources for this guide: We’ll make it easy for you to get quickly familiar with the D12 recording procedures: You ‘ll be
using the built-in microphone for the basic recording exercises, so there’s no need to connect an external microphone. In addition to
the basic recording section, there’s a “Guitar/Insert effect/Rhythm Pattern Demo”, and (of course) an electric guitar is necessary for
the exercises in this section.
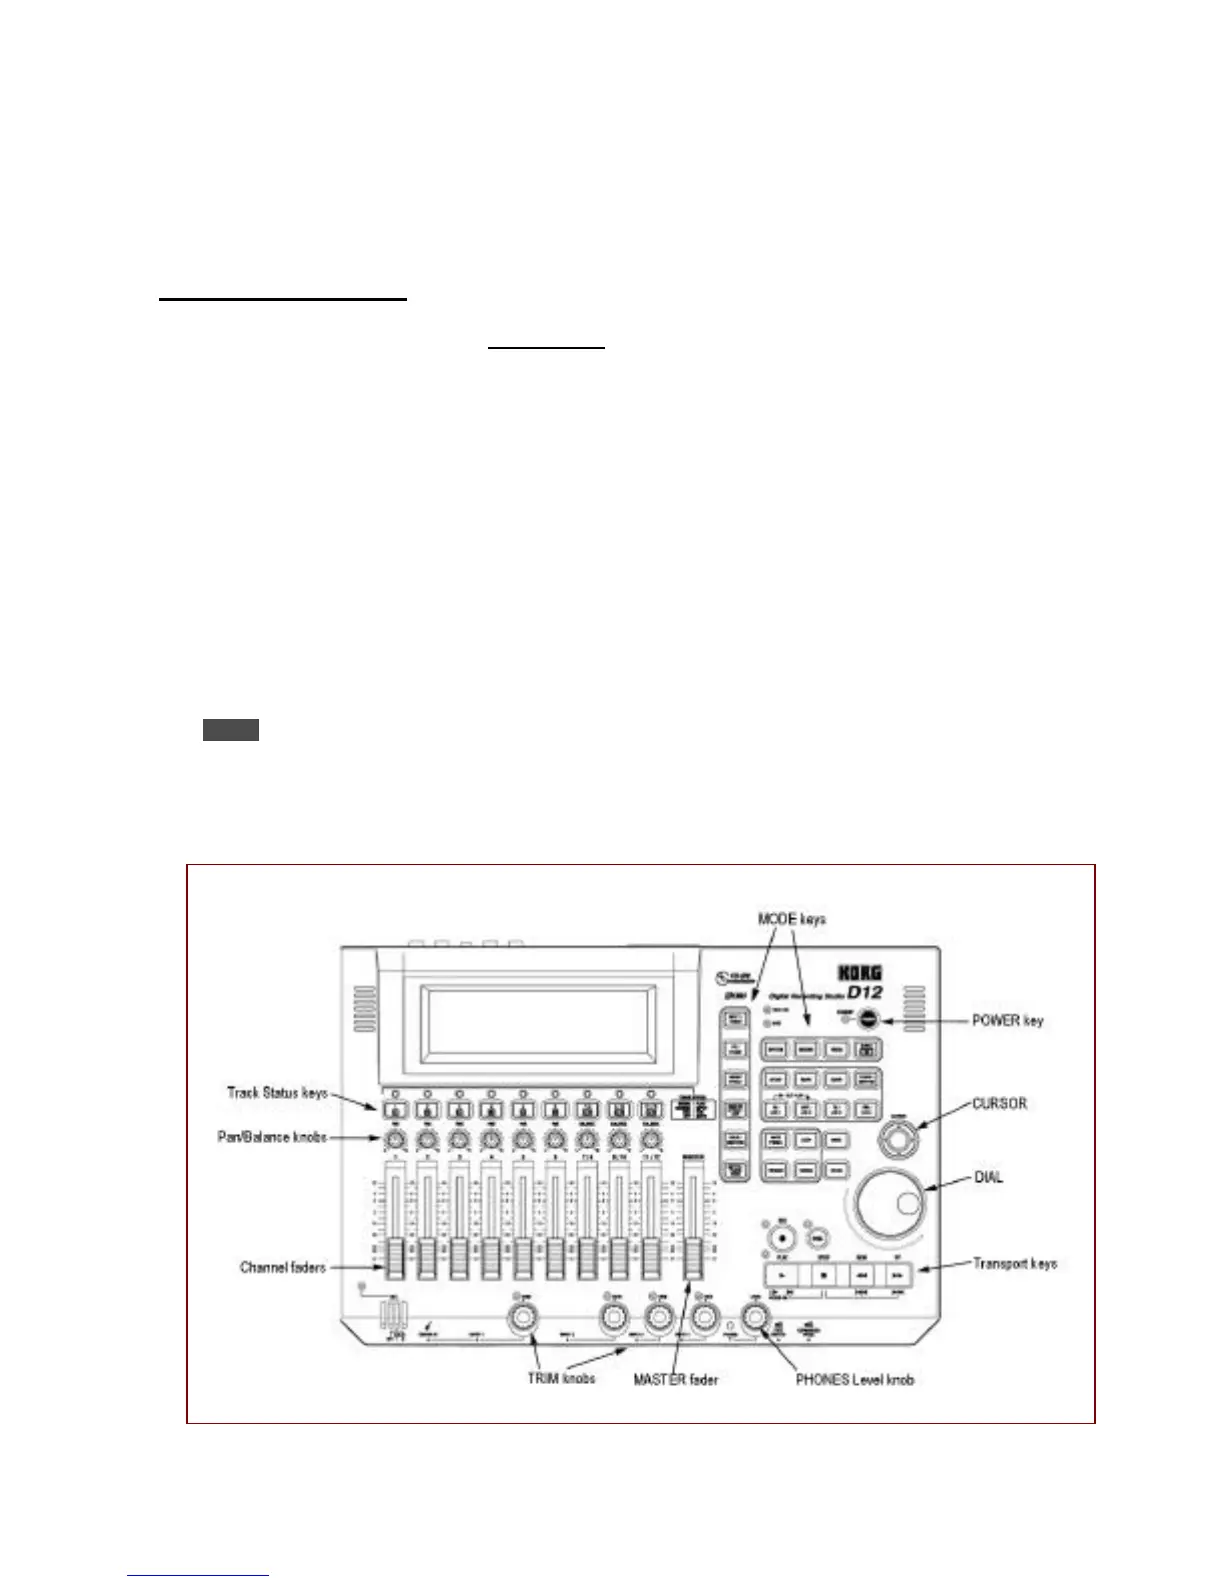
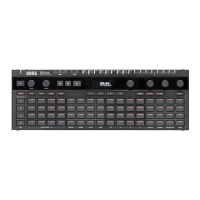
Objects referred to in this guide: D12 top panel objects that you'll work with are: Keys, Dial, Faders and Pan/Balance knobs.
D12 Display objects that you'll work with are: Tabs, Popup and Radio buttons, Dialog boxes and Icons. All top panel keys are
indicated in brackets: [SONG/CD], etc.
Navigating the D12: To select the tabs in each mode, repeatedly press a mode key: [INPUT/TUNER], [EQ/PHASE] etc.
To move to different locations in the display, press the [CURSOR] key (u). To confirm a highlighted selection in the display,
press ENTER, To change a highlighted value, rotate the [DIAL].
About the CURSOR key: Throughout this guide, the use of the CURSOR key will be indicated by the u symbol. This key is a four-
position key, allowing you to move left, right, up or down in the display.