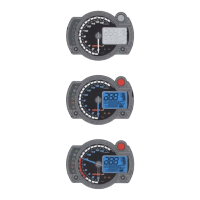
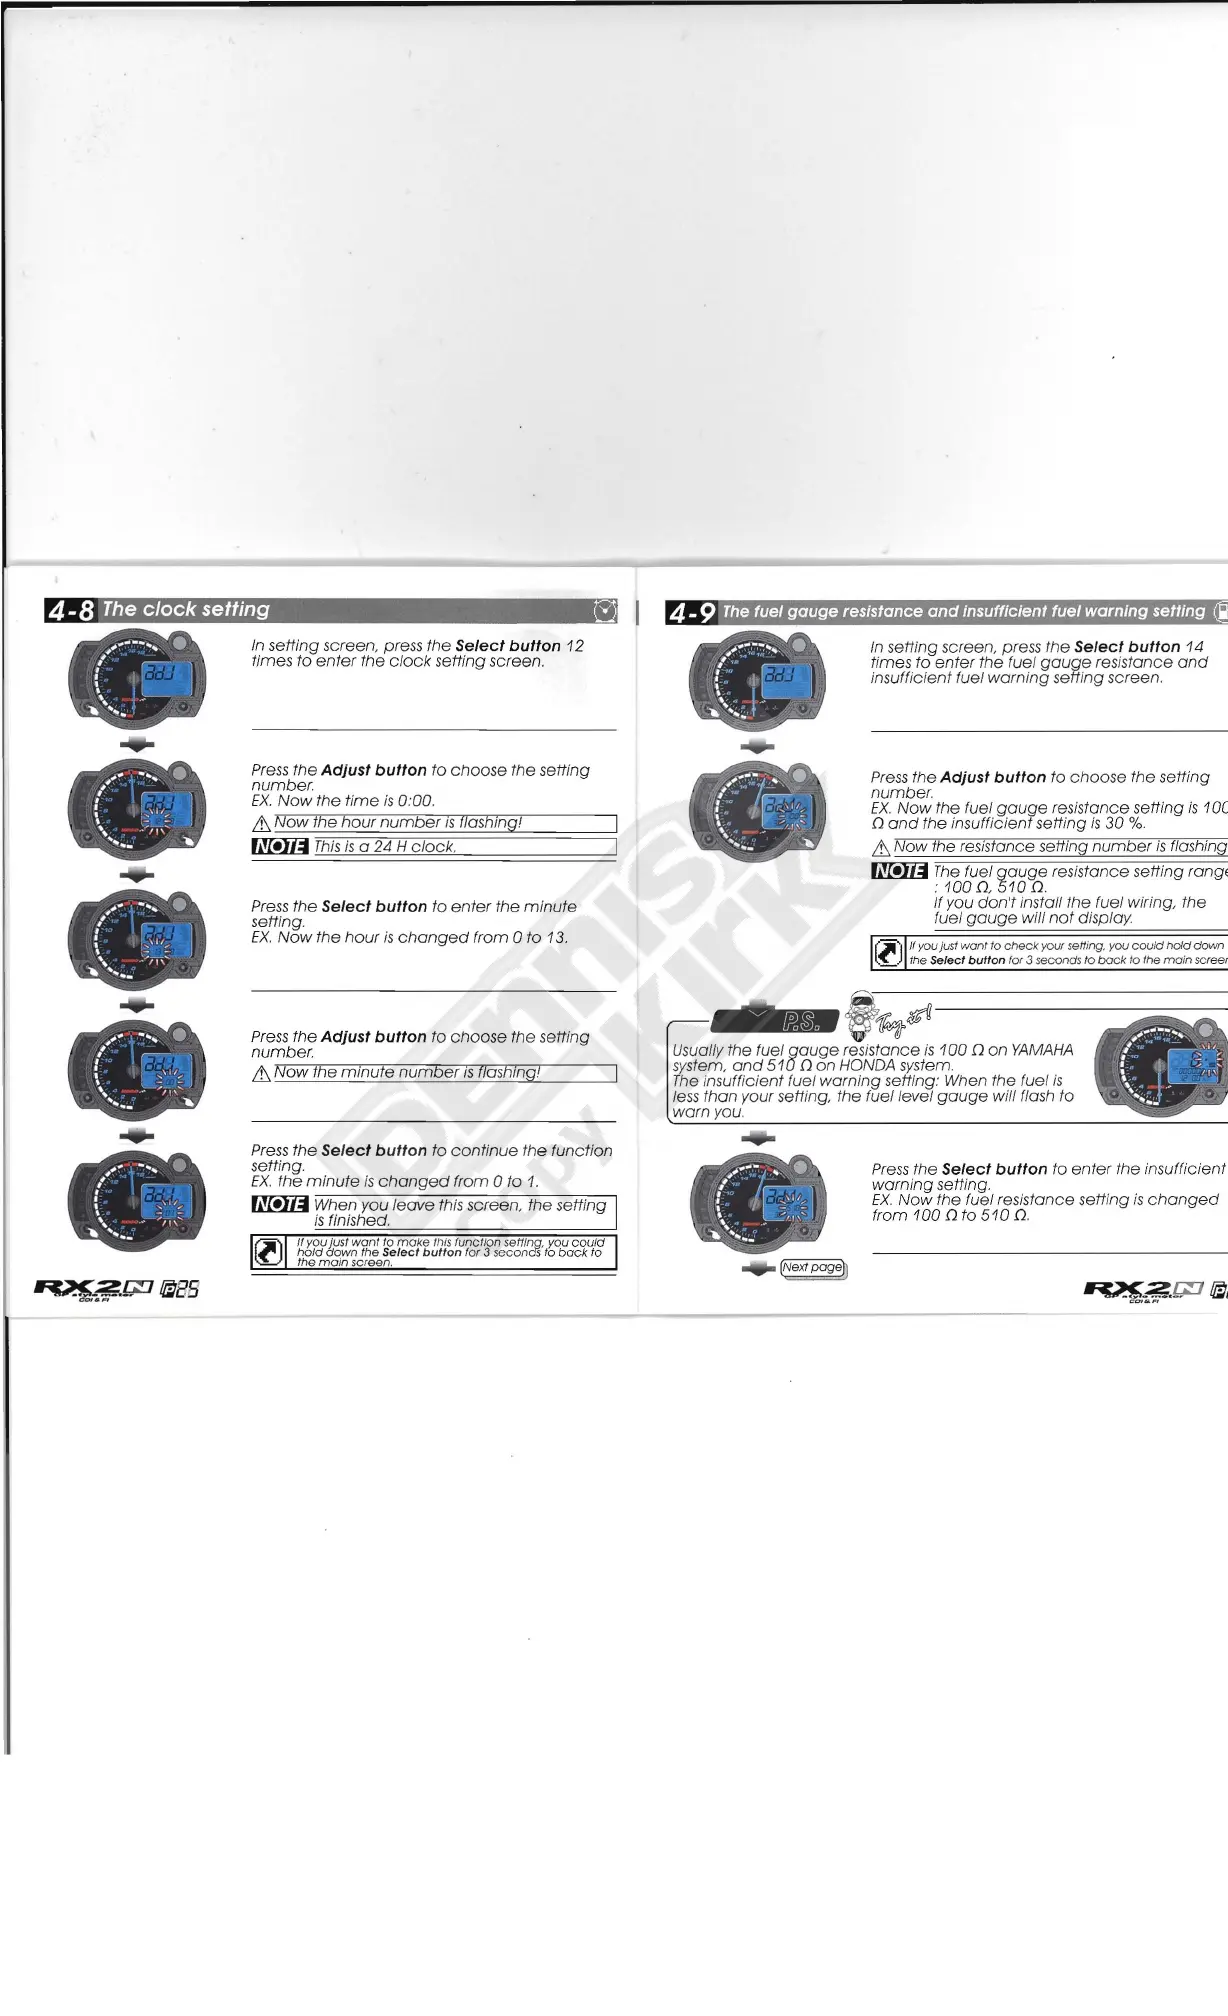
4 -8
The
clock setting B
.;,.".
..........
.
In
setting screen, press the Select button
12
times
to
enter
the
clock
setting screen.
/
~
1
\ I
~'...
"'
~-
.
....
......
t
Press
the Adjust button
to
choose
the setting
number.
EX.
Now
the
time
is
0
.'
00
.
&
Now
the
hour
number
IS
/Jashmg!
~
This
is
a 24 H
clock
.
Press
the
Select button to
enter
the
minute
setting.
EX.
Now
the
hour
is
changed
from 0
to
13.
Press
the
Adjust button to
choose
the setting
number.
&
Now
the
mmute
number
IS
f1ashing
l
Press
the
Select button
to
continue
the
function
setting.
EX
.
the
minute
is
changed
from
0 to
1.
~
When you
leave
this screen, the setting
is
finished.
/I you just
wont
to
make
I
his
function sefflnq. you
could
:'1['
hold
down
the
Select
button
for 3 secon
dS
to
bock
to
(l)
the
main
screen.
4-9
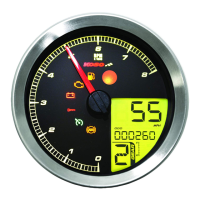
The
fuel
gauge
resistance
and
insufficient fuel warning setting
In
setting screen, press
the
Select button 14
times
to
enter
the
fuel
gauge
resistance
and
insufficient fuel
warning
sefting screen.
Press
the Adjust button to
choose
the setting
number.
EX.
Now
the fuel
gauge
resistance setting
is
1
DC
n
and
the insufficient setting
is
30
%.
& Now the resistance setting
number
is
flashing,
~
The
fuel
gauge
resistance setting rangE
:
100
n.
510
n.
If you
don't
install the fuel wiring, the
fuel
gauge
will
not
display
rI'J
If you just
want
to
check
your setti
ng
. you
cou
ld
hold
down
~~
the Select
button
for 3 seconds
to
back
to Ihe
ma
in screer
-
f
~$«
Usually the fuel
gauge
resistance
is
100
n
on
YAMAHA
system,
and
510
n
on
HONDA system.
The
ins
ufficient
fuel
warning
setting: When the fuel
is
le
ss
than
your setting, the fuel level
gauge
will flash to
warn
yo
u.
Press
the Select button to
enter
the insufficient
warning
setting.
EX.
Now
the fuel reSistance setting
is
changed
from
100
n
to
510
n.