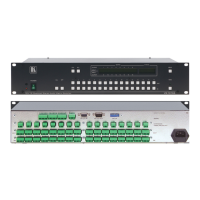
6 Installing the Balanced Stereo Audio Matrix Switcher
To install the VS-1616A, connect the following
1
• Power cord
to the rear panel, as
required:
• Audio input and output cables
• Control Interface cables between switcher units, or PC (or other
controller), as section
6.7 describes
• Set the DIP-switches, as section
6.6 describes
• Set the system variables using the MENU function, as section
8
describes
Using the VS-1616A unit and/or other 16x16 matrix switchers in the
series
2
• A stand alone switcher (see section
, you can assemble the following kinds of systems:
6.2)
• A multi-channel audio switcher (see section
6.3)
• An expanded matrix switcher (see section
6.4)
• A system of interconnected switchers (see section
6.5)
6.1 Connecting the Balanced/Unbalanced Stereo Audio
Input/Output
This section illustrates how to connect:
• A balanced stereo audio input/output connection, see Figure 2
• An unbalanced stereo audio input connection, see
Figure 3
• An unbalanced stereo audio output connection, see
Figure 4

 Loading...