11 SERVICE WORK ON THE CHASSIS 38
602684-11
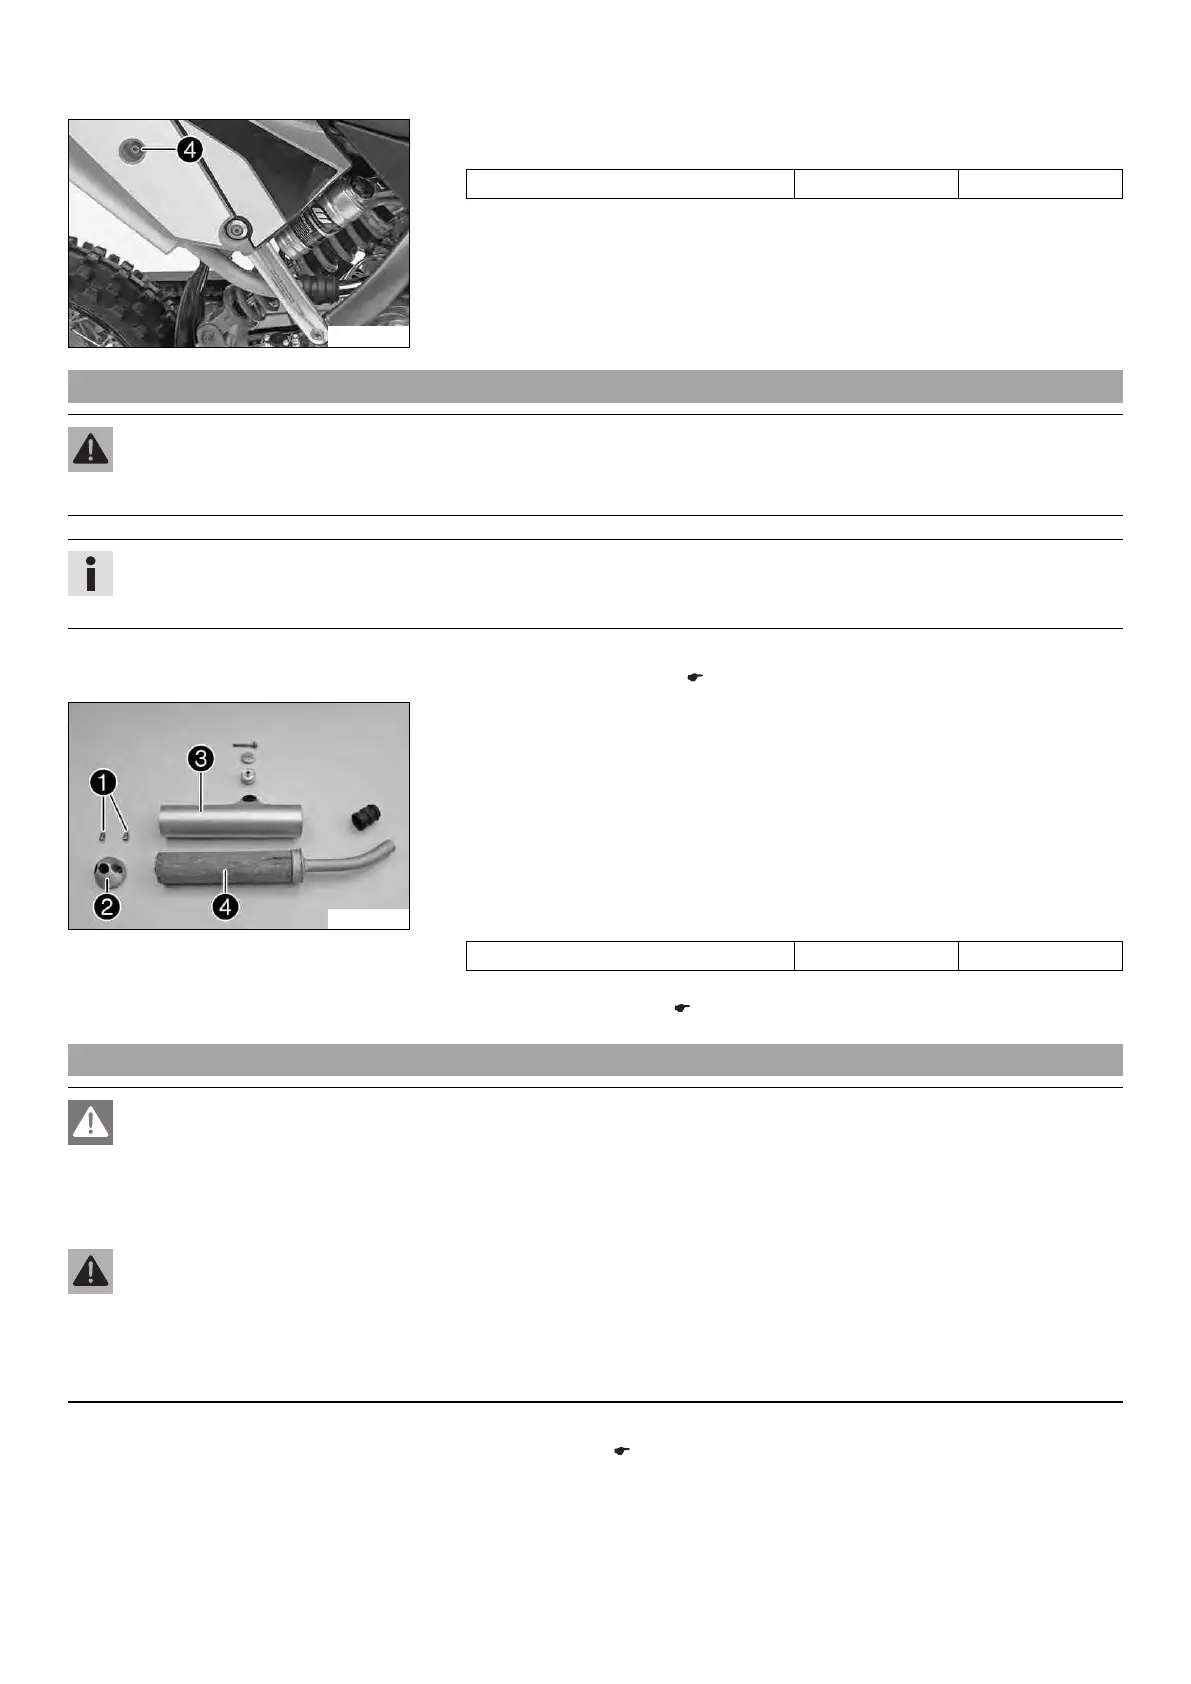
– Mount and tighten screw 4.
Guideline
Remaining screws, chassis M6 10 Nm (7.4 lbf ft)
11.27 Changing the glass fiber yarn filling of the main silencer x
Warning
Danger of burns The exhaust system gets very hot when the vehicle is driven.
– Allow the exhaust system to cool down. Do not touch hot components.
Info
Over a period, the fibers of the insulating material vanish into the air, and the silencer "burns out".
Not only is the noise level higher, the performance characteristic changes.
Preparatory work
– Remove the main silencer. ( p. 37)
700443-01
Main work
– Remove screws 1 of locking cap 2. Remove locking cap and outer tube 3.
– Pull the glass fiber yarn filling 4 from the inner tube.
– Clean the parts that are to be reinstalled.
– Mount the new glass fiber yarn filling on the inner tube.
– Slide the outer tube over the glass fiber yarn filling.
– Insert the locking cap into the outer tube.
– Mount and tighten the screws with the toothed washers.
Guideline
Remaining screws, chassis M6 10 Nm (7.4 lbf ft)
Finishing work
– Install the main silencer. ( p. 37)
11.28 Dismounting the fuel tank x
Danger
Fire hazard Fuel is highly flammable.
– Never refuel the vehicle near open flames or burning cigarettes, and always switch off the engine first. Be careful that no
fuel is spilt, especially on hot vehicle components. Clean up spilt fuel immediately.
– The fuel in the fuel tank expands when warm and may emerge if overfilled. Follow the instructions on refueling.
Warning
Danger of poisoning Fuel is poisonous and a health hazard.
– Fuel must not come into contact with the skin, eyes, or clothing. Do not breathe in the fuel vapors. If contact occurs with
the eyes, rinse with water immediately and contact a physician. Immediately clean contaminated areas on the skin with
soap and water. If fuel is swallowed, contact a physician immediately. Change clothing that is contaminated with fuel.
Store fuel properly in a suitable canister and keep away from children.
Preparatory work
– Remove the seat. ( p. 35)
– Turn the knurled screw on the fuel tap all the way clockwise.