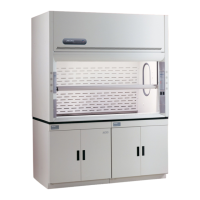
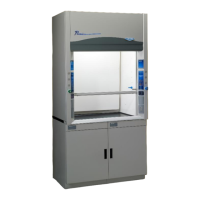
Chapter 6: Maintaining the Protector Filtered Hood
Product Service 1-800-522-7658
Tool List
A list of tools that are needed for service operations.
All current models have a #2 Phillips for every tool listed below with the
exceptions of the light/fan circuit boards and any OEM partner specific tools that
are needed for the superstructure.
4mm Allen wrench…………………………… For the two screws that attach the
control module to the superstructure mounting bracket.
#2 Phillips screw driver…………………………… For electrical cord set
clamps to the back of controller.
Small slotted screw driver……………………………For the three set screws
that hold down the power wires from cord set to back of controller.
Torx TX 10 …………………………… For the two Electro/Acid Sensor circuit
board screws.
Torx TX 20 …………………………… For the six back panel screws that
remove the rear panel of controller. All current controllers are Phillips.
5.5mm nut driver…………………………… For the fan/light covers, and all the
fan and light circuit boards.
OEM partner specific tools needed for any front panels on the superstructure
……………………………Check the superstructure manufacturer’s
documentation.
6ft A-frame ladder…………………………… To safely have access to the
technology for any service needs.
 Loading...
