Network HDD Recorder User Manual
18
Using the remote control or navigation buttons on the front panel of the
recorder, select the desired Menu Language from the submenu and press
.
The Time menu is highlighted. Select Manual from the submenu. Enter the
date and time as directed then press to confirm.
The Network menu is highlighted. Select DHCP IP or FIX IP
from the submenu to configure network settings. See Wired LAN
Setup on page 46 for more details.
If you do not want to configure network settings now,
select Cancel from the submenu to continue.
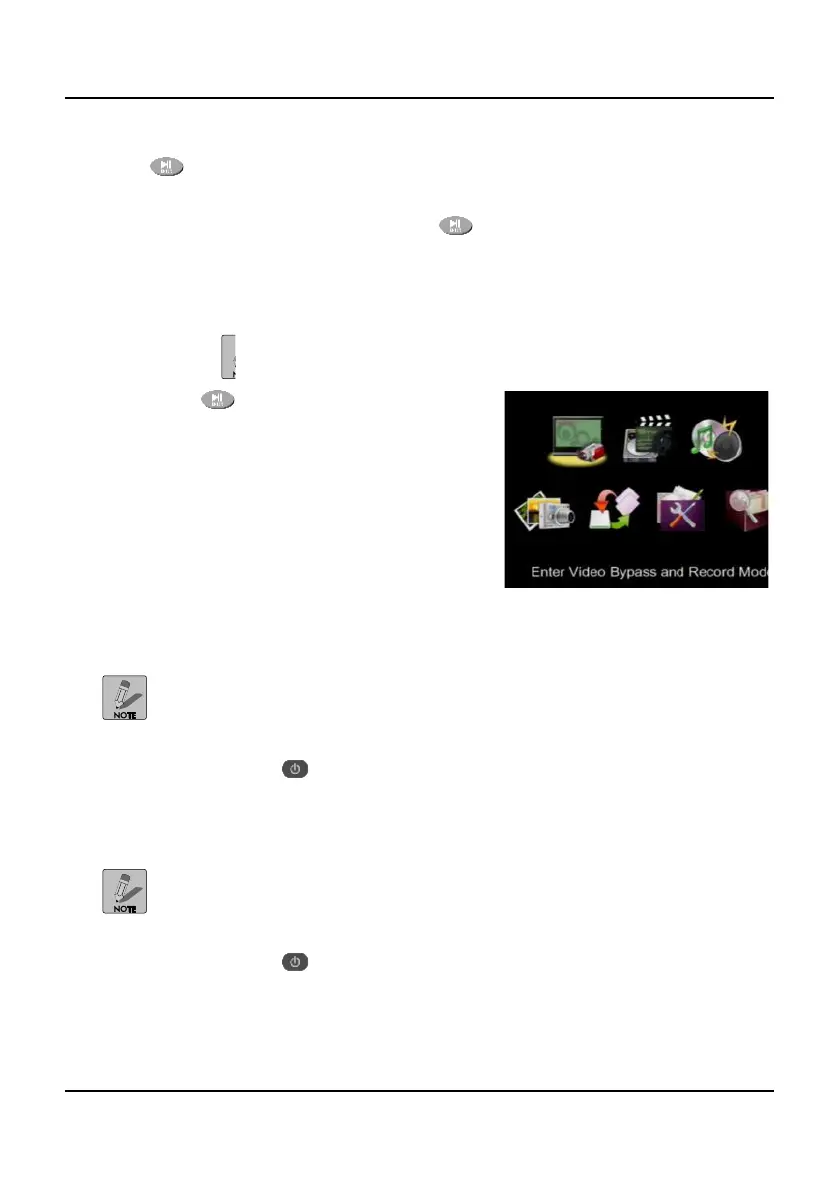
Press to confirm network
settings. The Main menu
displays.
Using the standby mode
The recorder provides Standby mode to temporarily power down the unit.
During extended periods of inactivity, the recorder should be
unplugged from the power outlet.
To enter the Standby mode, perform the following steps:
1. Press the
button on the remote control or front panel of the
recorder.
2. The Power LED lights orange and the recorder enters the Standby
mode.
The HDD fan continues to run for a few seconds in Standby mode.
To exit the Standby mode, perform the following steps:
1. Press the
button on the remote control or front panel of the
recorder.
2. The Power LED lights green and the startup splash screen displays.
3. The Main OSD menu displays after a few seconds.
 Loading...