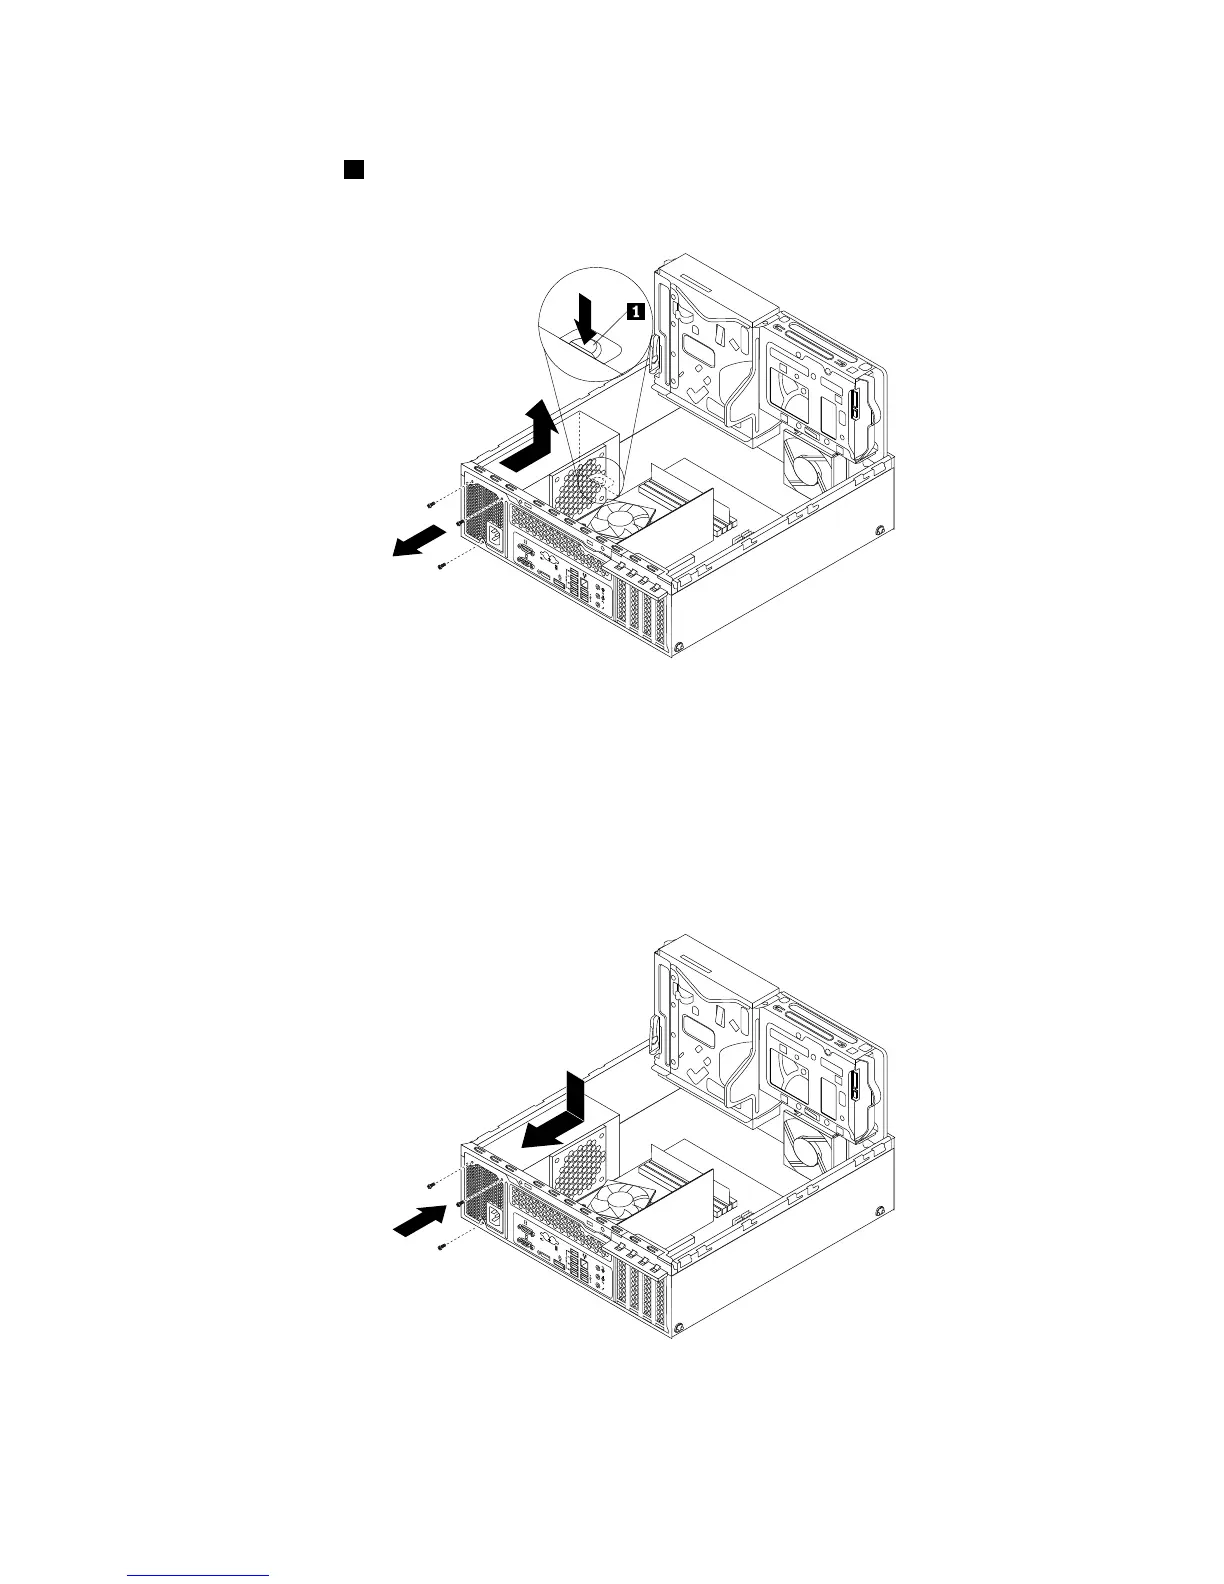
8.Attherearofthecomputer,removethethreescrewsthatsecurethepowersupplyassembly.Pressthe
powersupplyclip1downwardtoreleasethepowersupplyassemblyandthenslidethepowersupply
assemblytothefrontofthecomputer.Liftthepowersupplyassemblyoutofthecomputer.
Figure66.Removingthepowersupplyassembly
9.Ensurethatthenewpowersupplyassemblyisthecorrectreplacement.
10.Installthenewpowersupplyassemblyintothechassissothatthescrewholesinthenewpowersupply
assemblyarealignedwiththecorrespondingholesintherearofthechassis.Then,installthethree
screwstosecurethenewpowersupplyassemblyinplace.
Note:UseonlyscrewsprovidedbyLenovo.