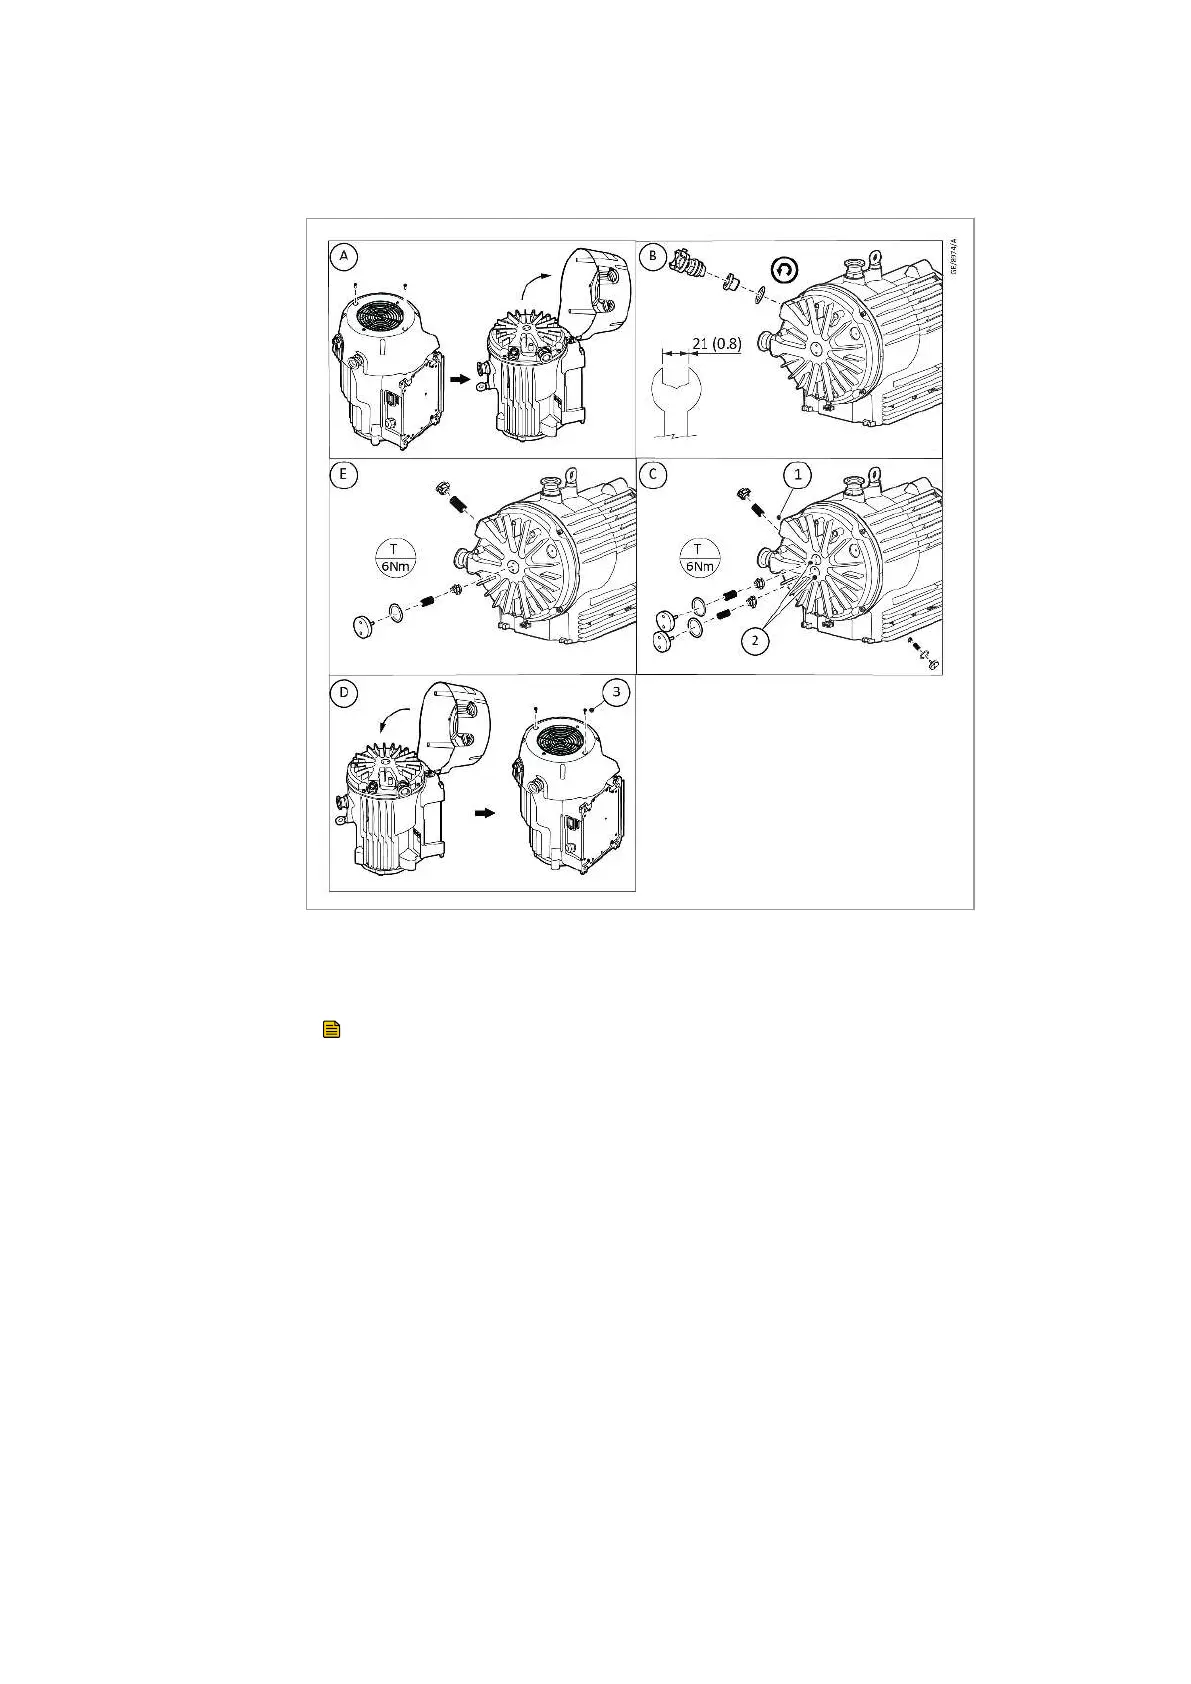
Figure 20. Install the chemical resistance conversion kit
8.1.7Valve pad conversion
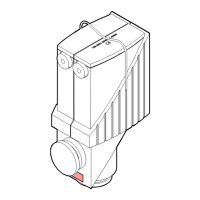
1. Undo the 2 off retaining bolts and partially remove the fan cowl.1.
Note:
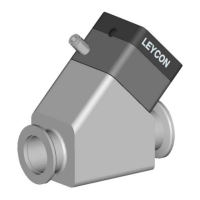
2. Using a 21 mm AF spanner (not supplied), remove the gas ballast2.
control assembly, seat and O‑ring.
3.
a. (SCROLLVAC 7/10/15 plus) Remove the remaining items (springa.
and pad) from the gas ballast port. Using a pin spanner, remove
the exhaust valve end cap, O‑ring, spring and valve pad.
b. (SCROLLVAC 18 plus) The SCROLLVAC 18 plus uses twob.
addition exhaust valves. Remove these using the same procedure
as in (3-a).
4. Assemble the new valve parts in reverse order. Reconnect and assemble4.
the cooling fan supply lead and fan cowl in reverse order. Torque the
retaining bolts to 3 Nm.
8.1.8Inlet/exhaust port conversion
Using a 30 mm AF spanner (not supplied), remove both the inlet and
exhaust ports. Locate the stainless steel ports provided in the kit and
assemble using new O-rings in reverse order.
54 300668736_002_C7 - © Leybold
Accessories