06
6
You can install wired remote controller cable in
3 directions. Install in the direction suitable for
installation environment.
• Connection direction for remote controller cable:
Back center, left upper end, right upper end
• When installing the remote controller cable on an
upper side, first remove the remote controller cable
guide groove before installing it.
※ Use a long nose pliers when removing the guide
groove, and polish the cut surface after removing it.
7
Fix the power cable on the back cover hook, and
press the upper side of the remote controller toward
the back cover as in the gure.
Wall
Remote controller
NOTE
• Failure to follow the guidelines #5 may result in part
damage due to interference with the mechanical.
• Be careful not to let the power cable pass over the
wireless equipment.
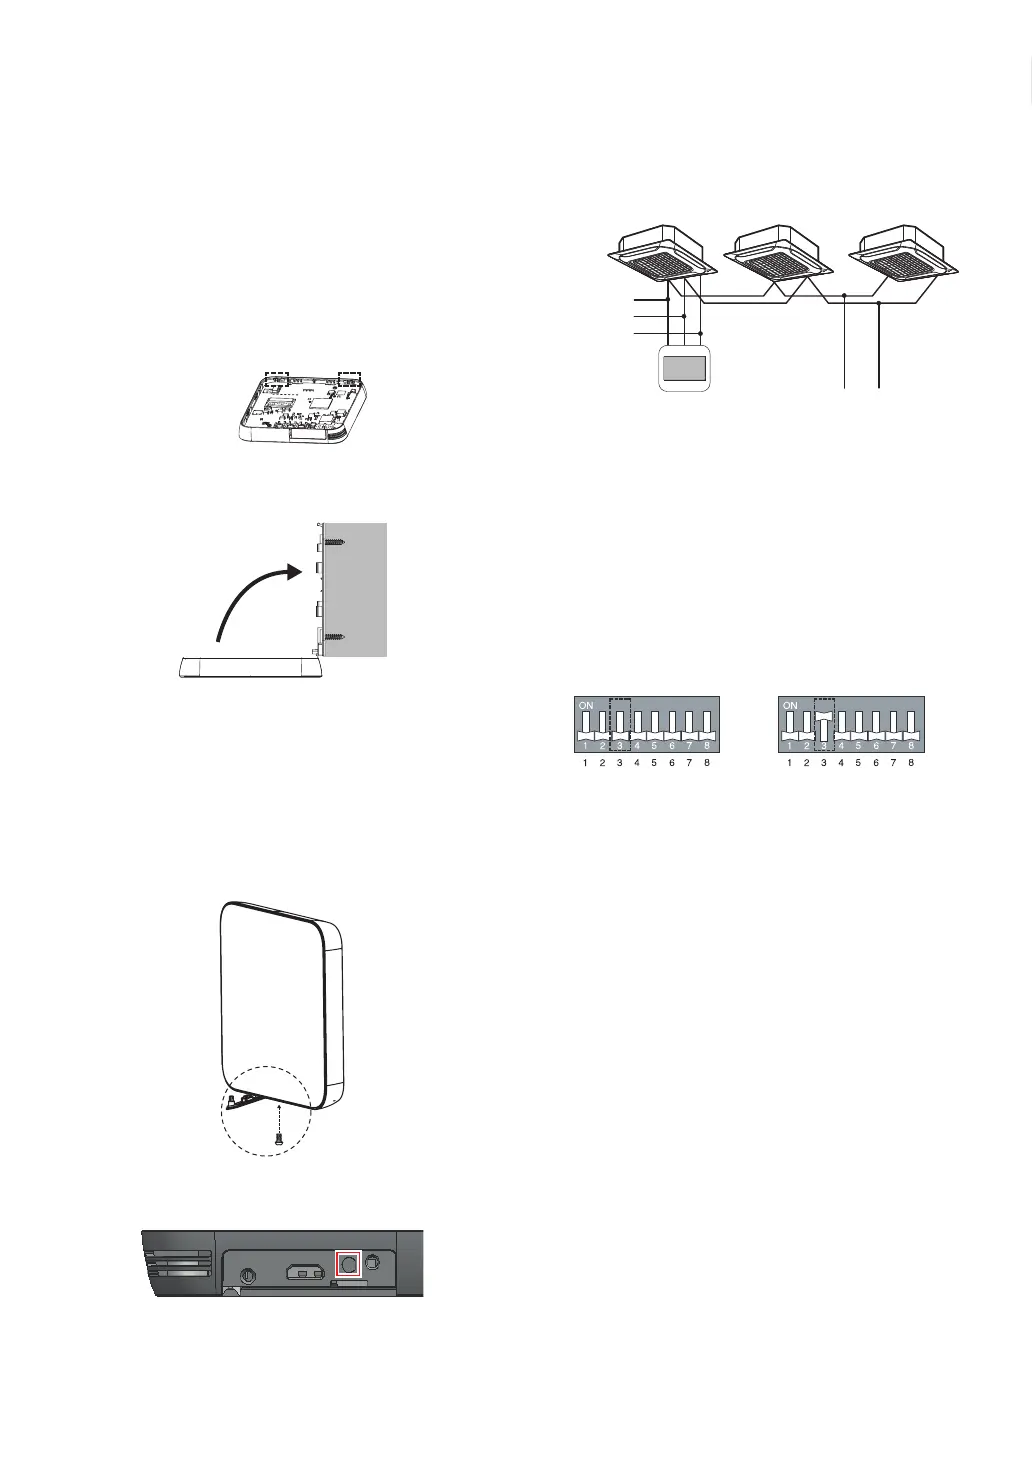
8
Screw the top and back covers and close the cover at
the bottom
• Use ‘Top and Back Cover screw’
Top
Back
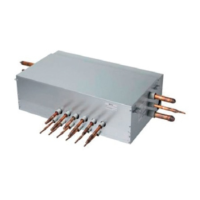
Using Group Control
Connect two to 16 indoor units of air conditioner to a single
controller for control.
GND
Signal wire
DC 12V
GND Signal wire
NOTE
• Connect using the group control cable.
(Model : PZRCWRCG3)
• When using the group control, some advanced functions
(excluding basic operation setting, fan speed, lock, and
time setting) may be limited.
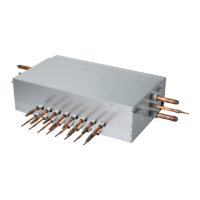
1
Set one indoor unit to Master and the remaining to
Slave.
#3 Switch OFF: Master
(Default setting for
shipment)
#3 Switch ON: Slave
NOTE
• For ceiling cassette and duct products, change the switch
setting of the indoor PCB as above.
• For wall-mount type and stand type product, change the
Master / Slave setting with the wireless remote controller.
2
After completing the Master / Slave setting, turn off
the power of the indoor unit, and turn on the power
after 1 minute.
NOTE
• 2 wired remote controllers to 1 IDU is not supported.
 Loading...