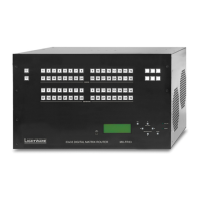
2. Installation MX-FR Series Modular Matrix Frames – User's Manual 15
Step 5. Gently push the board in until it stops, then press the plate at the indicated places at once. Thus, the
connector of the board and the motherboard will be put together.
Step 6.
INFO:
series.) E.g. if an MX-TPS-IB had been installed previously in a matrix and an MX-TPS-IB-A board was
installed later, the previous settings would be applied to the board.
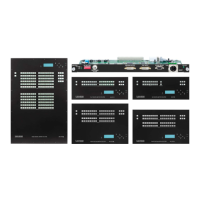
CPU
8CH OUTPUT BOARD FOR HDMI WITH 3D AND ANALOG AUDIO
MX-HDMI-3D-OB-A
OUT 1
OUT 2
OUT 3
OUT 4
OUT 5
OUT 6
OUT 7
OUT 8
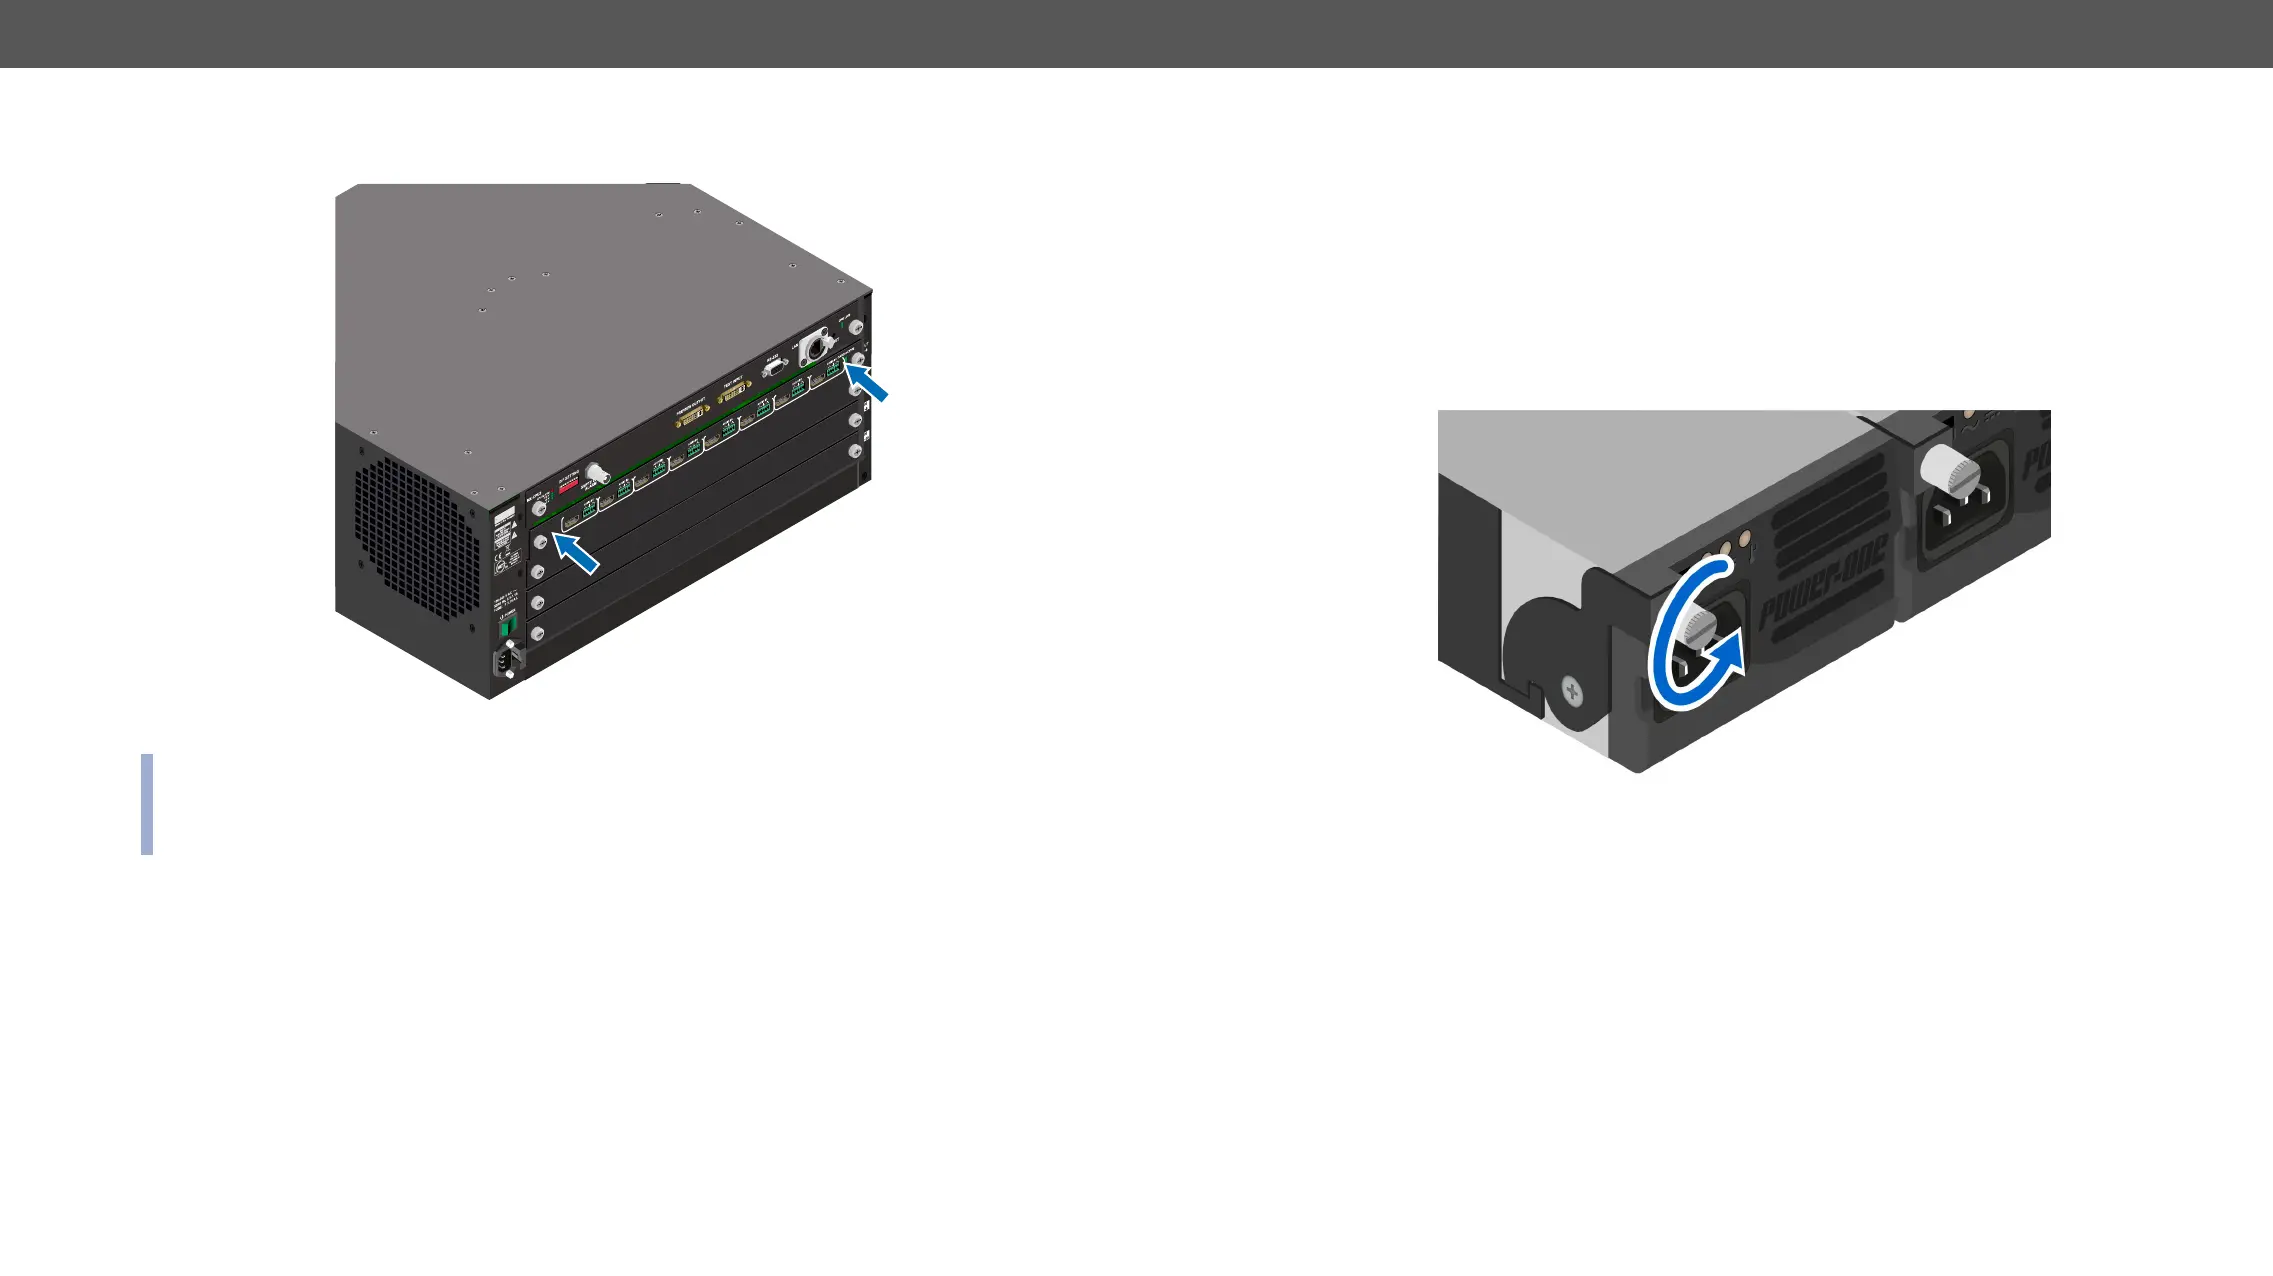
MX-FR80R and MX-FR65R Frames
The PSU of these frames is hot-swappable, thus you do not have to switch off the matrix to replace or install
a PSU.
best practice for a PSU replacement is to have two PSUs in use continuously. Thus, the third PSU can be
replaced safely:
Step 1. Unplug the power cord from the AC socket, then from the desired PSU.
Step 2. Loosen the xing screw
#power #redundancy